
Cal.com Integration
In this guide, you'll learn how to connect Cal.com to Master Inbox, generate your API key, validate the integration, configure booking sync, and enable calendar scheduling inside your reply agents.
Connecting Cal.com with Master Inbox allows you to:
Sync meetings automatically into your booking system
Manage, filter, and join meetings in one place
Enable reply agents to schedule meetings using your calendar integration
Leverage automated scheduling logic in your workflows
Step 1: Generate Your Cal.com API Key
Before connecting, you need an API key from Cal.com:
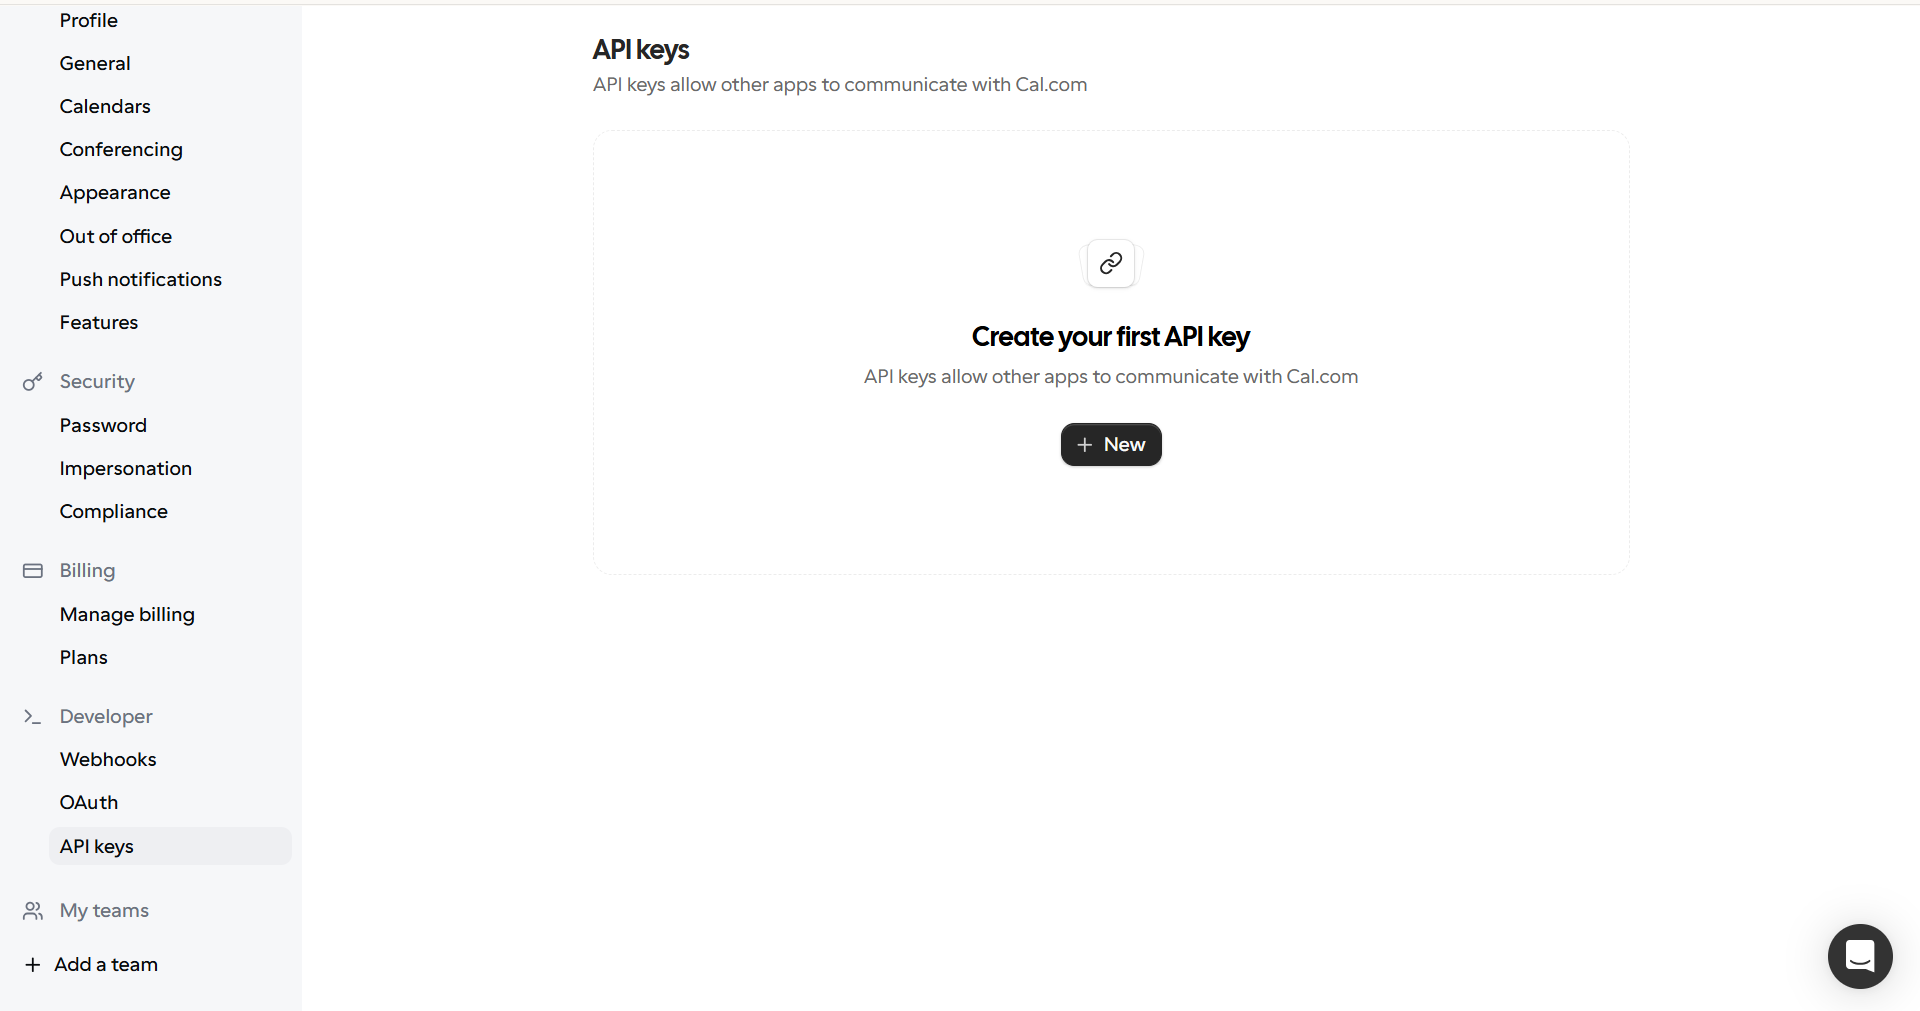
Go to Cal.com
Navigate to Settings
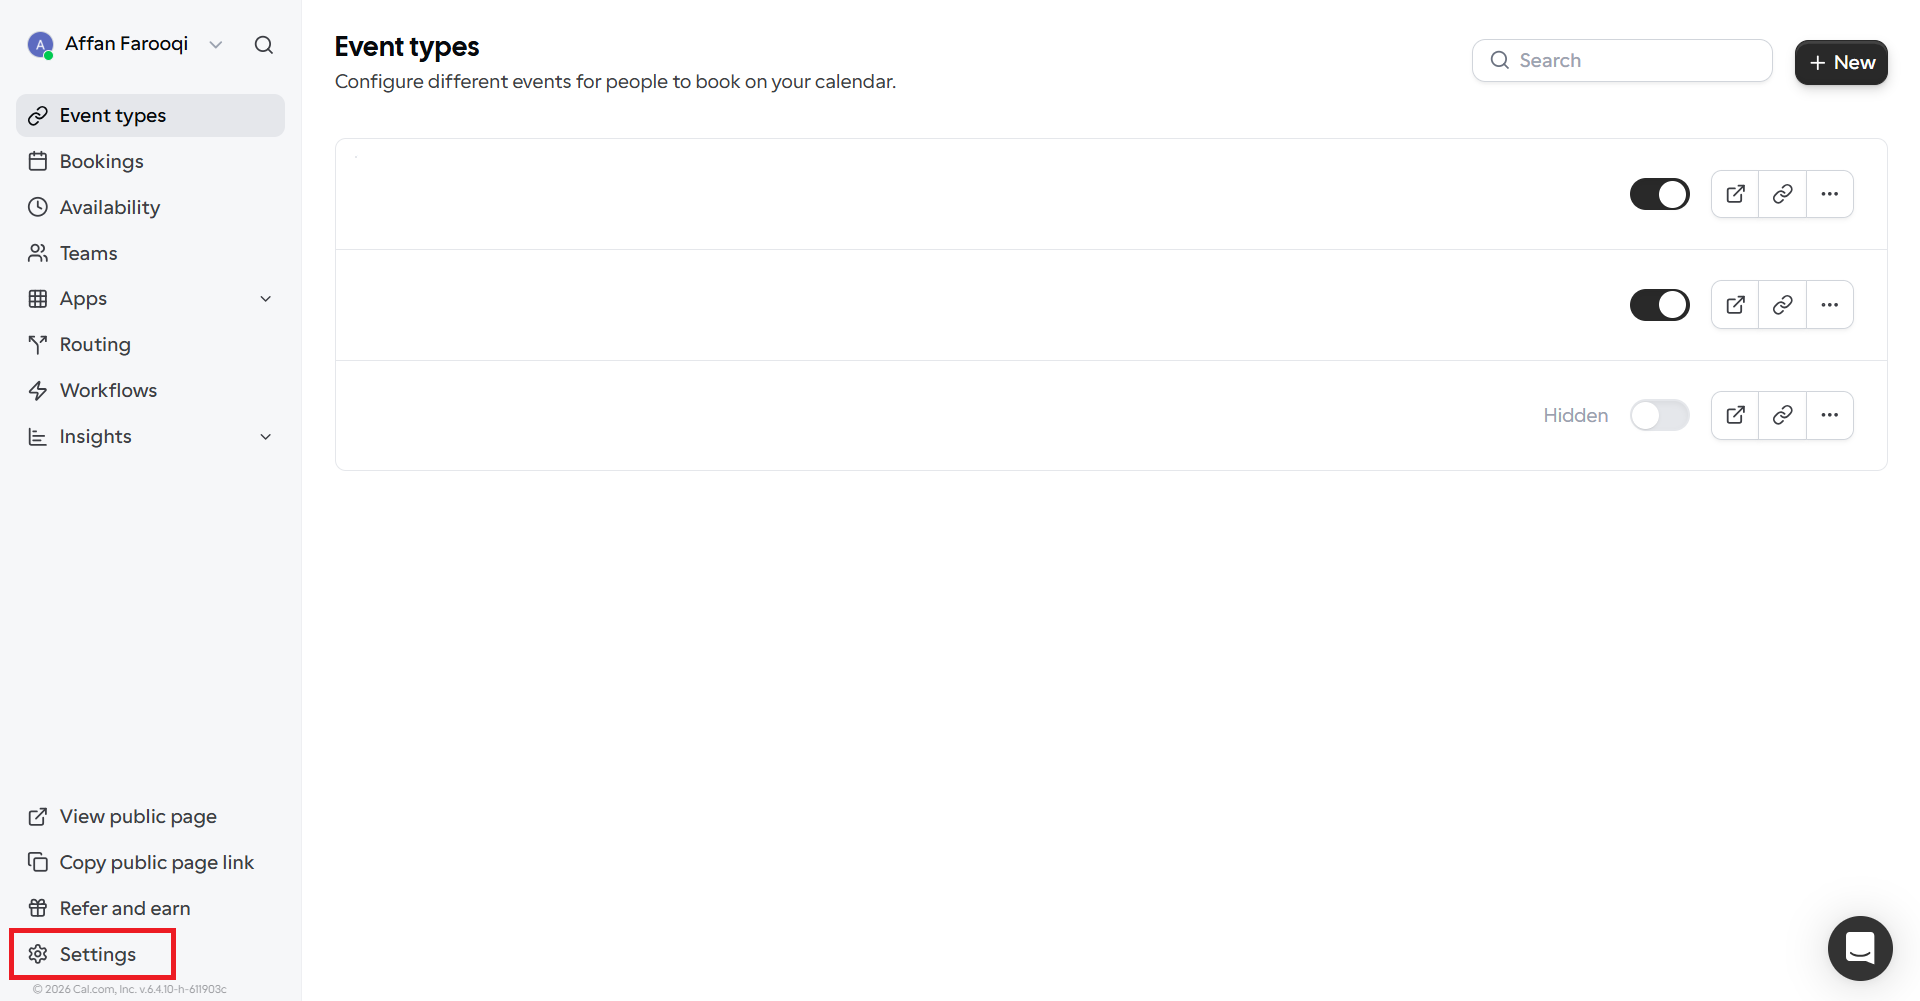
Click on API Keys

If you don't already have a key, create one
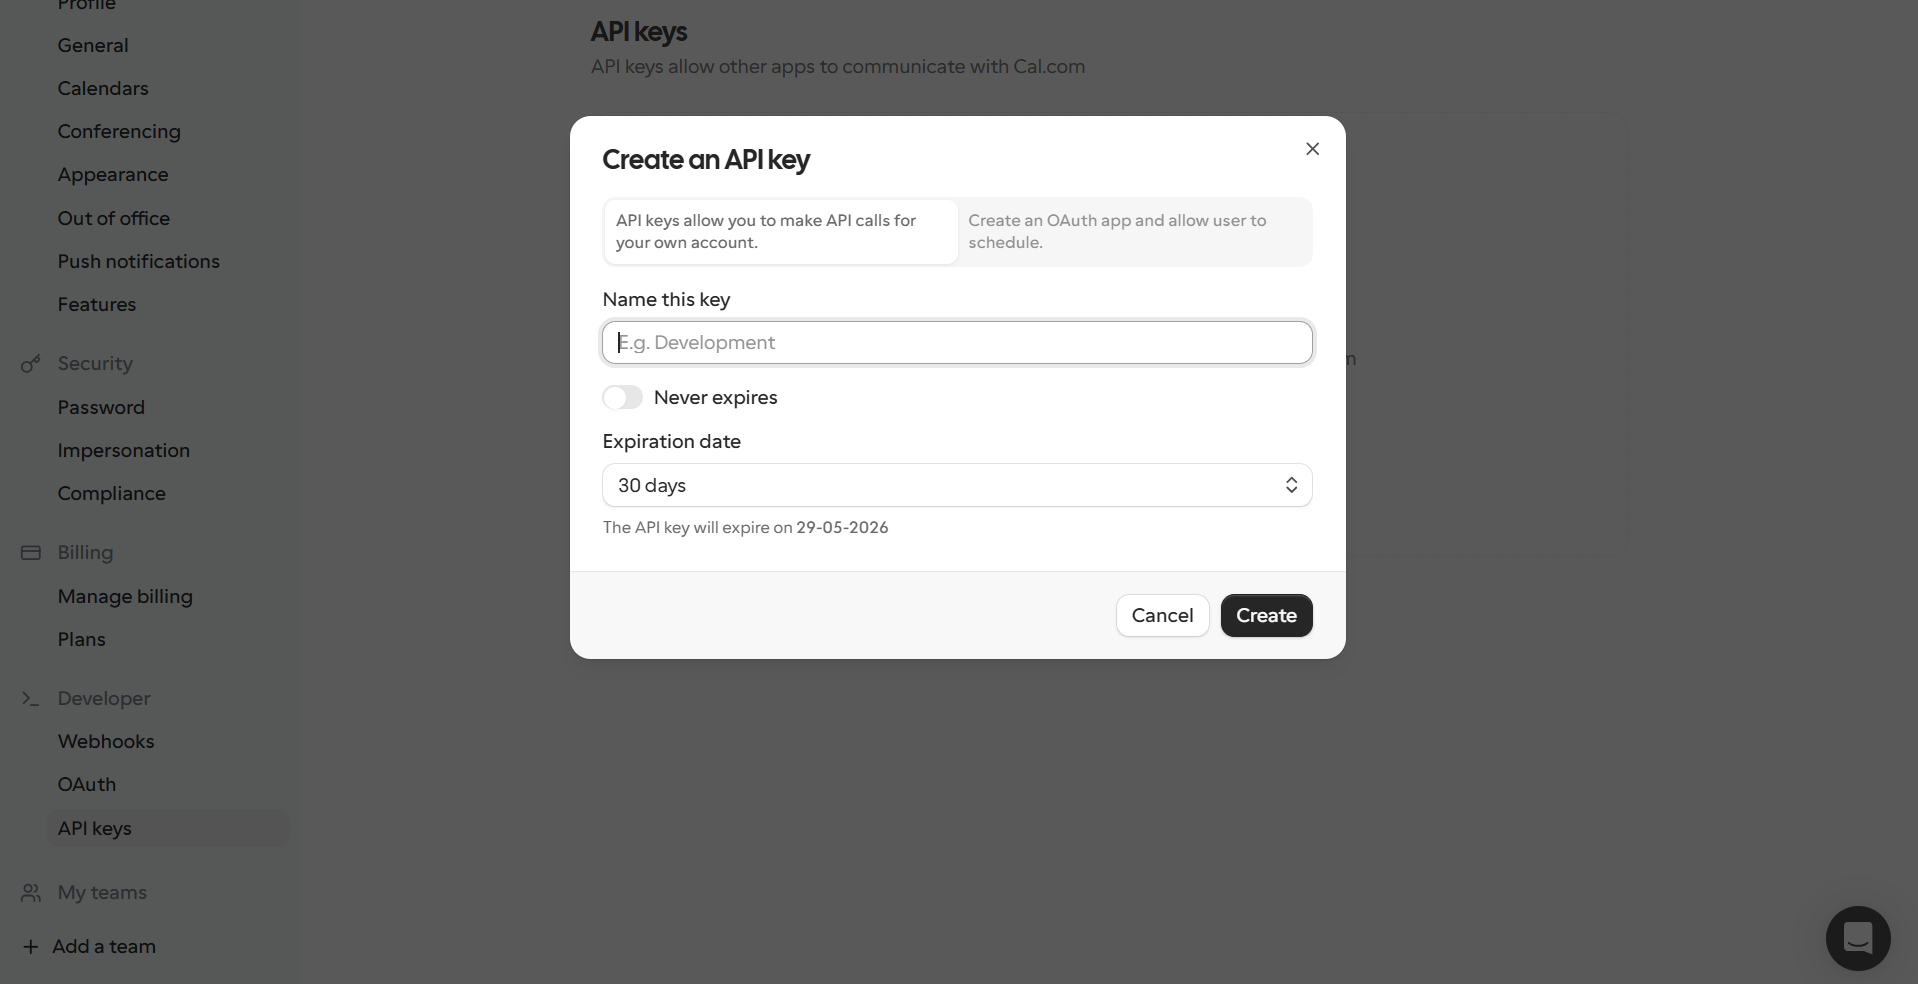
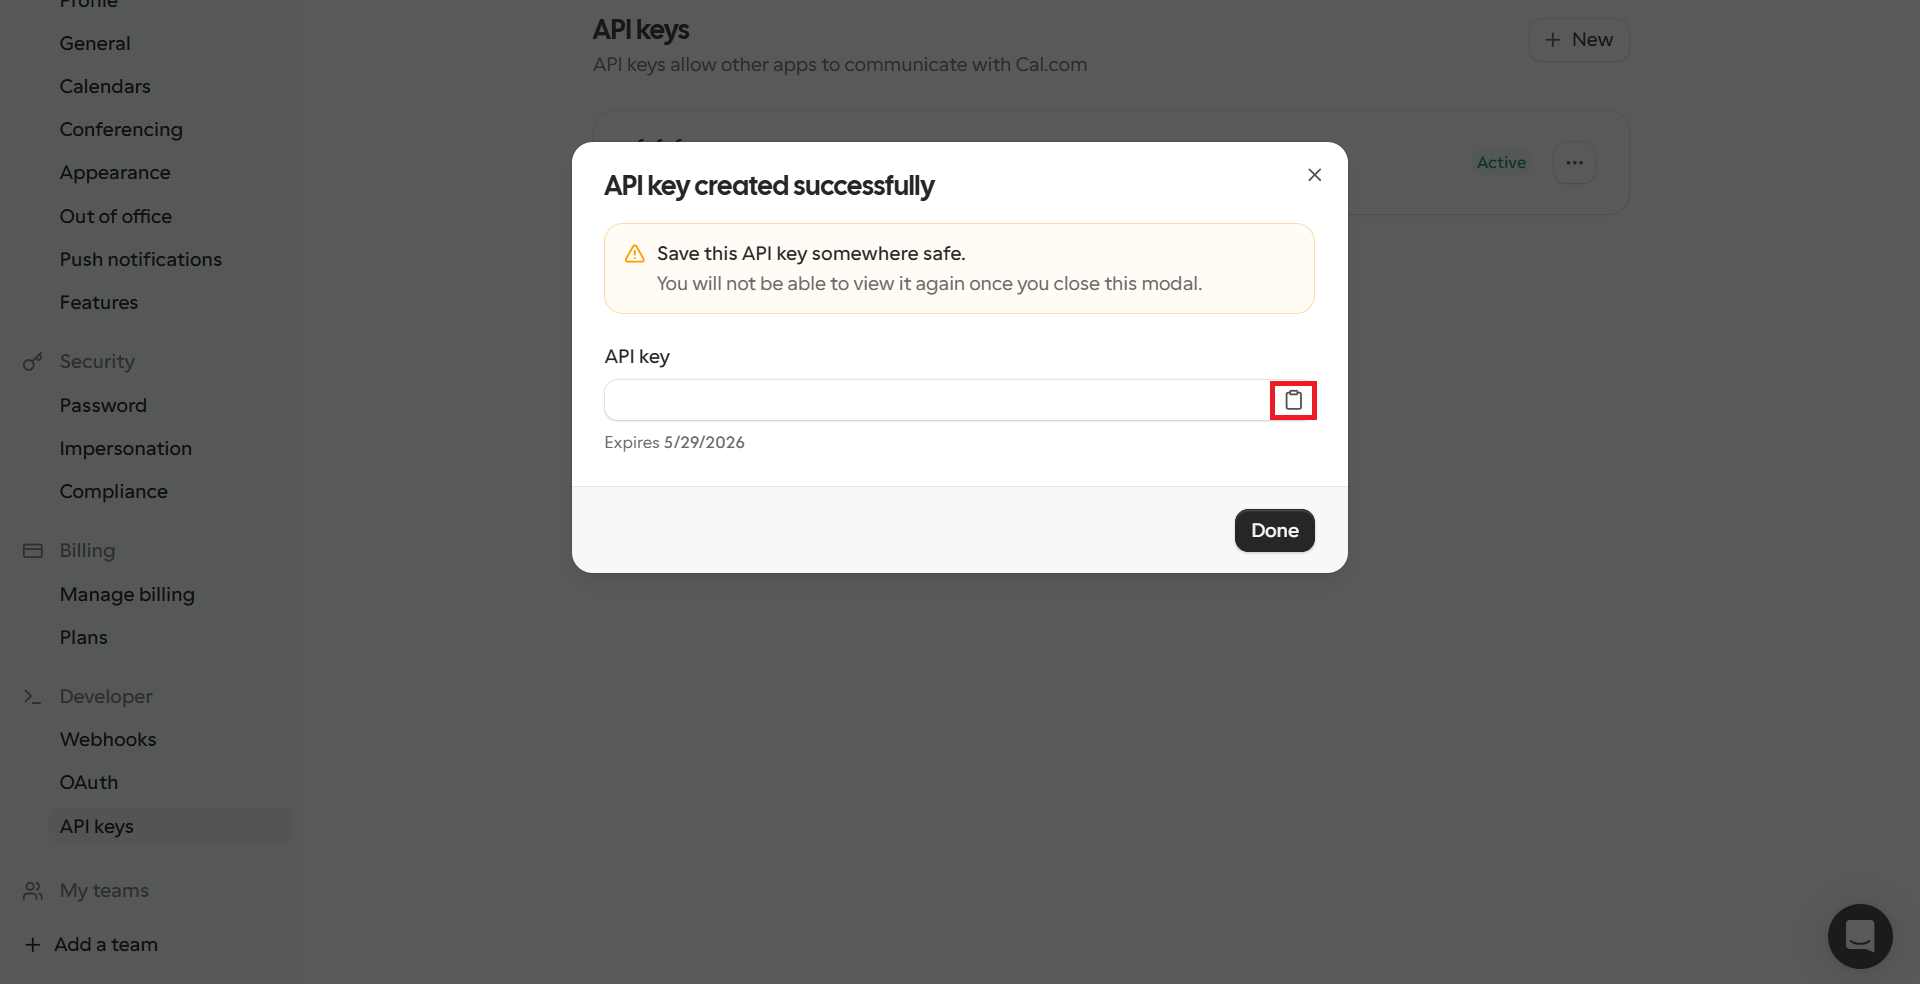
Once created, copy your API key securely
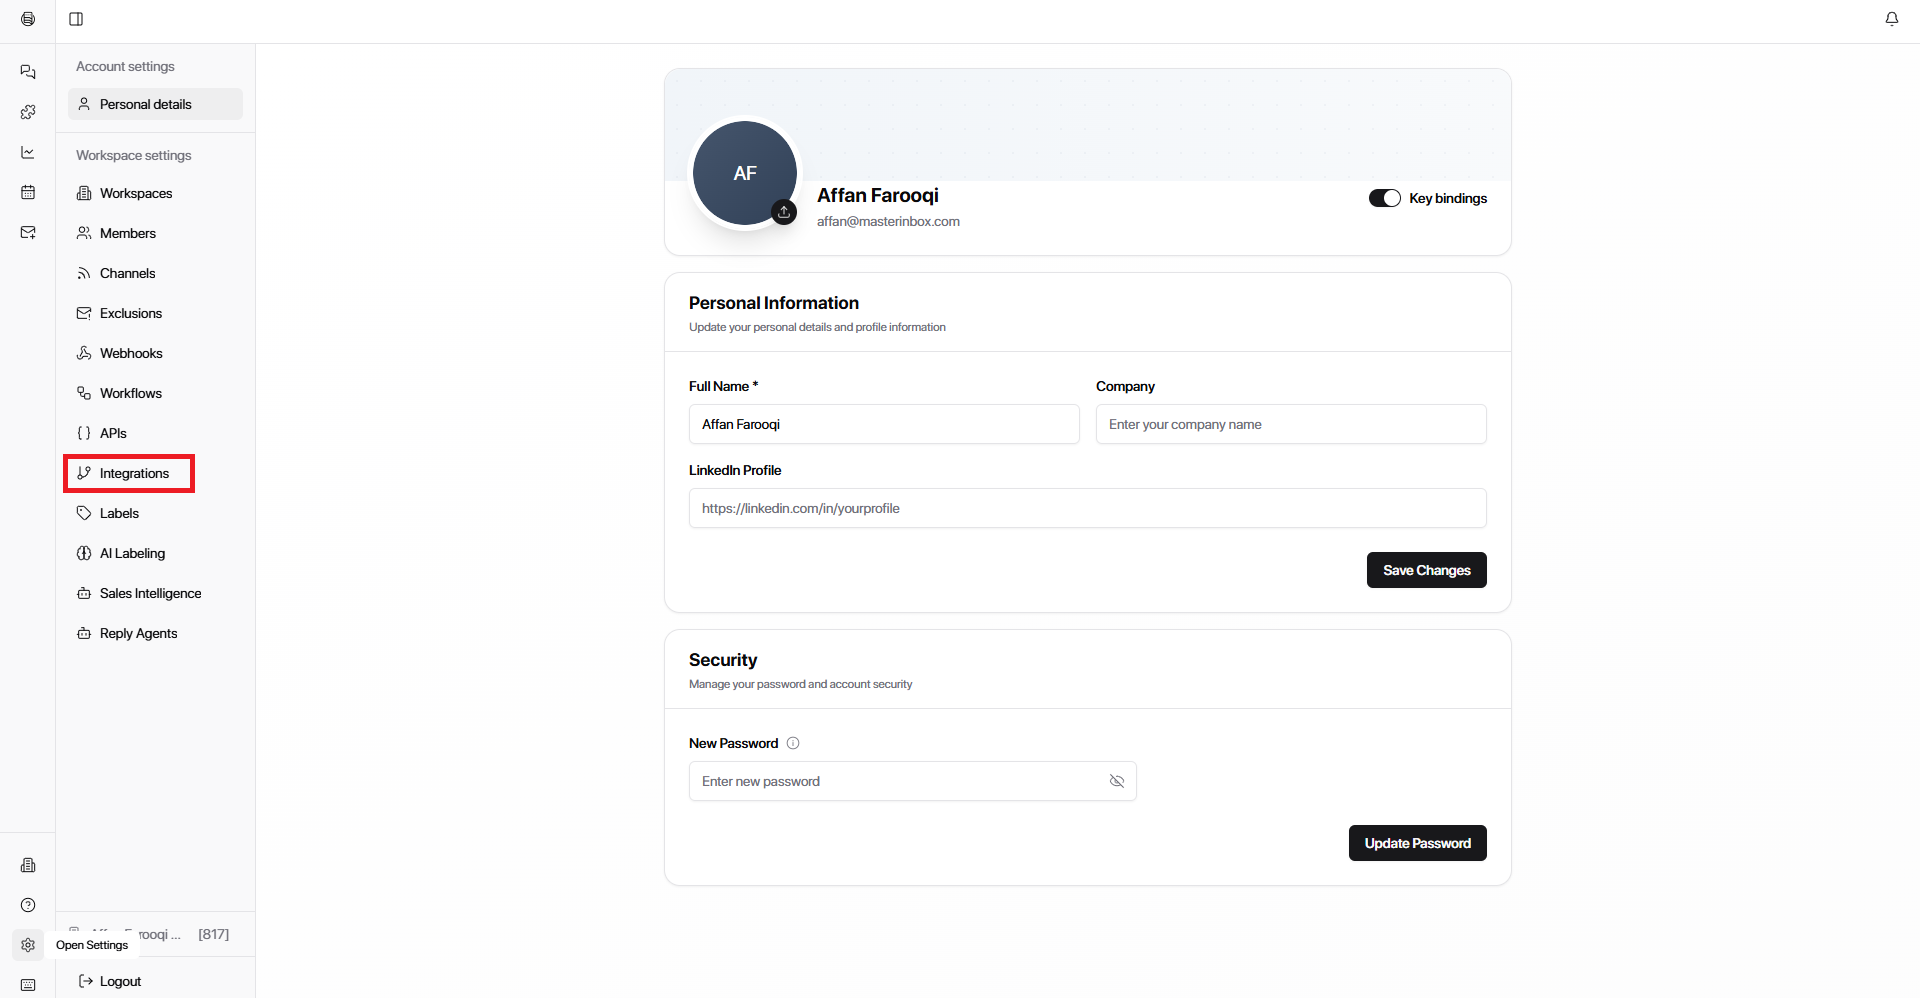
Step 2: Add Cal.com Integration in Master Inbox
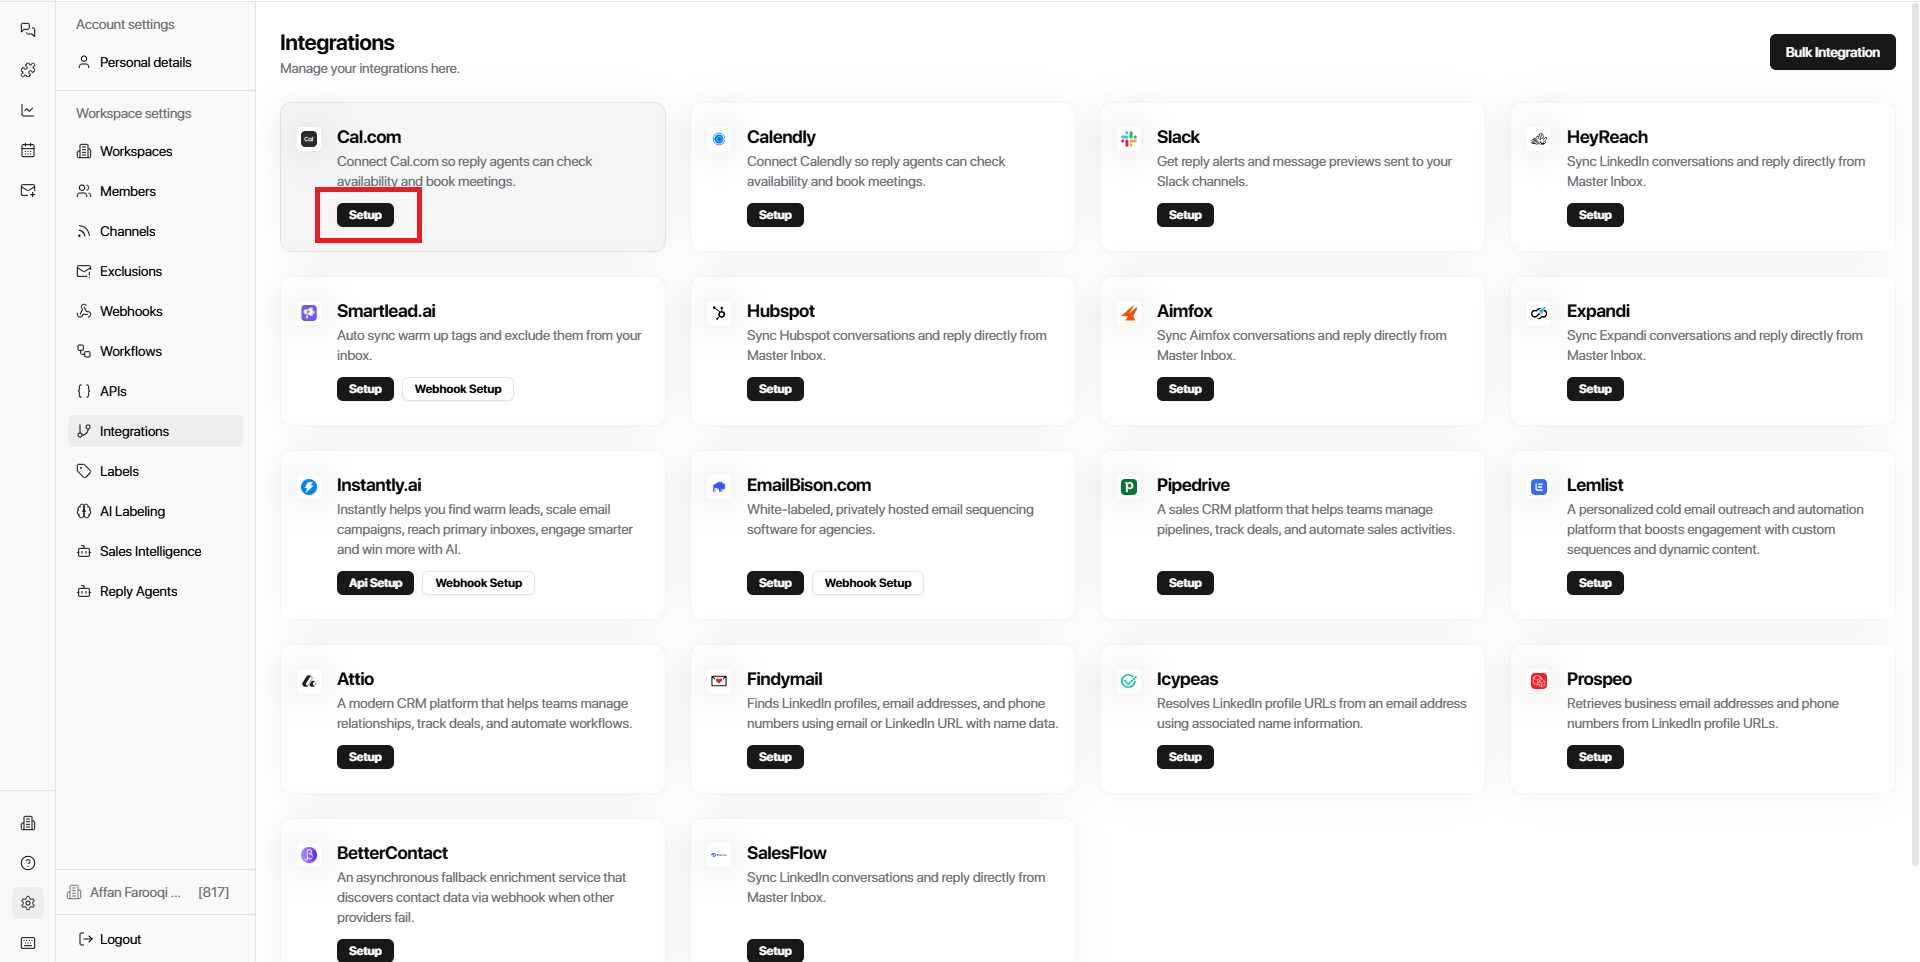
Now connect Cal.com to Master Inbox:
Open Master Inbox
Go to Settings

Select Integrations
Choose Cal.com
Click Setup
Paste your Cal.com API Key
Click Add Integration
Step 3: Validate Integration & Set Default Event Type
After adding the integration, you must validate it:
Select a Default Event Type from your Cal.com account
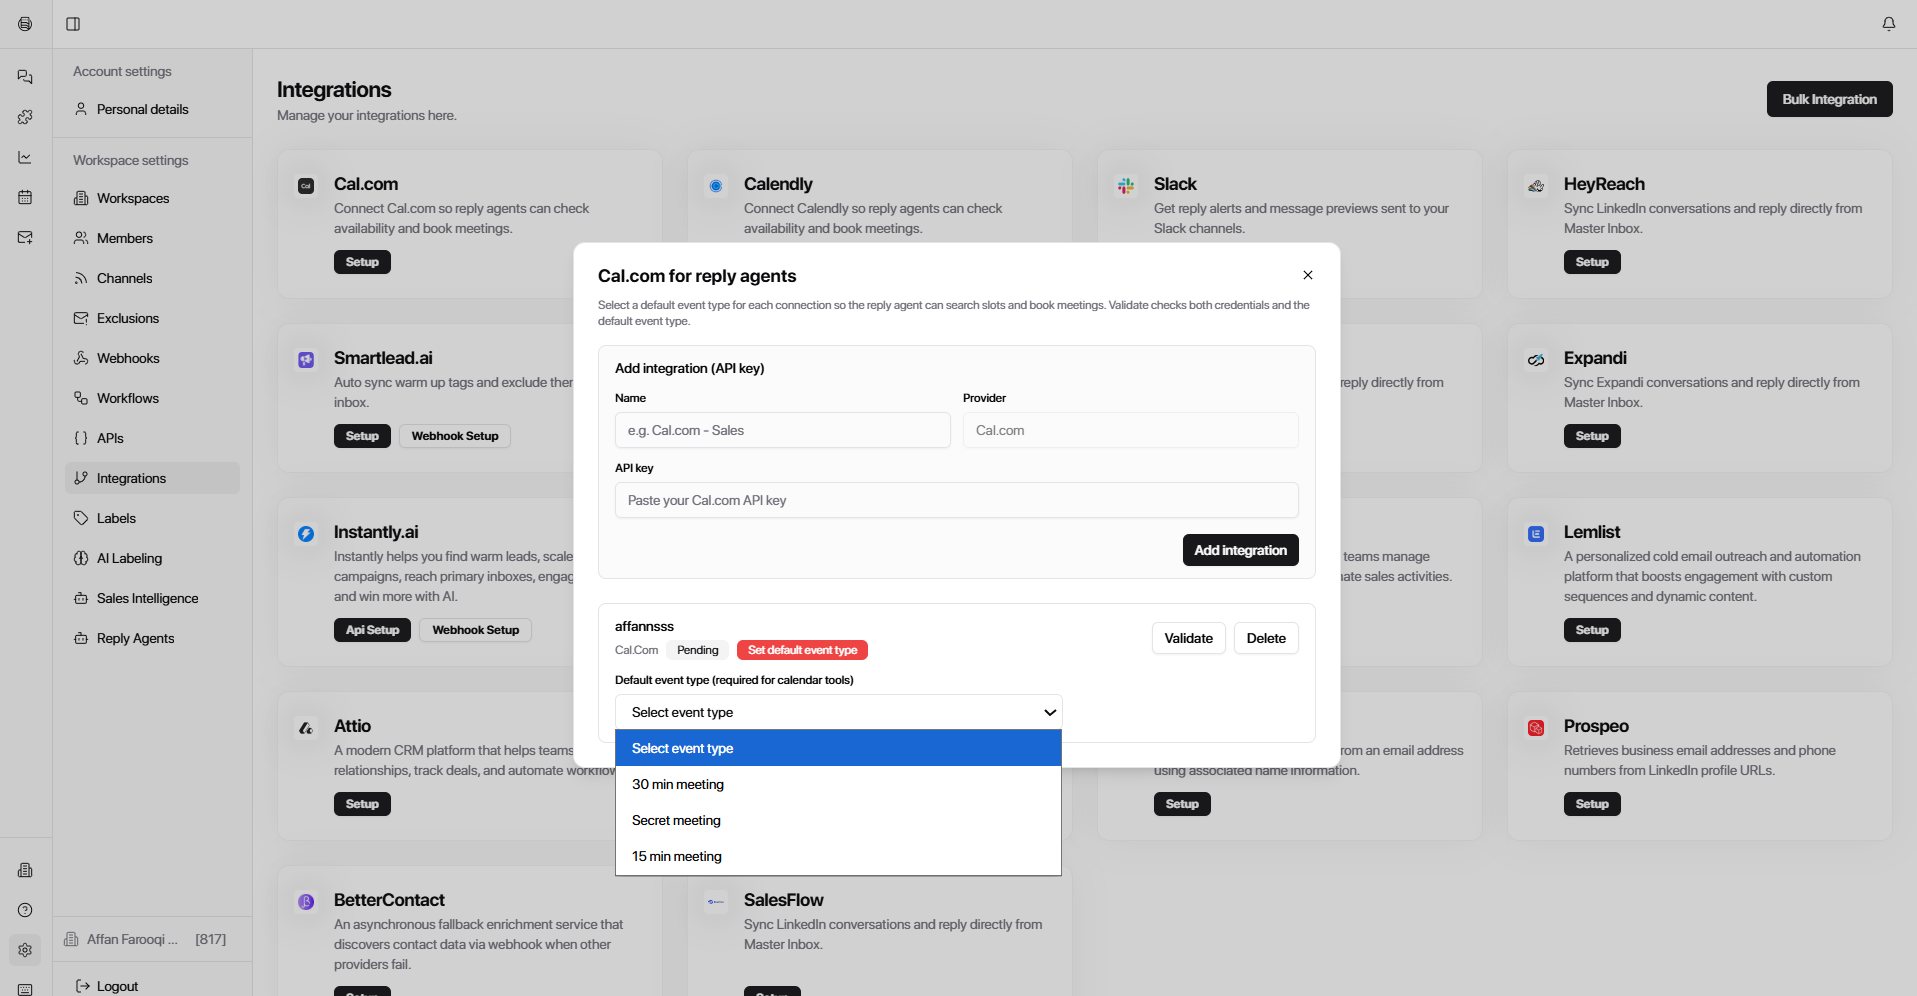
Click Validate
Once successful, you will see:
"Credentials and default event type are valid"
This confirms that your Cal.com integration is fully active.
Step 4: Access Your Booking Section
After activation:
Go to the Booking Section in Master Inbox
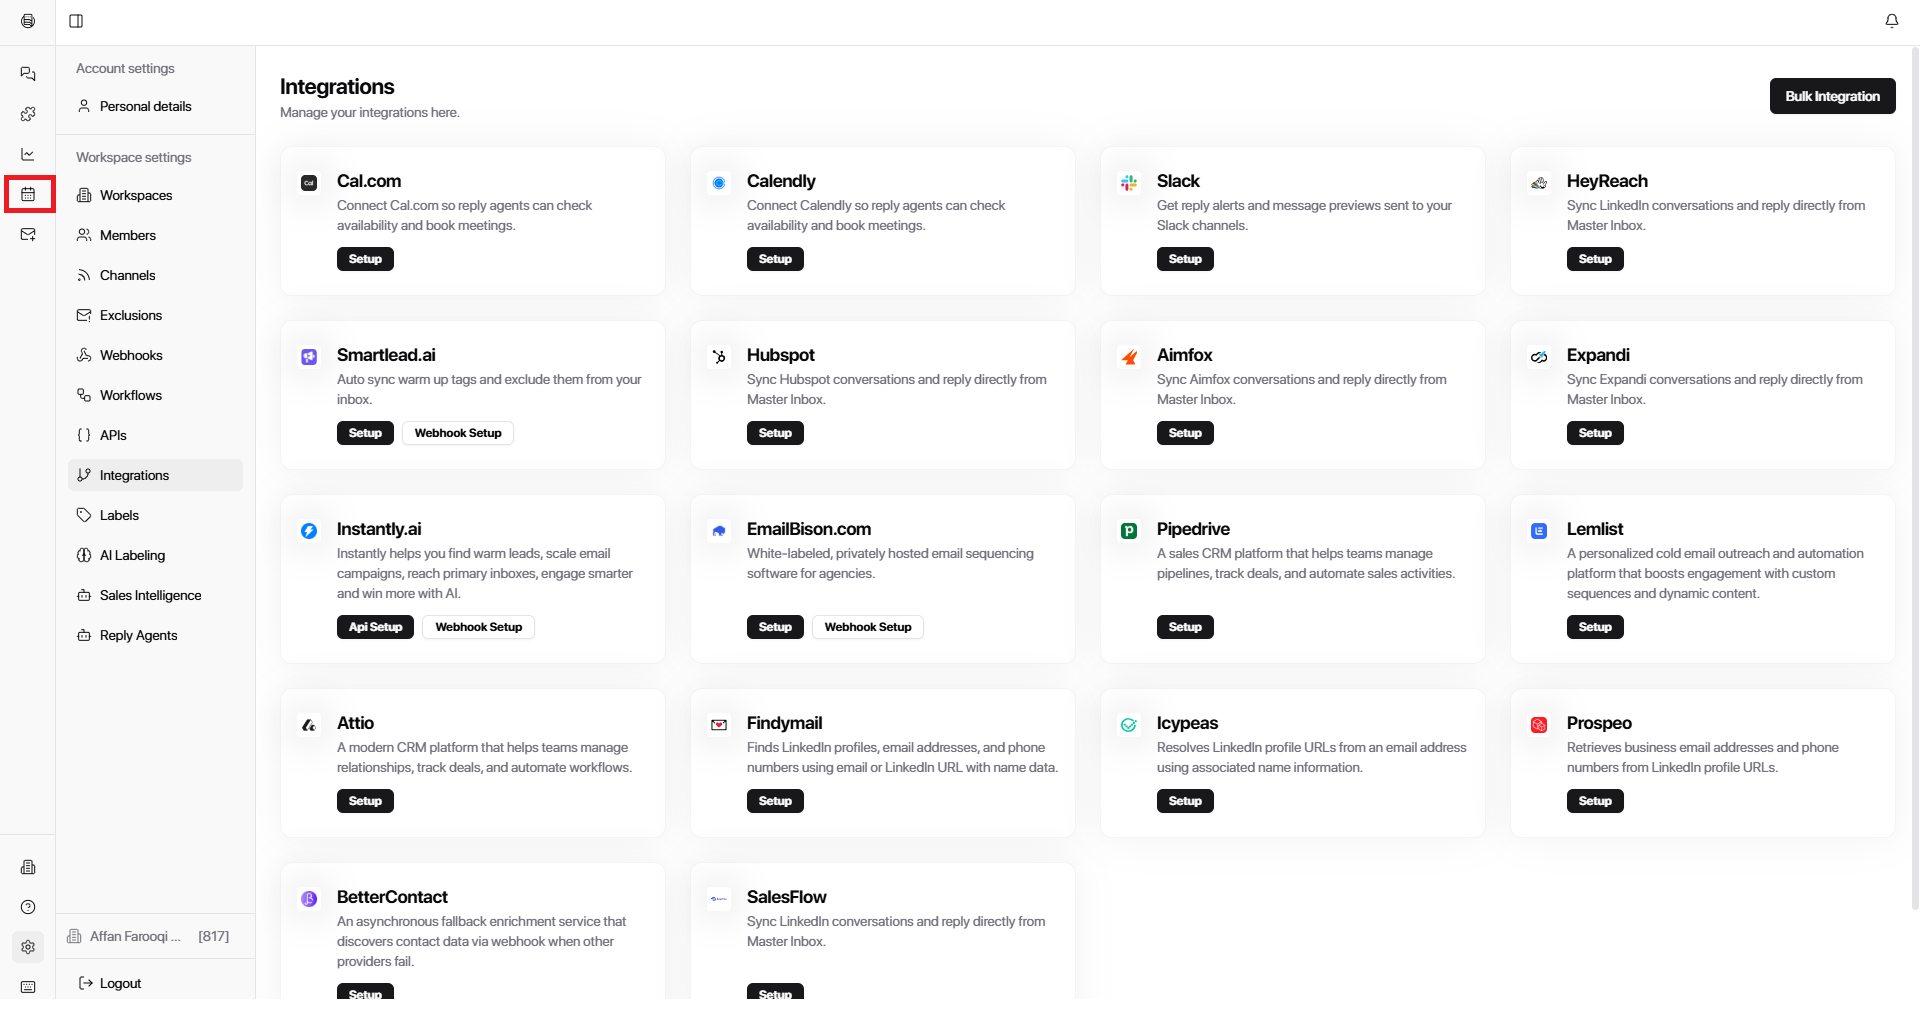
You will see your meeting list synced from Cal.com
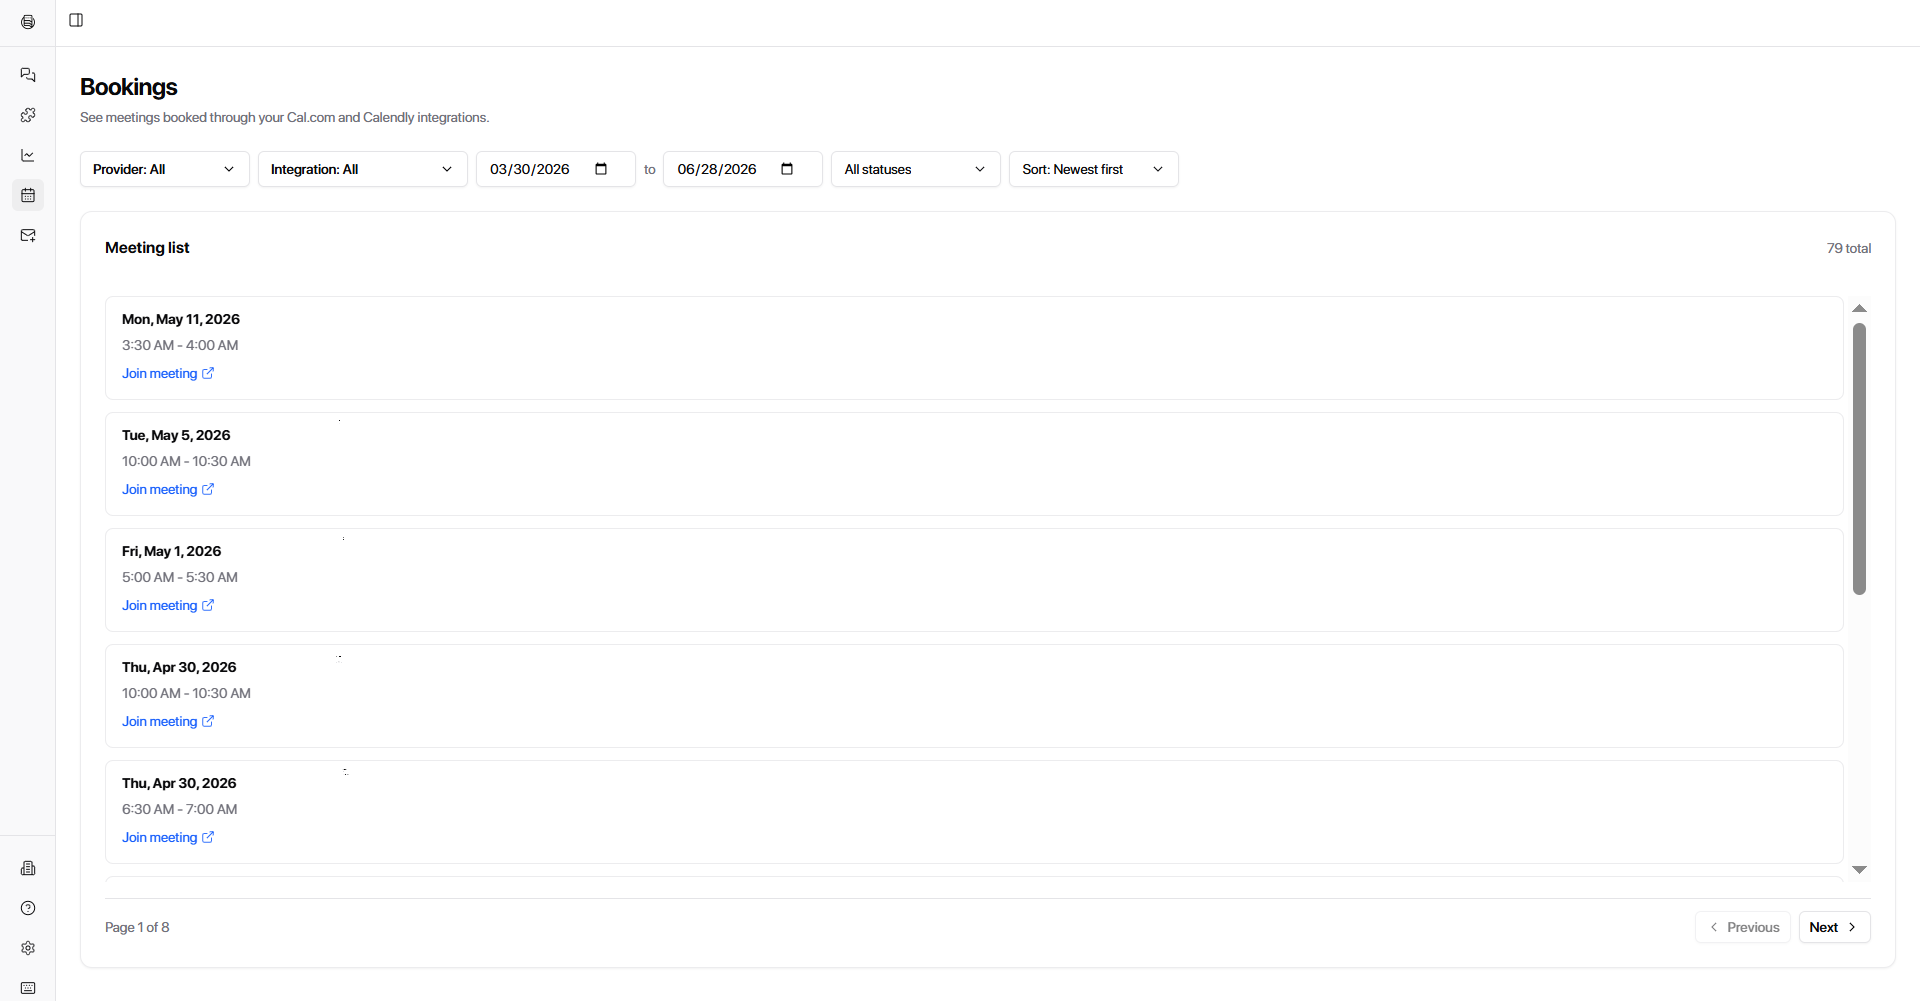
Booking Features Available
View all upcoming and past meetings
Filter by provider, date, and status
Join meetings directly from Master Inbox
Step 5: Use Filters for Better Management
Inside the booking section, you can filter meetings to manage your calendar efficiently:
Providers
Cal.com
Calendly (if connected)
Date Range
Custom date selection (e.g., 03/30/2026 – 06/28/2026)
Status Filters
Upcoming
Past
Canceled
Unconfirmed
Recurring
Sorting
Newest → Oldest
Other sorting options available
Step 6: Configure Reply Agent with Calendar Integration
To enable scheduling inside automated replies:
Go to Settings
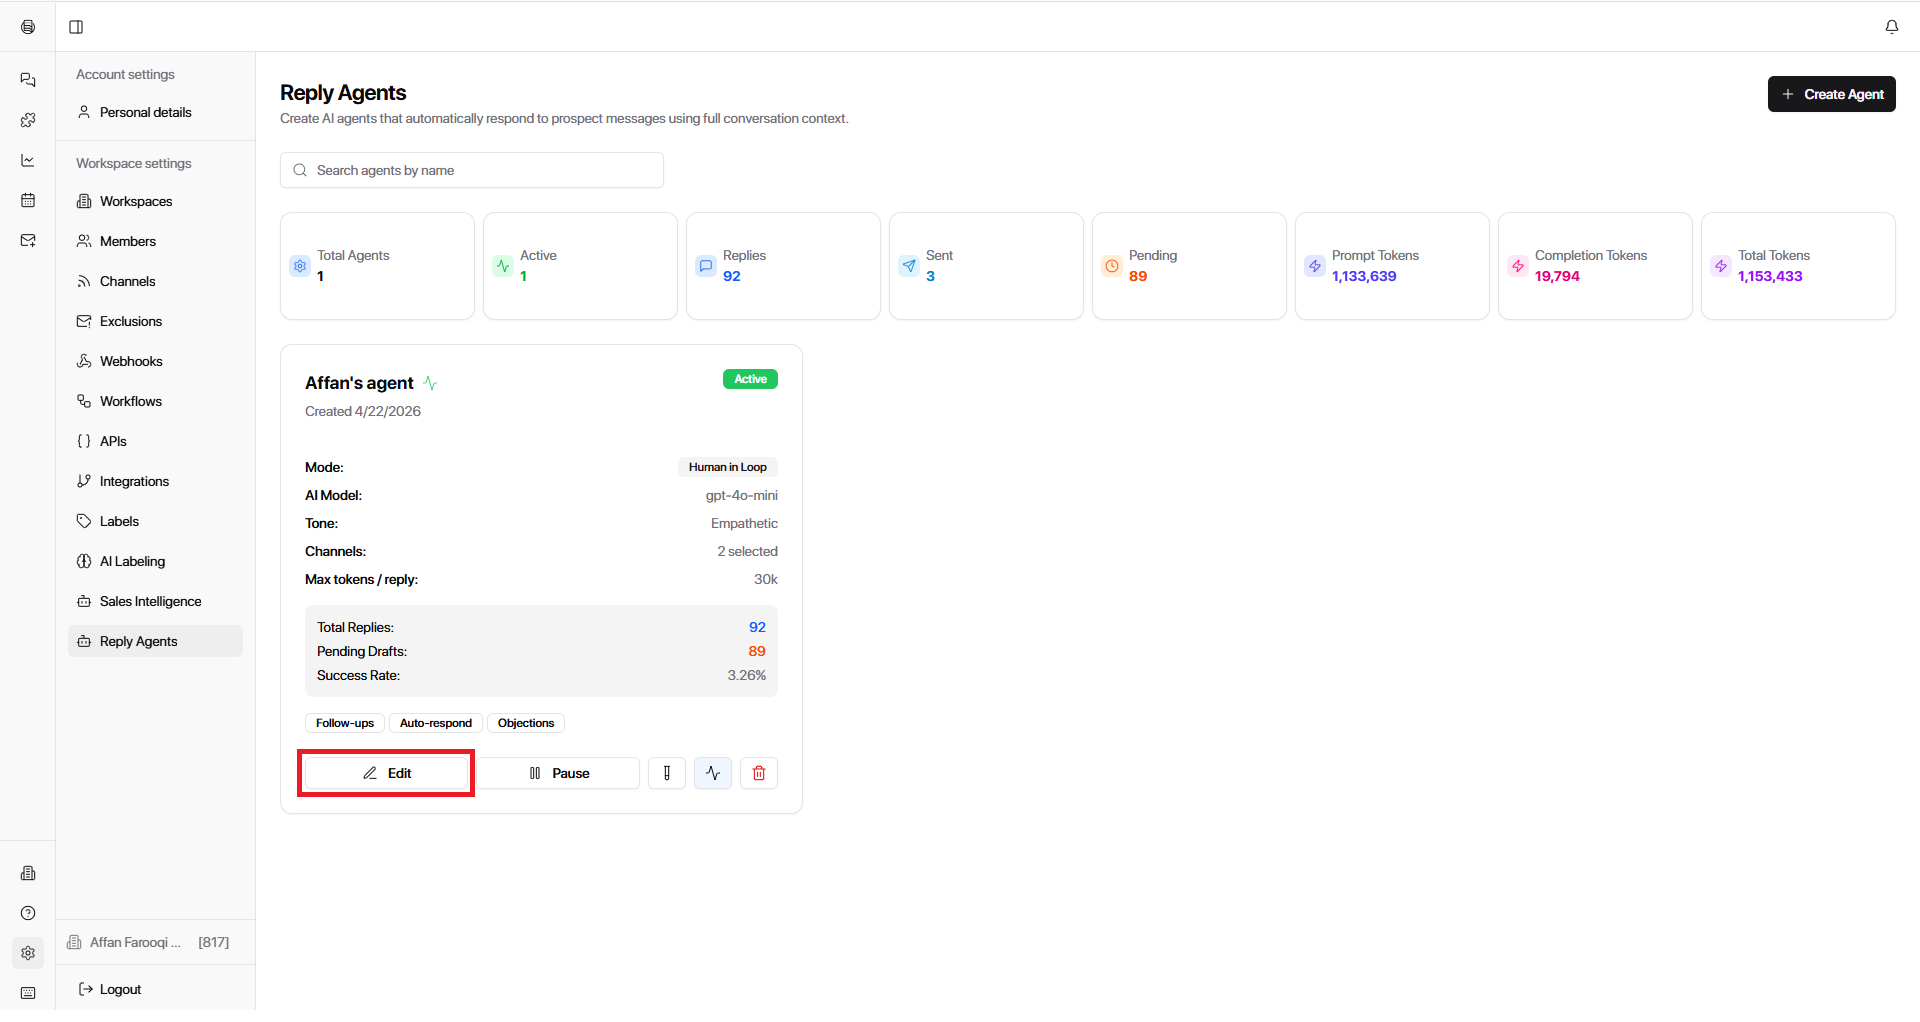
Open Reply Agent
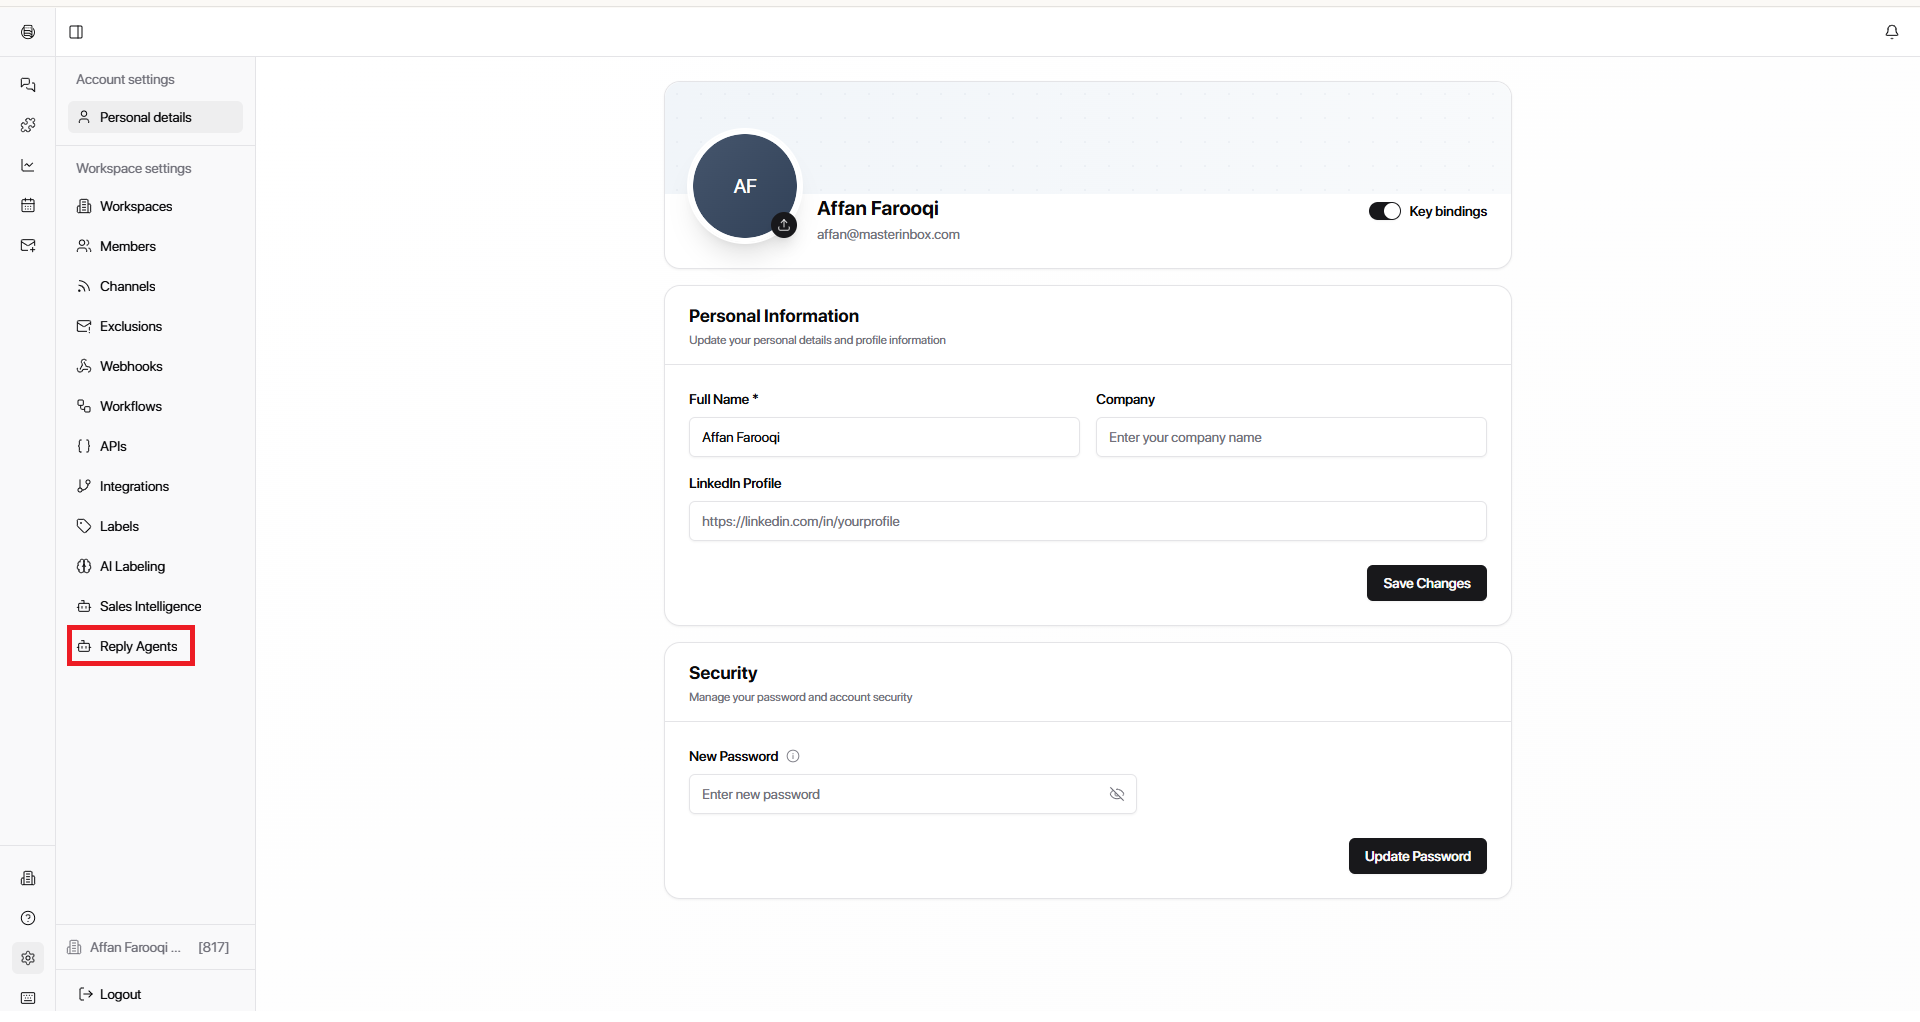
Click Edit
Scroll down and find Calendar Integration
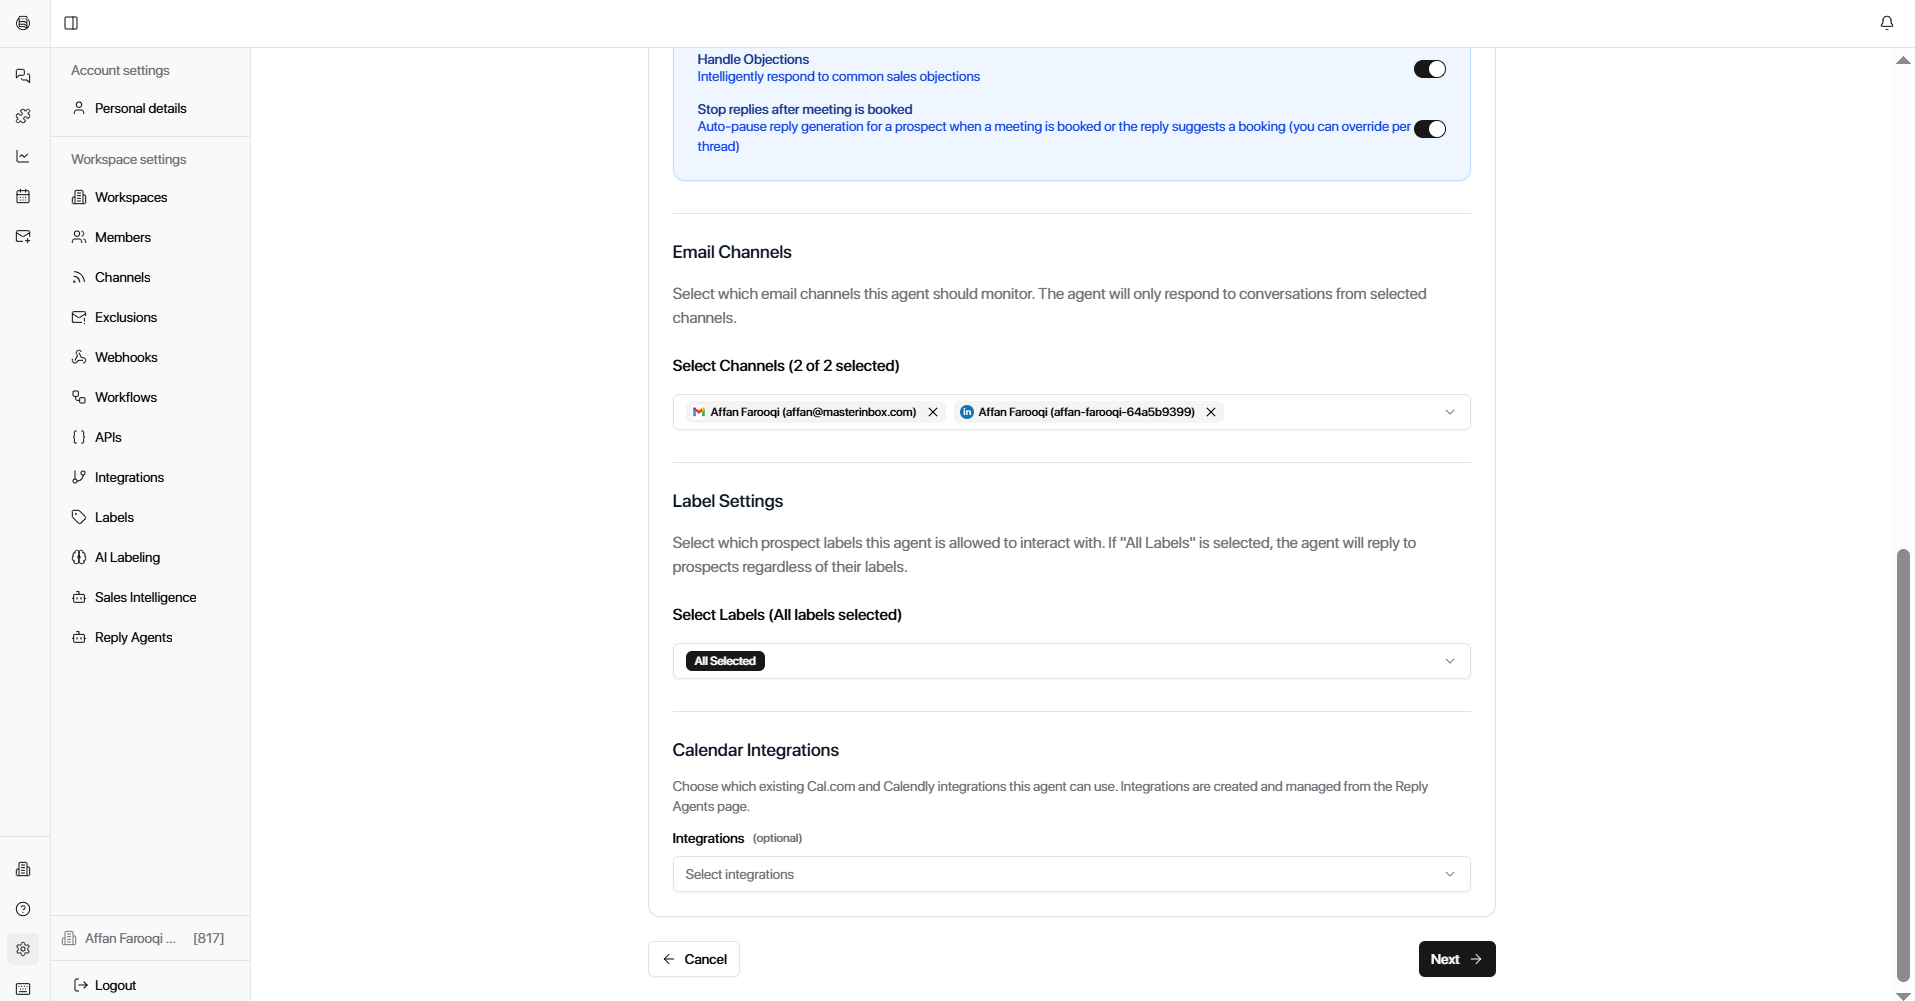
Select your connected Cal.com integration
Assign it to the agent
This allows the reply system to:
Suggest meeting times
Book meetings automatically
Use your connected calendar provider for scheduling
Final Result
Once fully configured:
Cal.com is connected to Master Inbox
Meetings sync automatically into your booking system
You can manage, filter, and join meetings in one place
Reply agents can schedule meetings using your calendar integration
Workflows can leverage this setup for automated scheduling logic
Your Cal.com integration is complete. Meetings will sync automatically and your reply agents can now schedule meetings using your connected calendar.