
Create AI Labeling
What you'll learn
In this guide, you'll learn what AI Labeling is, how to connect an AI provider, how to configure labeling options, and how to write a custom prompt for specialized workflows.
What is AI Labeling ?
AI Labeling automatically applies labels to incoming emails and messages by reading and understanding the intent of each message — no manual tagging needed.
Without AI Labeling
Every reply needs to be manually reviewed and tagged. At high volume, labels get missed, replies pile up, and your filters stop working correctly.
With AI Labeling
Each message is read, its intent is understood, and the most relevant label is applied automatically — keeping your inbox organized and your filters accurate without any manual work.
Steps
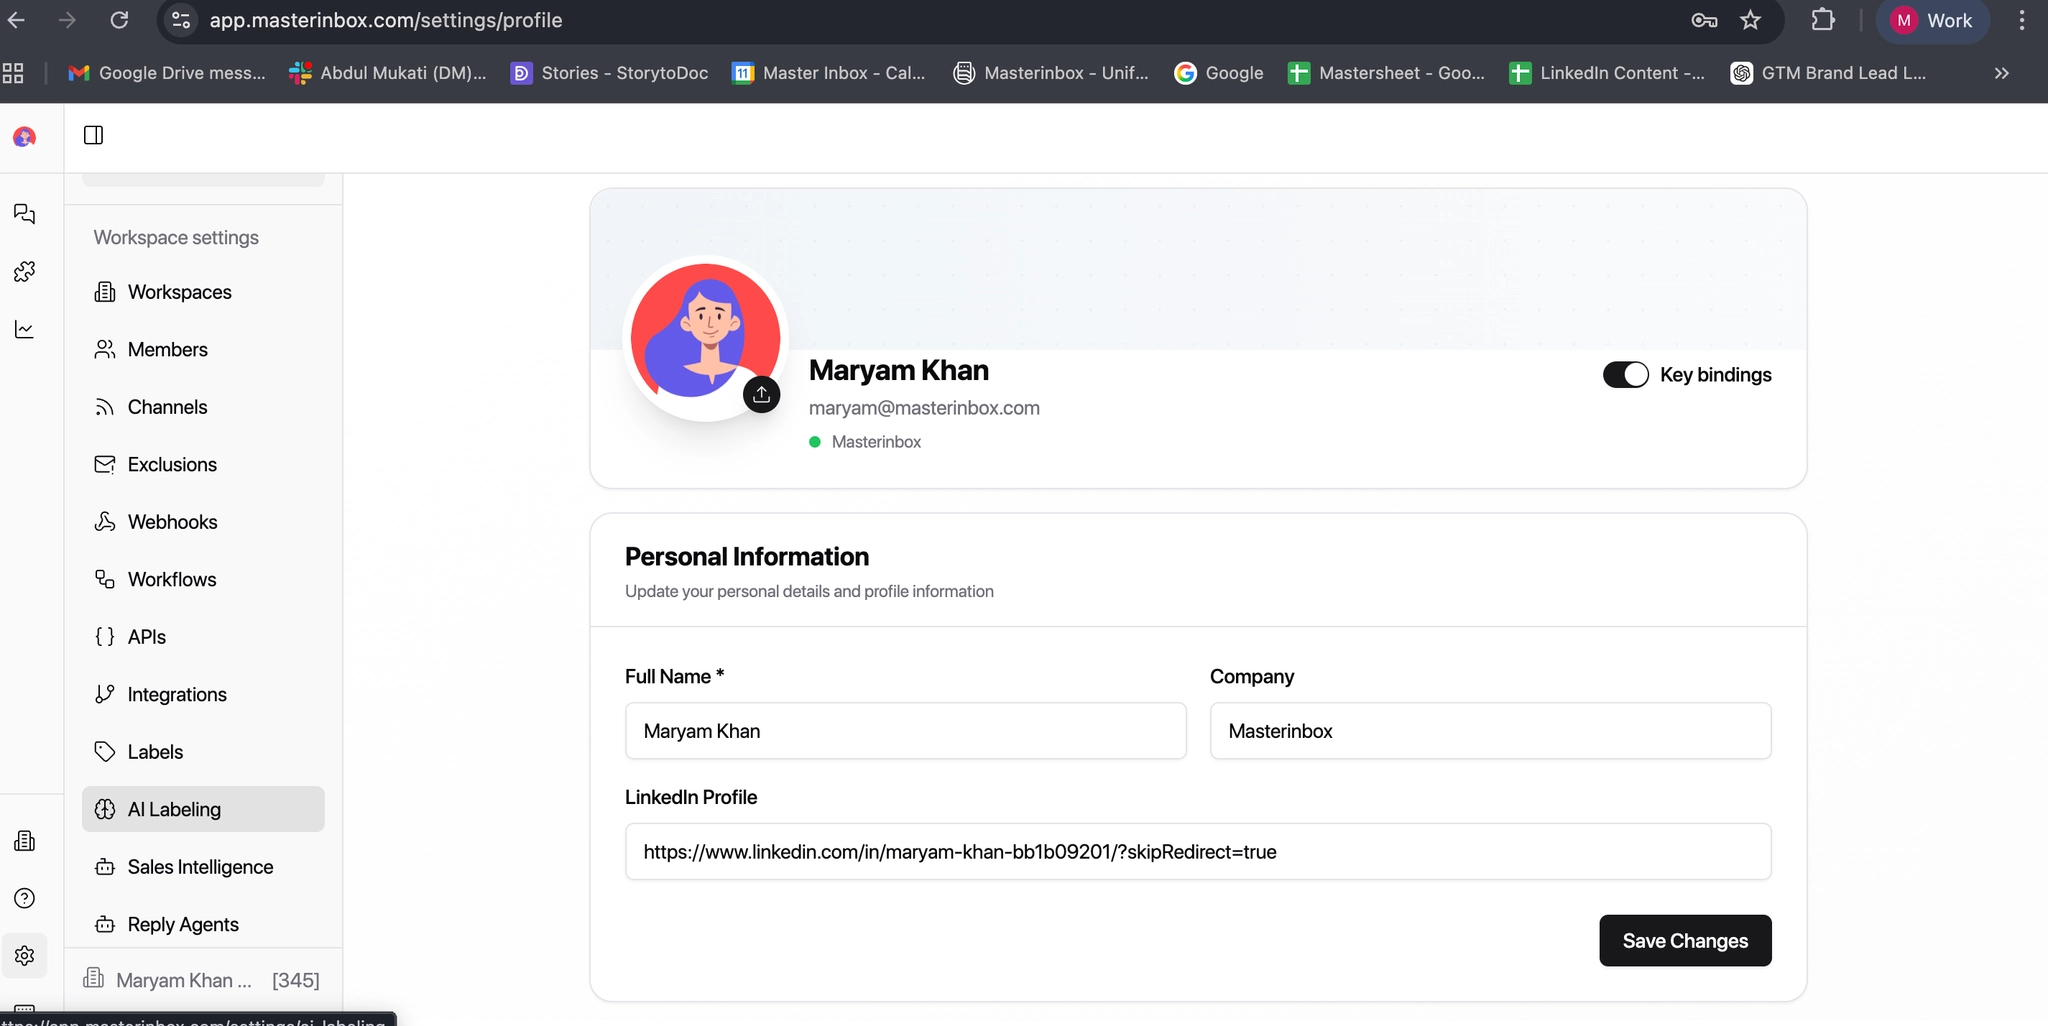
Go to Settings
Click on the AI Labeling icon
You will see a toggle:
Enable/disable AI labeling.
Turn it ON.
AI Labeling requires two things to function: the AI Labeling toggle must be turned ON and a valid OpenAI API key must be provided. Without both in place, no labeling will occur regardless of how your labels or prompt are configured.
Select an AI Provider
An AI Provider is the service that supplies the intelligence behind AI Labeling.
You are not creating an AI — you are connecting an existing AI model to your inbox. AI Labeling is the feature; the AI Provider is what actually understands and classifies the messages.
OpenAI
Requires an OpenAI API key. Recommended model: GPT-4o Mini — best for fast, accurate, and cost-efficient labeling.OpenRouter
Requires an OpenRouter API key. Recommended models: Claude 3.5 Sonnet or Mistral Large — optimized for intent detection and classification.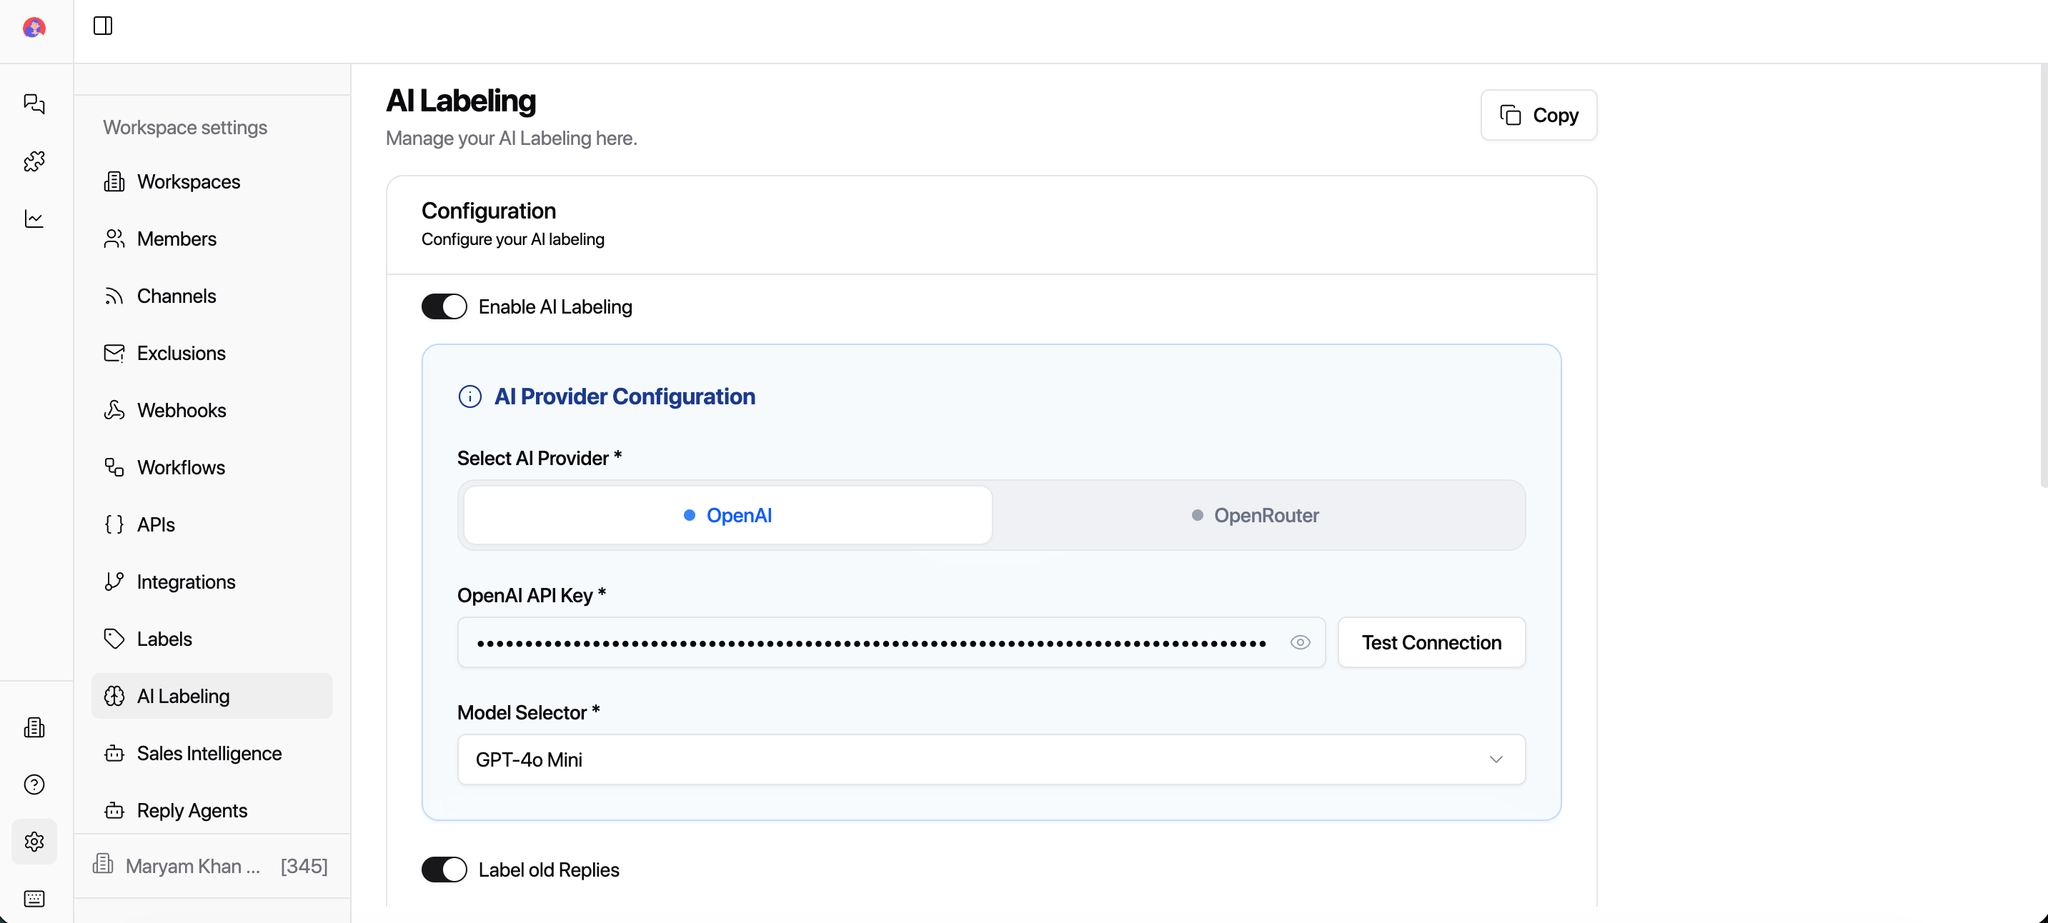
Select the AI Model
OpenAI → Select GPT-4o Mini (recommended)
OpenRouter → Select Claude 3.5 Sonnet or Mistral Large
These models are optimized for intent detection and classification.
Default Labels vs Custom Prompt
If the Custom Prompt toggle is OFF, the system uses the default prompt and your selected default labels. If the Custom Prompt toggle is ON, your custom instructions take over completely. The two do not run simultaneously.
Default Labels (No Custom Prompt)
Master Inbox uses its built-in prompt and your selected default labels to classify messages automatically. Works out of the box for standard email workflows — no additional setup needed beyond selecting which labels to enable.
Custom Prompt
You write your own labeling instructions that override the default prompt. Use this when your workflow has specific terminology, your agency uses custom label names, or different clients need different labeling logic.
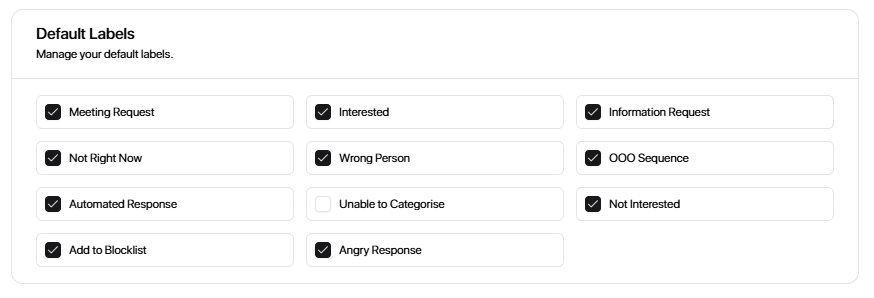
Available Default Labels
Go to Settings → AI Labeling → Manage Default Labels and toggle on the labels relevant to your workflow.
Positive Intent
Interested — prospect shows buying intent or wants to learn more
Meeting Request — prospect asks to book a call or schedule time
Information Request — prospect asks a question or requests details
Neutral / Timing
Not Right Now — prospect is open but not ready yet
OOO Sequence — prospect is out of office
Automated Response — reply is from an auto-responder, not a human
Negative Intent
Not Interested — prospect clearly declines further contact
Angry Response — prospect replies with frustration or hostility
Add to Block List — prospect asks to be removed or unsubscribed
Other
Wrong Person — reply indicates the message reached the wrong contact
Unable to Categorize — intent is unclear and doesn't match any label
Only enable the default labels your workflow actually uses. Enabling all of them when you don't have filters or workflows built around each one adds unnecessary noise to your inbox.
How the Default Prompt Interprets Intent
When running on default labels, the system reads the intent of each message and assigns the closest matching label automatically. Here's how it works in practice:
Add to Block List
Triggered when a prospect says things like "remove me", "unsubscribe", "stop emailing me", or any opt-out request. Treated as a hard stop — no further outreach should reach this contact.
Not Interested
Triggered when a prospect says things like "not interested", "I don't want this", "no thanks", or similar rejections that don't explicitly ask to be removed. This is a soft no — different from Add to Block List.
Meeting Request
Triggered when a prospect says things like "I want to book a call", "send me your availability", "let's schedule something", or any message indicating they want to meet. High-intent — should always be prioritized for a reply.
Interested
Triggered when a prospect shows buying intent or responds positively to outreach without explicitly requesting a meeting yet.
Automated Response
Triggered when the system detects the reply is from an auto-responder — such as an out-of-office server message — rather than a real human reply.
Angry Response
Triggered when the tone of the message is hostile or frustrated — even if the prospect doesn't explicitly ask to be removed.
Wrong Person
Triggered when the reply indicates the outreach reached the wrong contact — for example: "I think you have the wrong person" or "this isn't my area."
Unable to Categorize
Triggered when the system cannot confidently match the message to any available label. Review these manually to catch anything the AI couldn't classify.
Choose What You Want to Label
Toggle the options based on your needs:
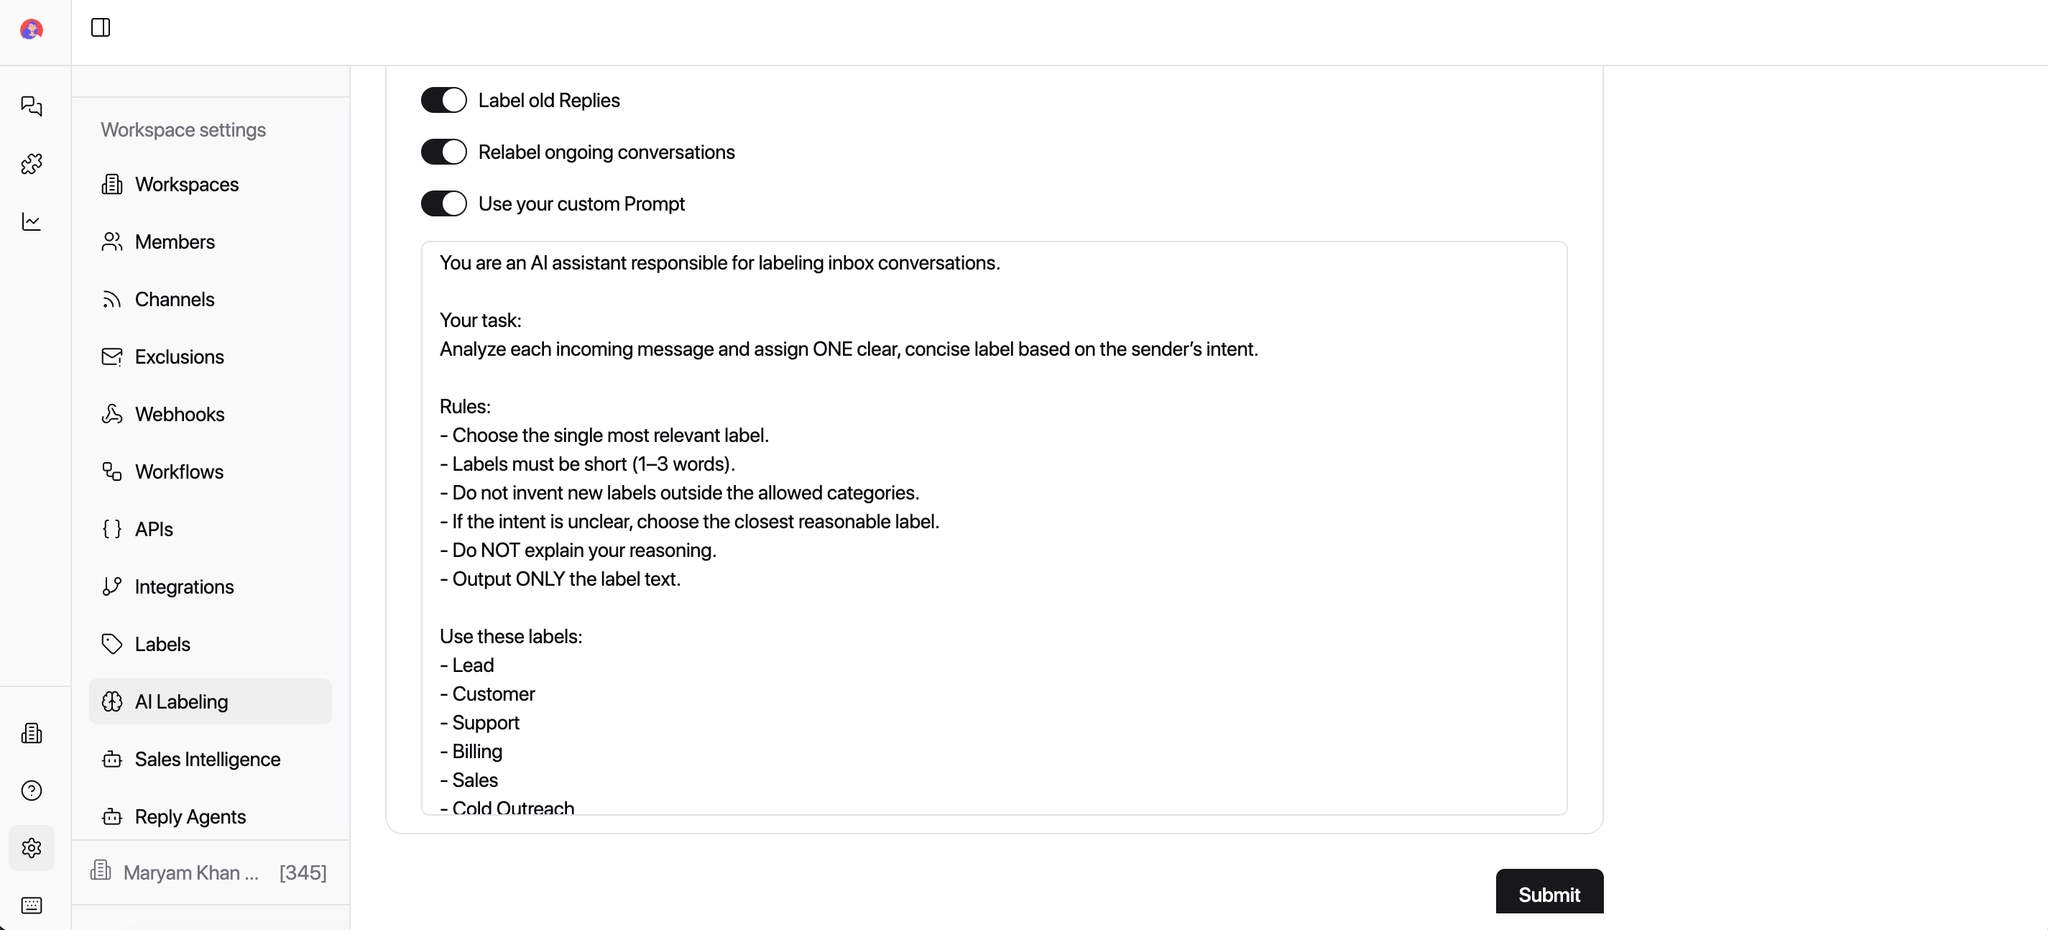
Label Old Replies
Keep this toggle ON to apply AI labels to existing messages already in your inbox — not just new ones going forward.
Relabel Ongoing Conversations
Keep this toggle ON to update labels automatically as conversations evolve. Useful when a prospect's intent changes over time.
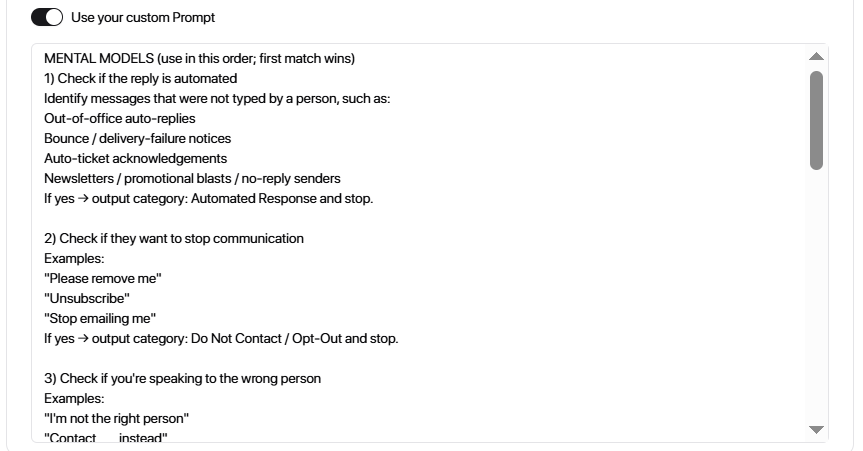
Use Your Custom Prompt (Optional)
You can define your own labeling rules and logic by creating a custom prompt. This step is completely optional — you can toggle it off if you don't need it.
Master Inbox already comes with a default labeling prompt that works out of the box for standard email workflows. You only need a custom prompt if your workflow has specific requirements — such as LinkedIn outreach or specialized labeling logic.
When to use a custom prompt:
You want labels applied based on your internal workflows
Your agency uses custom terminology (e.g. Qualified, Demo Booked, Not ICP)
You're running LinkedIn outreach with different intent patterns
Different clients need different labeling logic
The Mental Model
We have already added here our mental model: this is the way you think about and organize your labeling rules. Essentially, it’s the framework you use to decide which messages get which labels, helping Master Inbox automatically categorize conversations in the way that makes sense for your team.
Add a Custom Labeling Prompt
To get accurate labeling, your prompt needs to cover five things clearly. The clearer your instructions, the more accurate the labeling will be.
The Task
What should the AI do? Example: Analyze each incoming message and assign ONE clear, concise label based on the sender's intent.
Allowed Labels
List the exact labels the AI is permitted to use. It must not invent new ones outside this list.
The Rules
One label only. No explanations. No new labels invented. If intent is unclear, choose the closest reasonable match. Output only the label text.
Context to Consider
Message content, tone and urgency, whether the sender is new or part of an existing conversation, and any questions, requests, or actions being asked.
Output Format
Label only. No punctuation. No extra text. Clean output that maps directly to your label list.
AI Labeling Prompt Example
You are an AI assistant responsible for labeling inbox conversations.
Your task:
Analyze each incoming message and assign ONE clear, concise label based on the sender’s intent.
Rules:
Choose the single most relevant label.
Labels must be short (1–3 words).
Do not invent new labels outside the allowed categories.
If the intent is unclear, choose the closest reasonable label.
Do NOT explain your reasoning.
Output ONLY the label text.
Use these labels:
Lead
Customer
Support
Billing
Sales
Cold Outreach
Partnership
Spam
Follow Up
Internal
Feedback
Other
Context to consider:
Message content
Tone and urgency
Whether the sender is new or part of an existing conversation
Questions, requests, or actions being asked
Output format:
Label only. No punctuation. No extra text.
Once saved, AI Labeling will read every incoming message, understand its intent, apply the correct label automatically, and keep your inbox organized — without any manual work.
Related: How to Create a Label — Learn how to manually create and manage labels in your workspace.