
Connect Zapmail Inboxes to MasterInbox
This guide is for users who have existing Zapmail mailboxes and want to export them into MasterInbox. You'll need access to your Zapmail account and your MasterInbox billing admin credentials before starting.
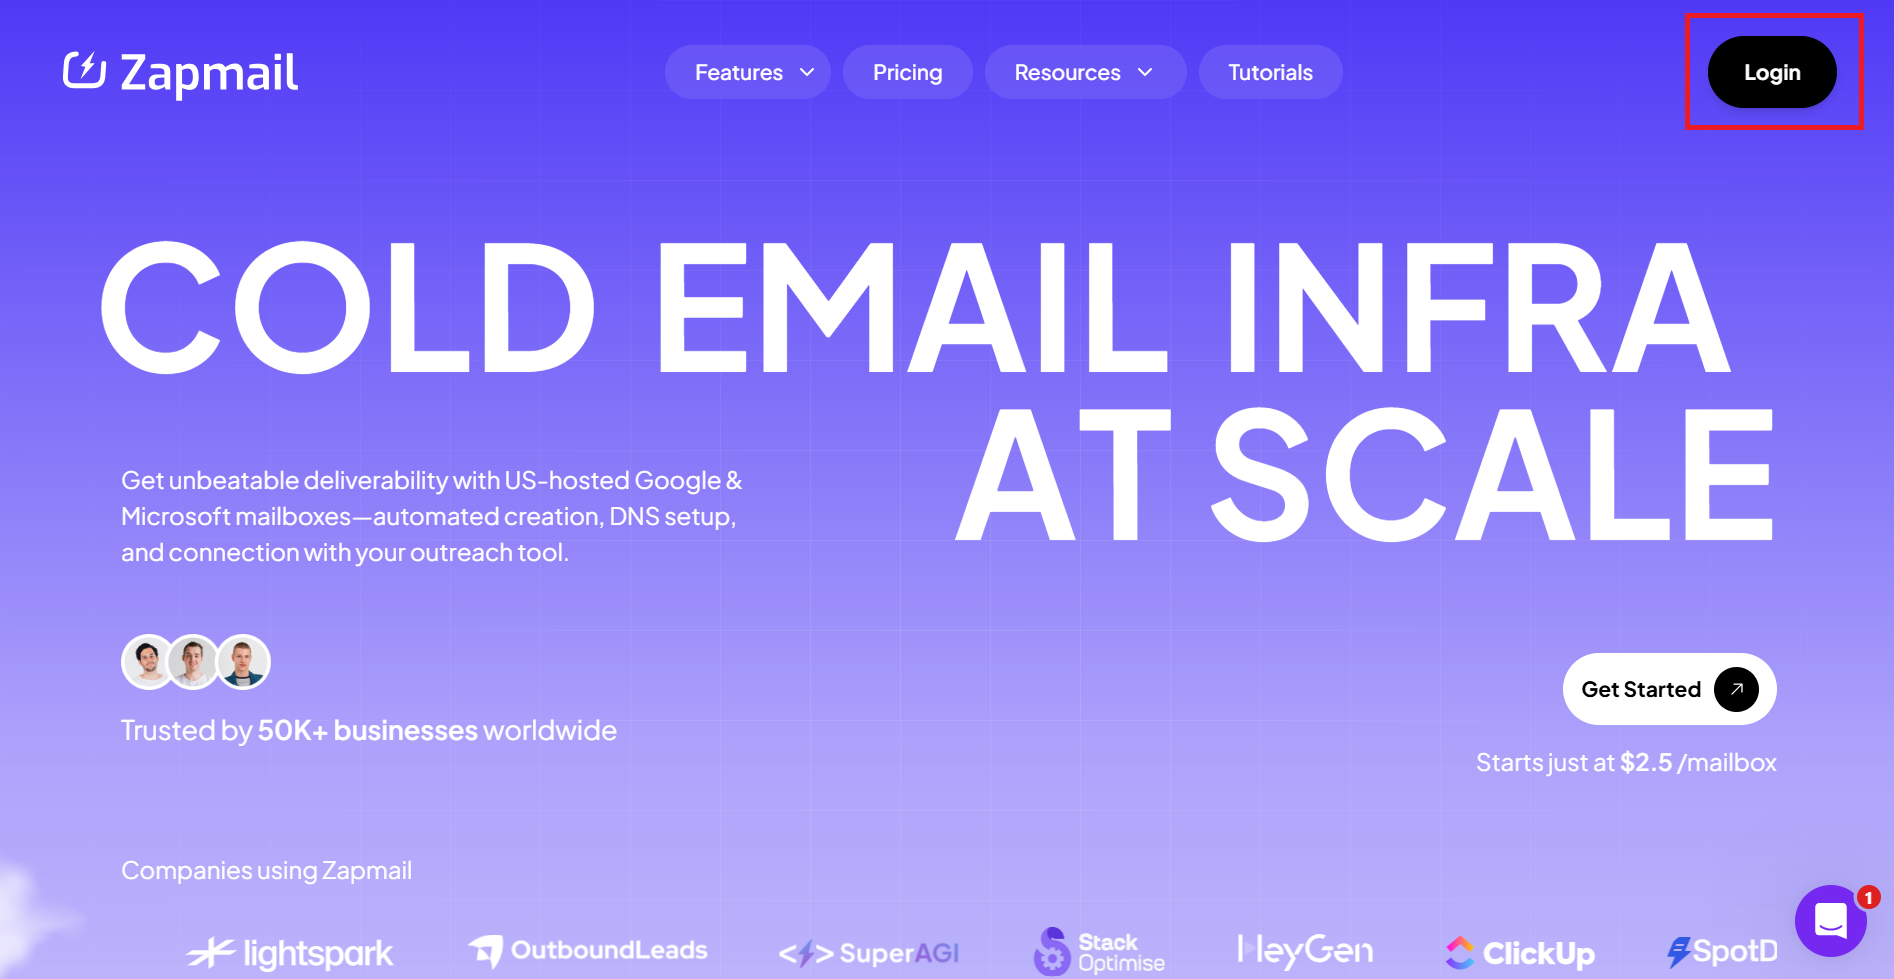
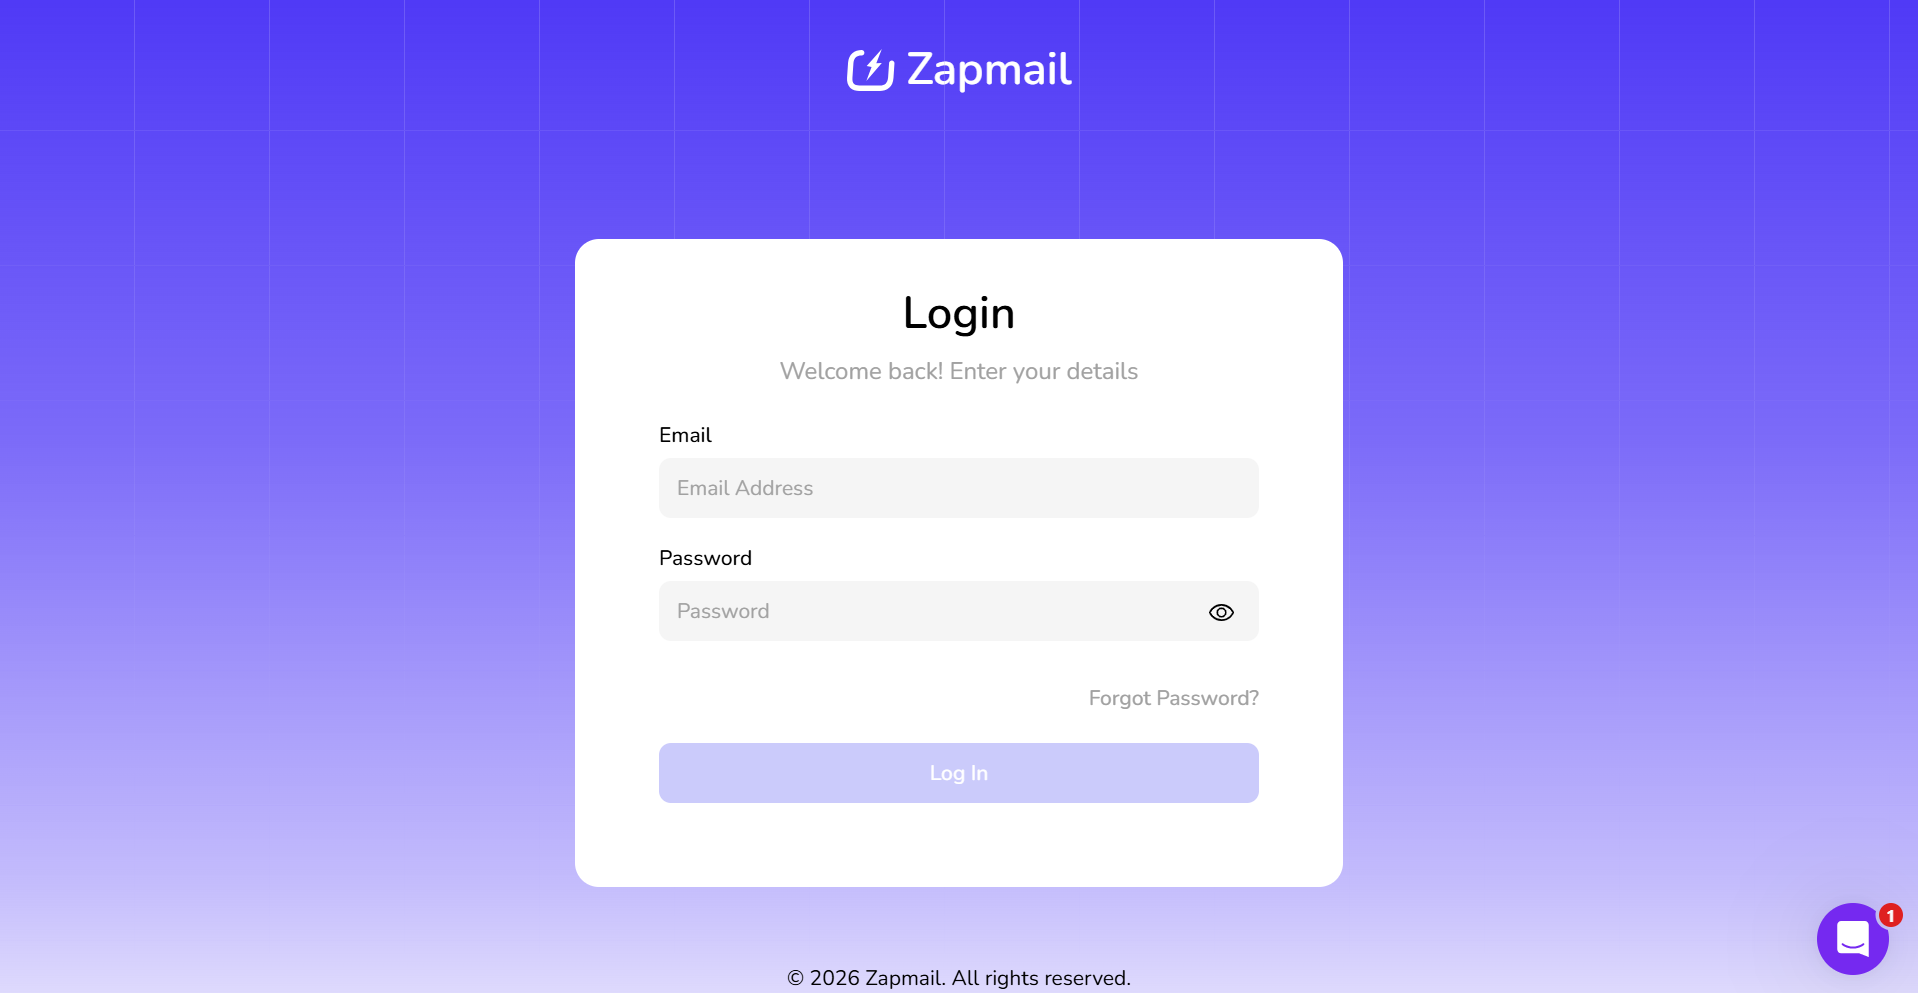
Step 1: Log in to Zapmail
Go to Zapmail and log in with your credentials.
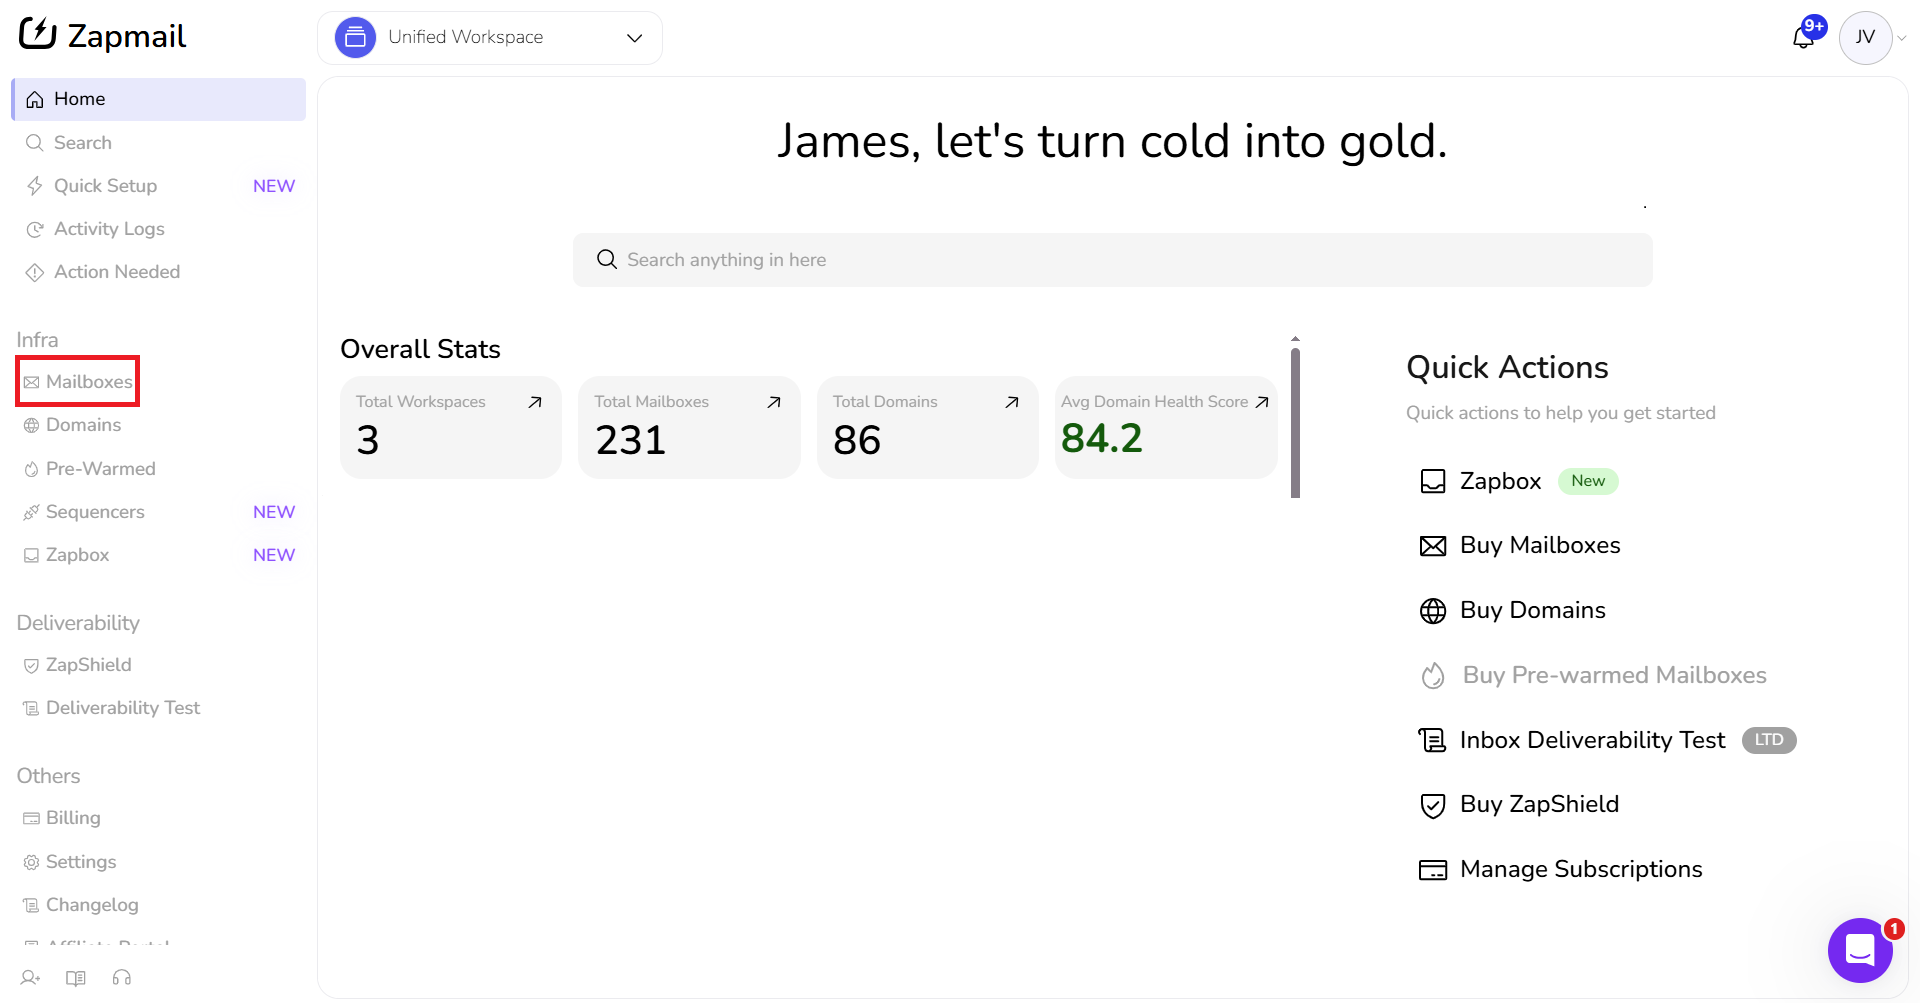
Step 2: Navigate to Mailboxes
After logging in, go to the left sidebar and navigate to:
Infra → Mailboxes → Assigned
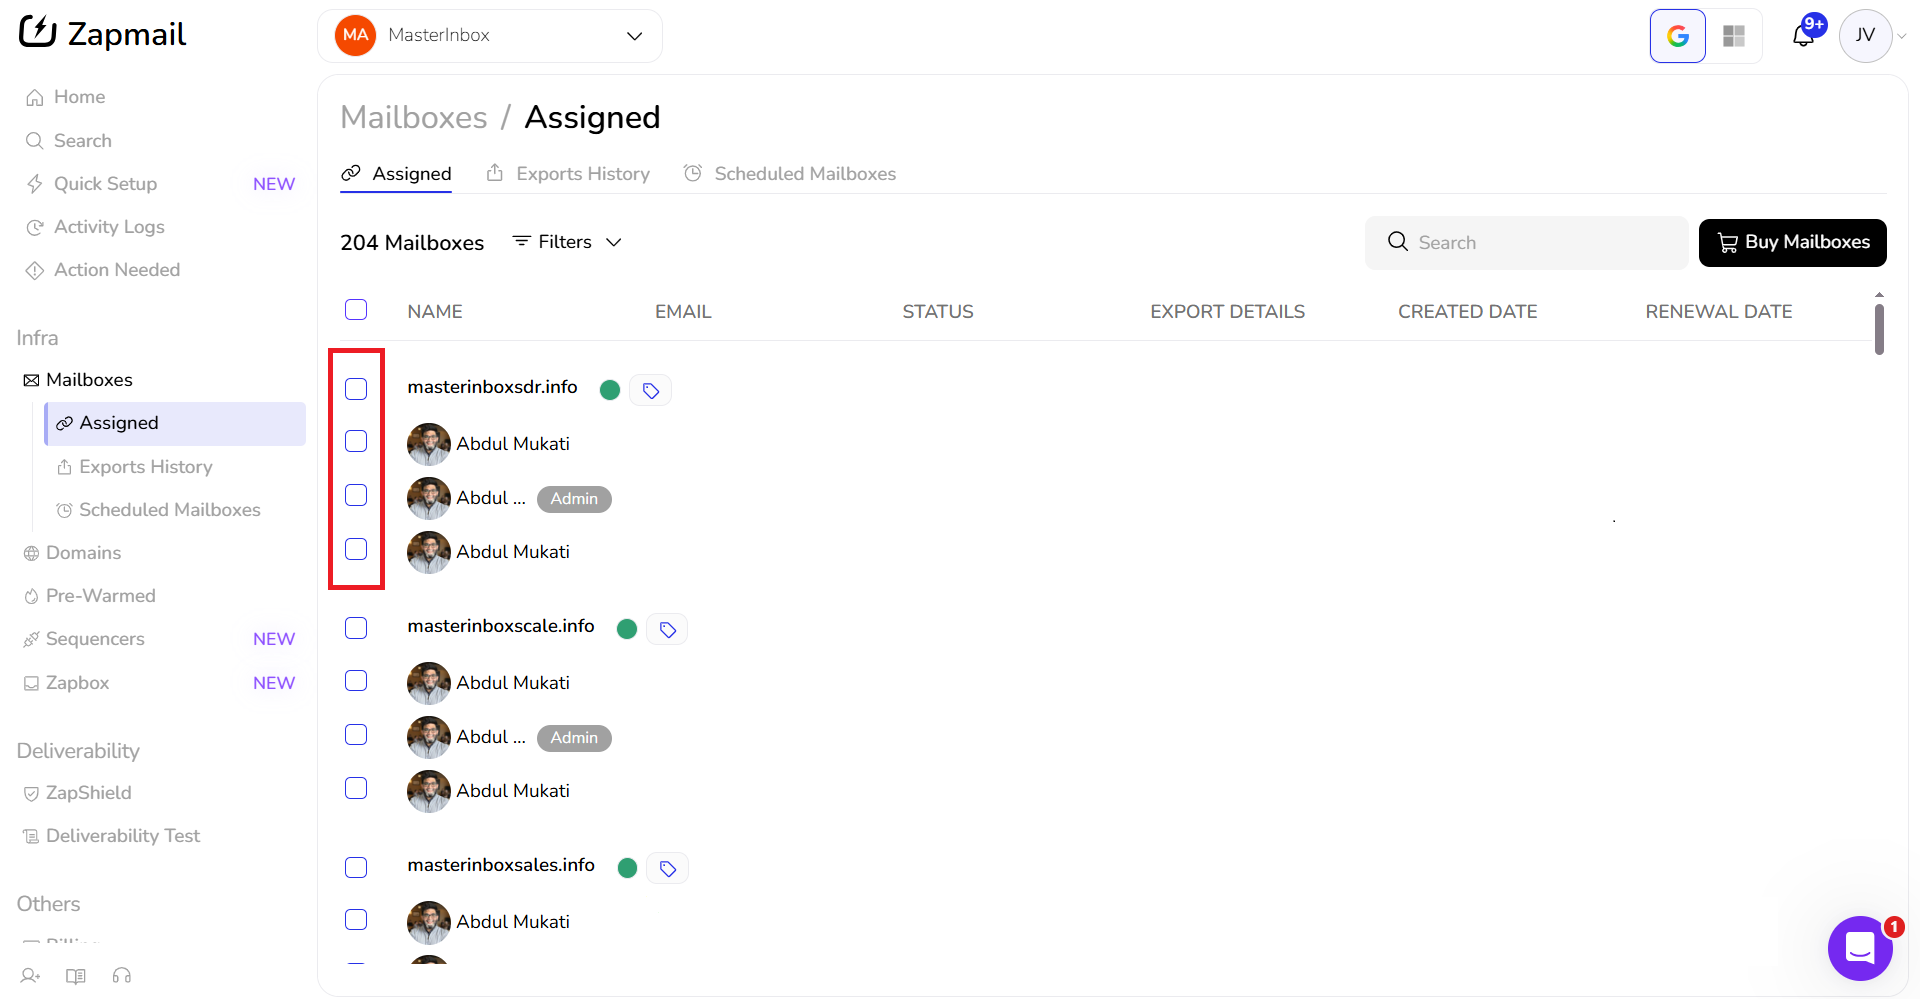
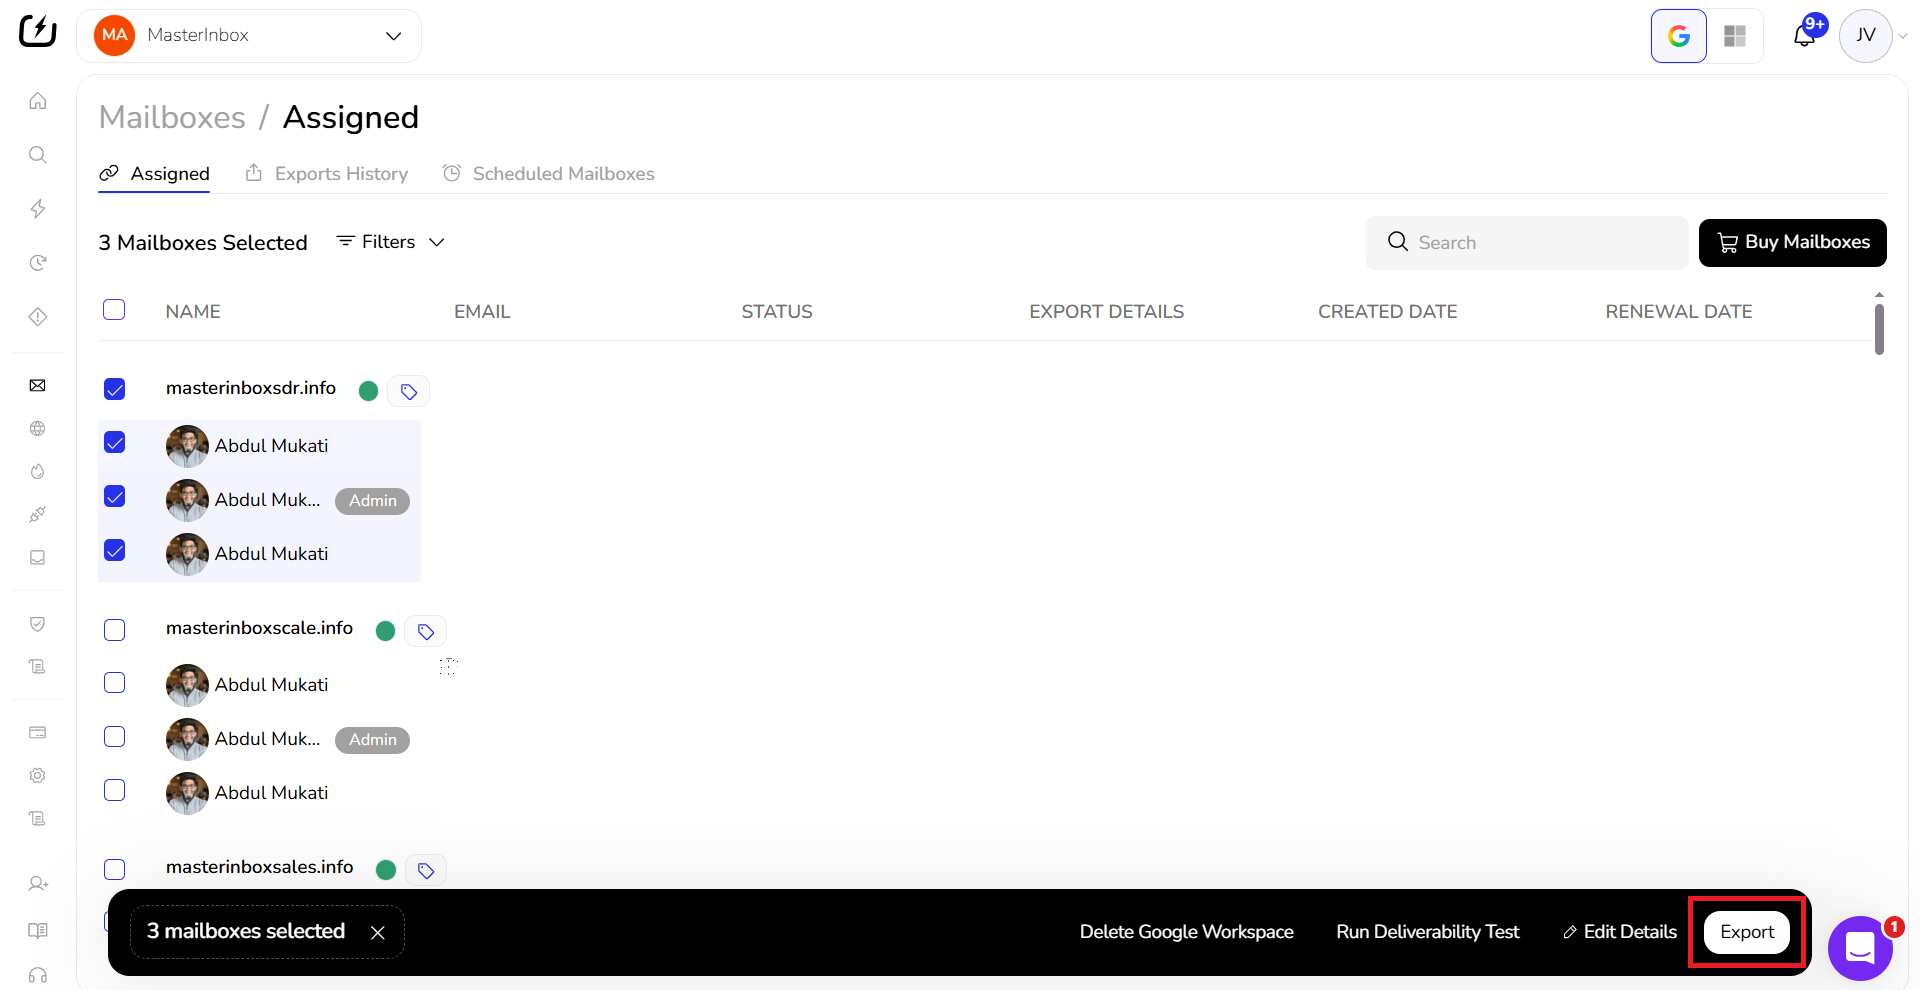
Step 3: Select the Mailboxes You Want to Export In the Mailboxes / Assigned view, check the boxes next to the mailboxes you want to export. You can select one or multiple.
You can select all mailboxes at once using the checkbox at the top of the list if you want to export everything.

Step 4: Click Export Once your mailboxes are selected, click the Export button at the bottom right of the screen.
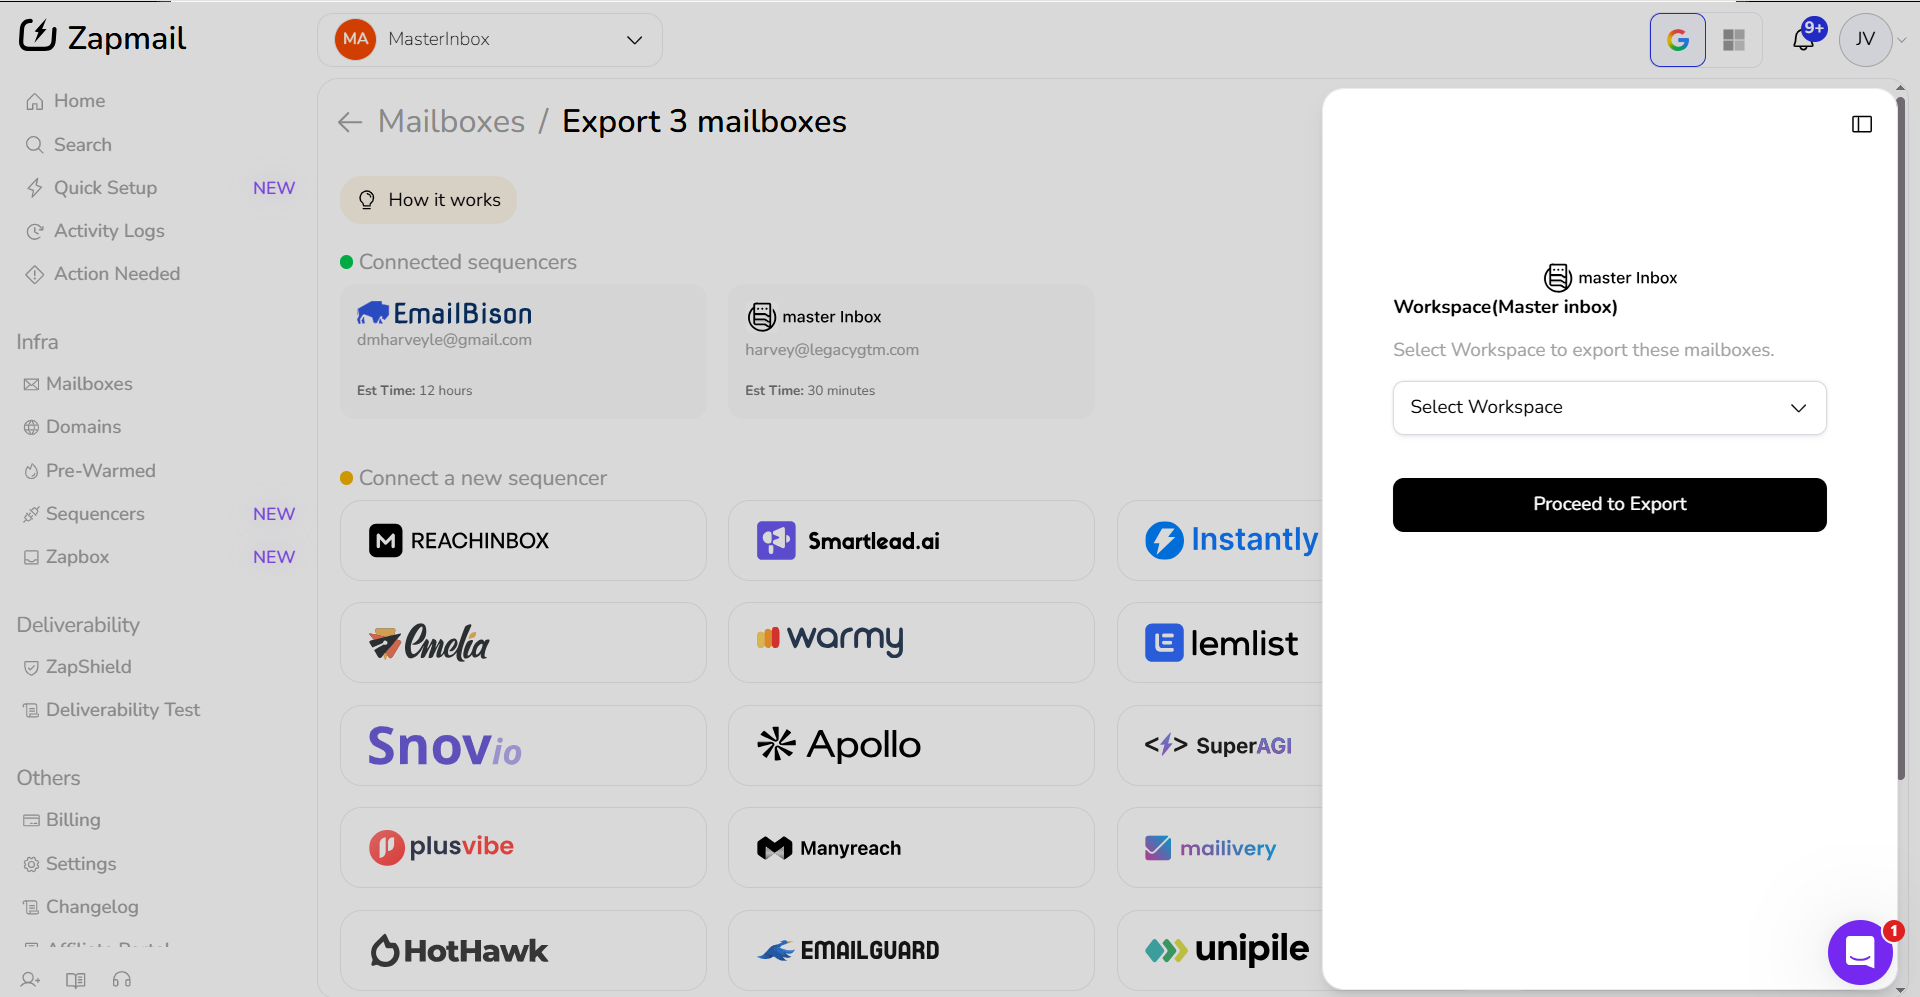
Step 5: Choose MasterInbox as the Destination In the export window, select MasterInbox from the list of available destinations.
Step 6: Log In with Billing Admin Credentials If prompted, log in using your MasterInbox billing admin credentials and authenticate the connection.
Make sure you're logging in with the billing admin account, not a regular team member account. Using the wrong credentials will cause the authentication to fail
Step 7: Select Your Workspace and Complete the Export
Select the workspace you want to export your mailboxes to
Click Proceed to Export
Your Zapmail mailboxes will now appear inside the selected MasterInbox workspace. If they don't show up immediately, refresh the page and check your workspace inbox.