
HubSpot Integration
In this guide, you'll learn how to connect HubSpot to Master Inbox, authorize access, configure channel and event sync settings, and map labels so your CRM stays up to date automatically.
1. Open HubSpot Integration
In MasterInbox, navigate to Setup → Integrations → HubSpot

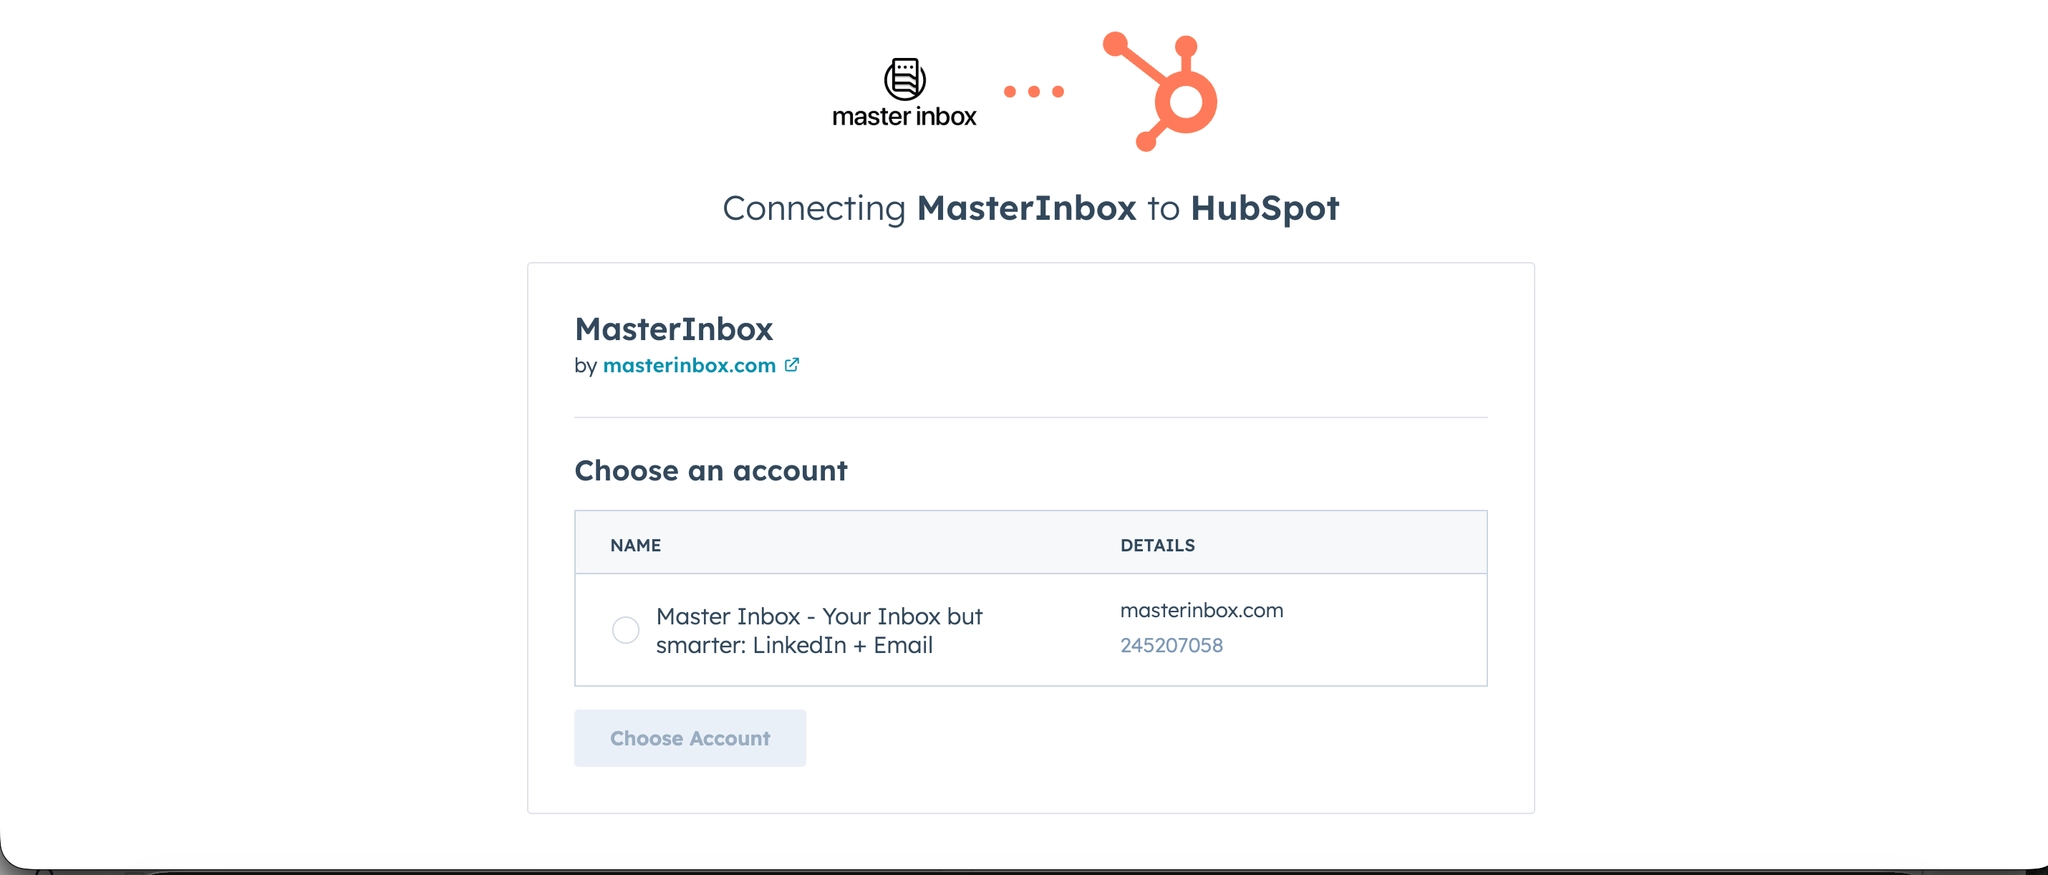
2. Connect Your HubSpot Account
Click on your HubSpot account.
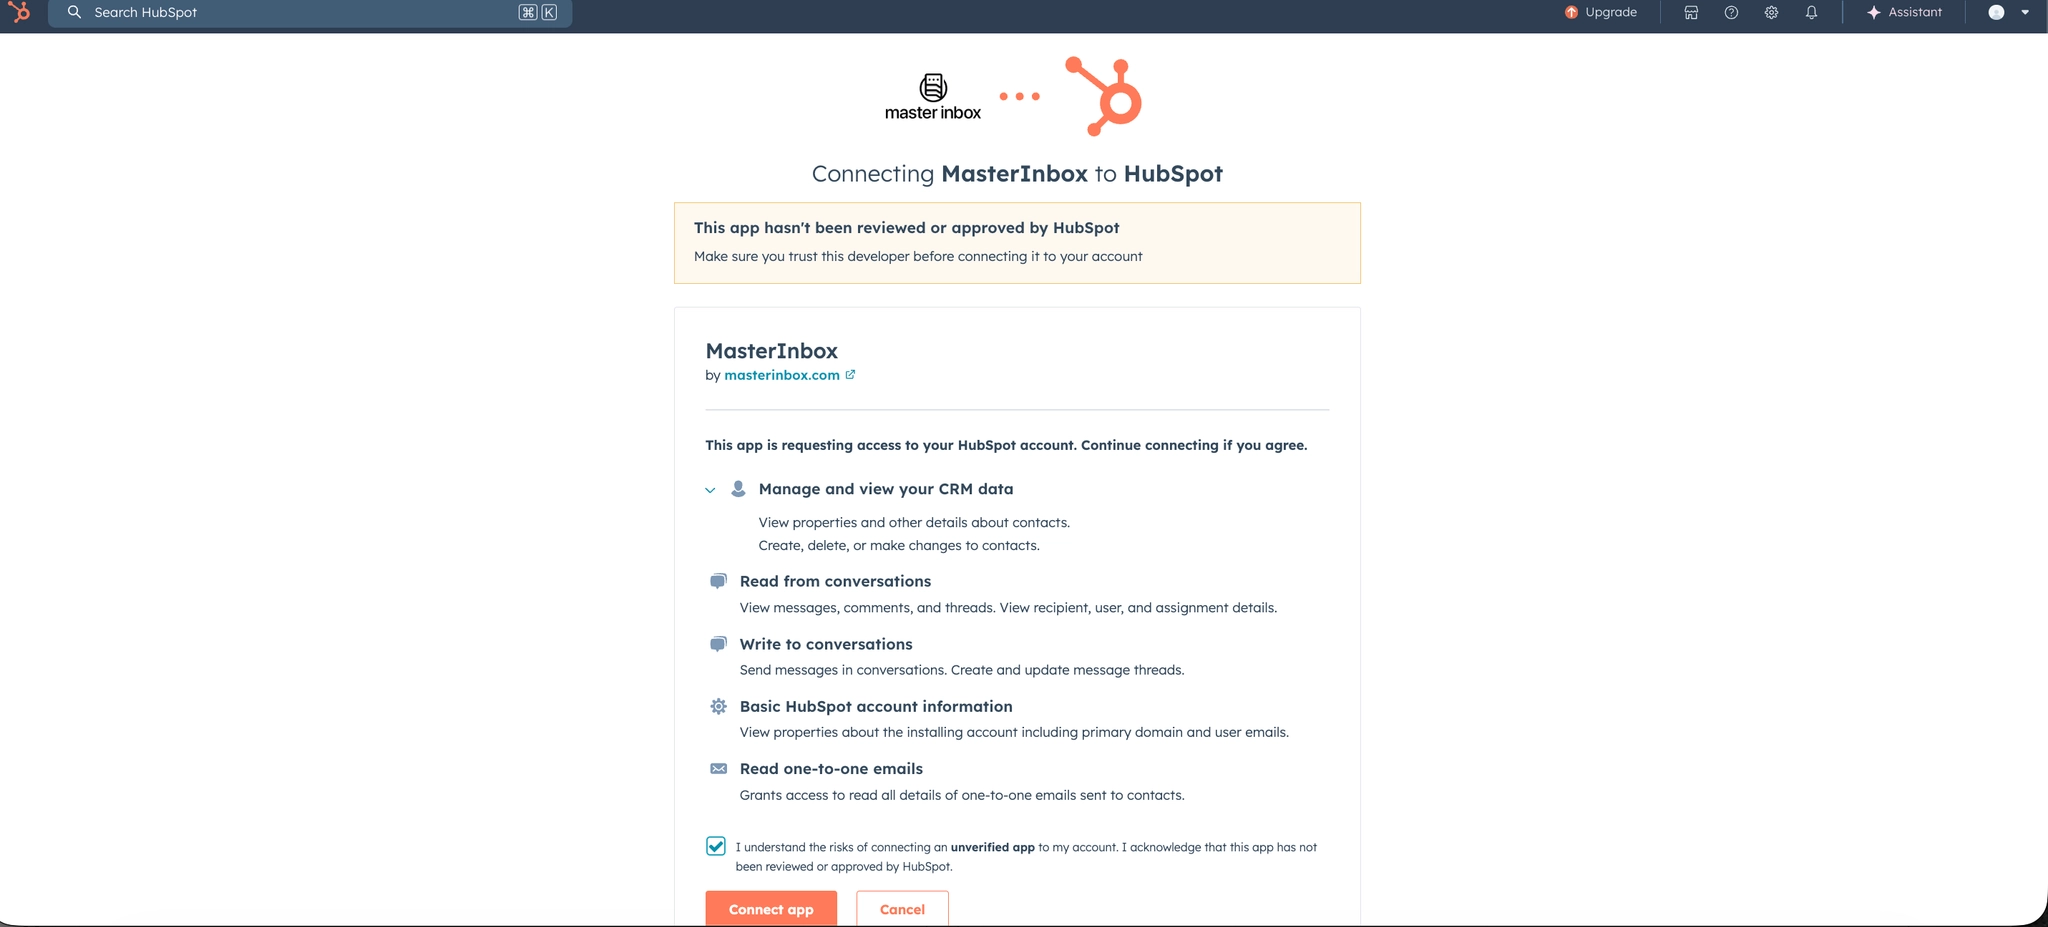
Click Connect App to authorize MasterInbox to access your HubSpot data
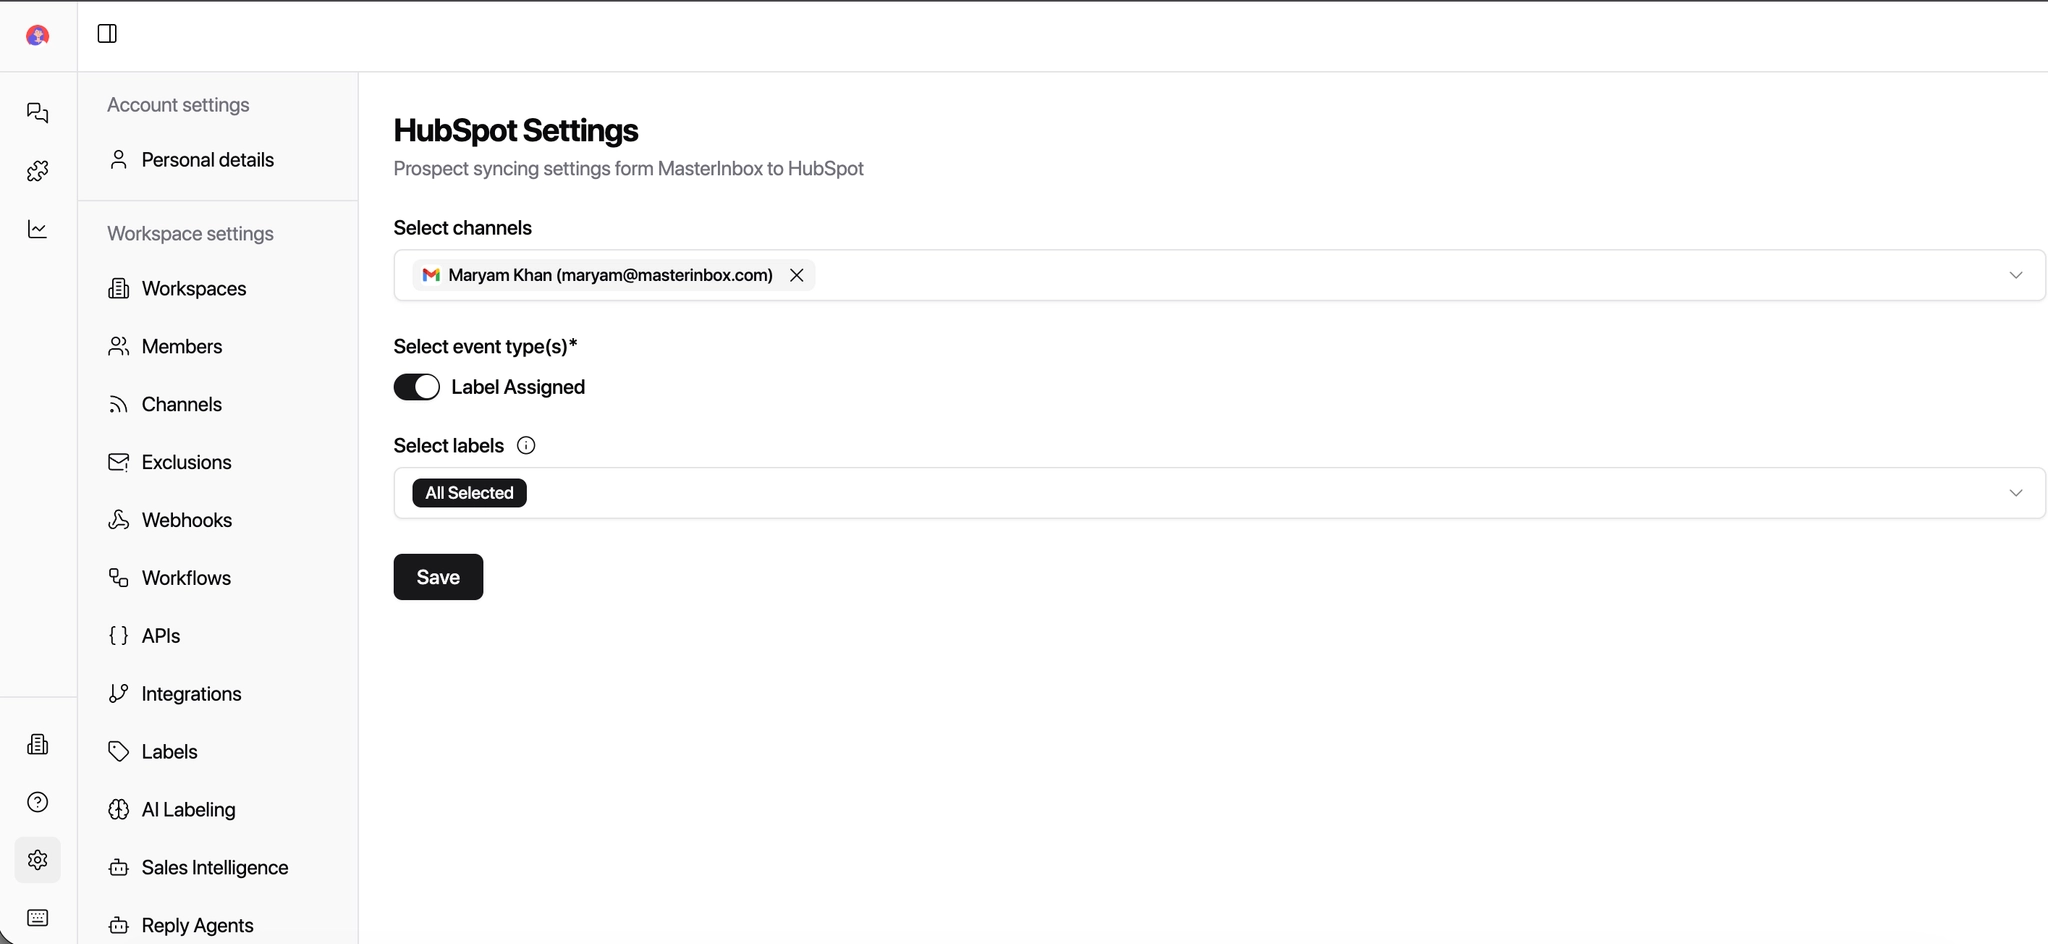
3. Update HubSpot Settings in MasterInbox
After connecting, configure the integration settings:
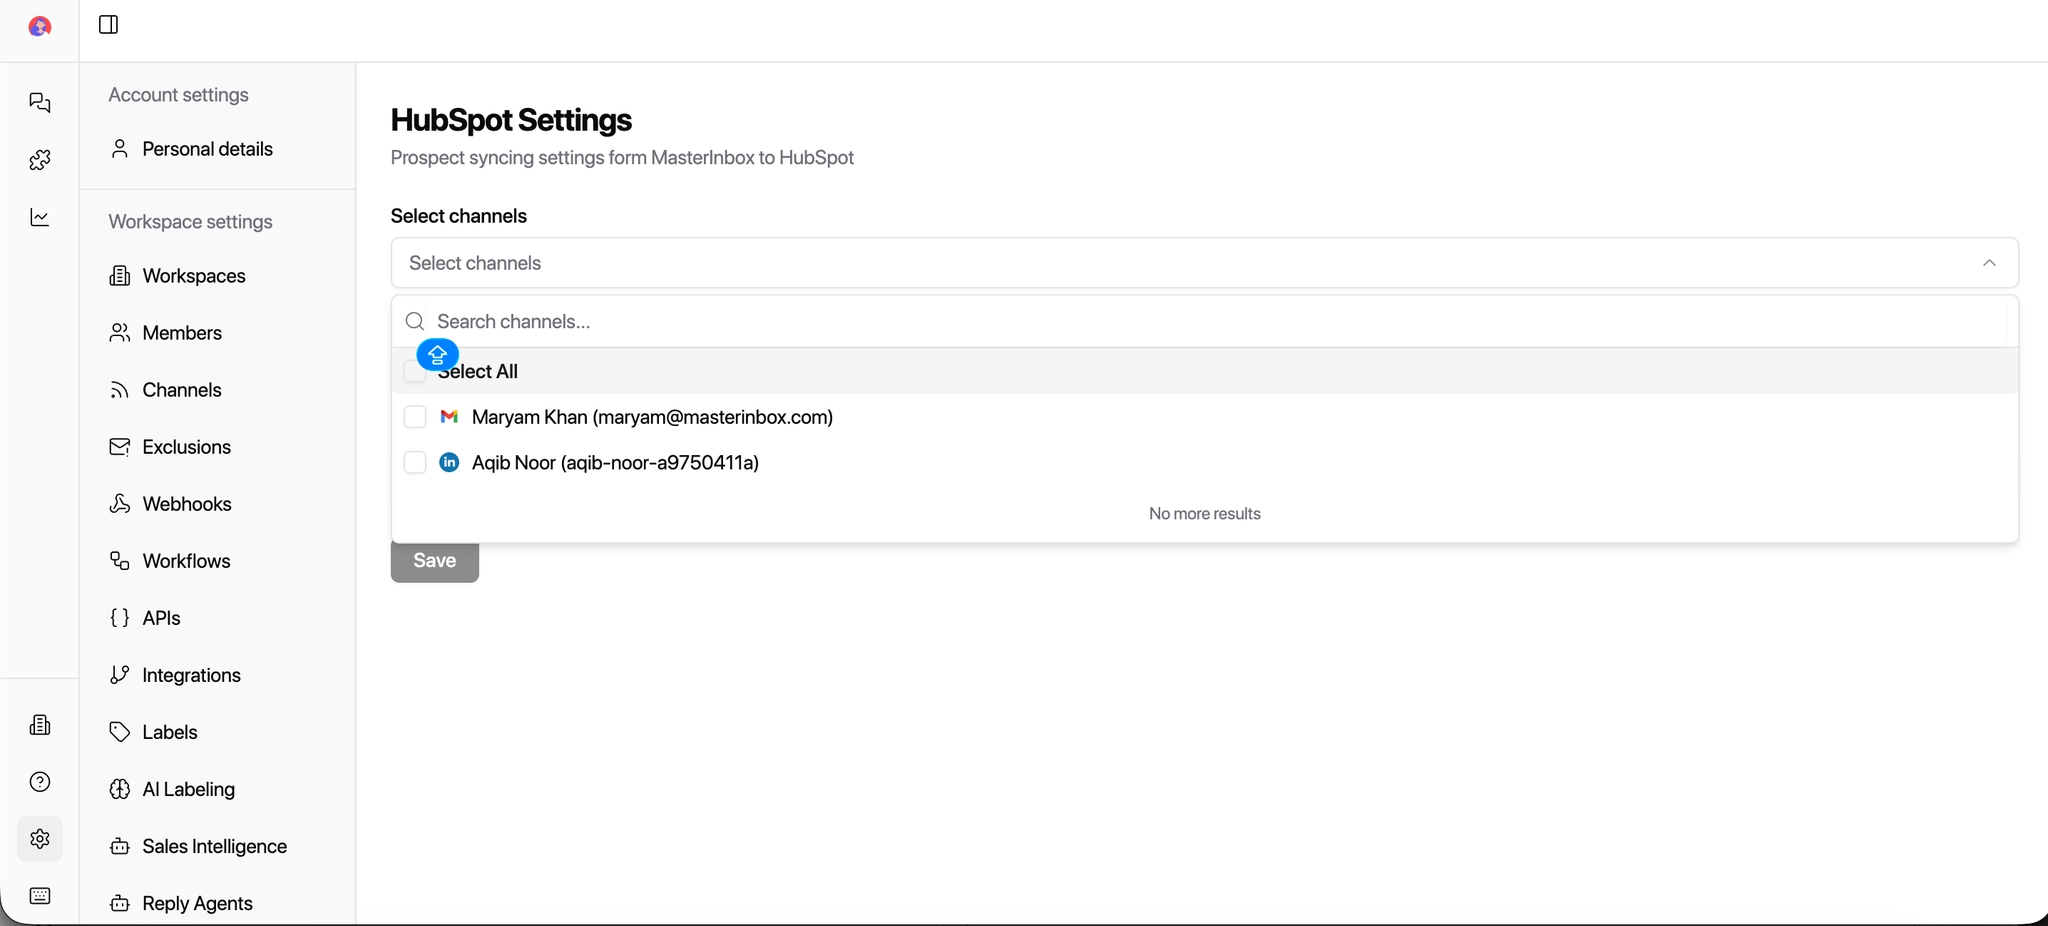
a. Select Channels
Choose which channels (email, LinkedIn, etc.) you want HubSpot data to sync with in MasterInbox.
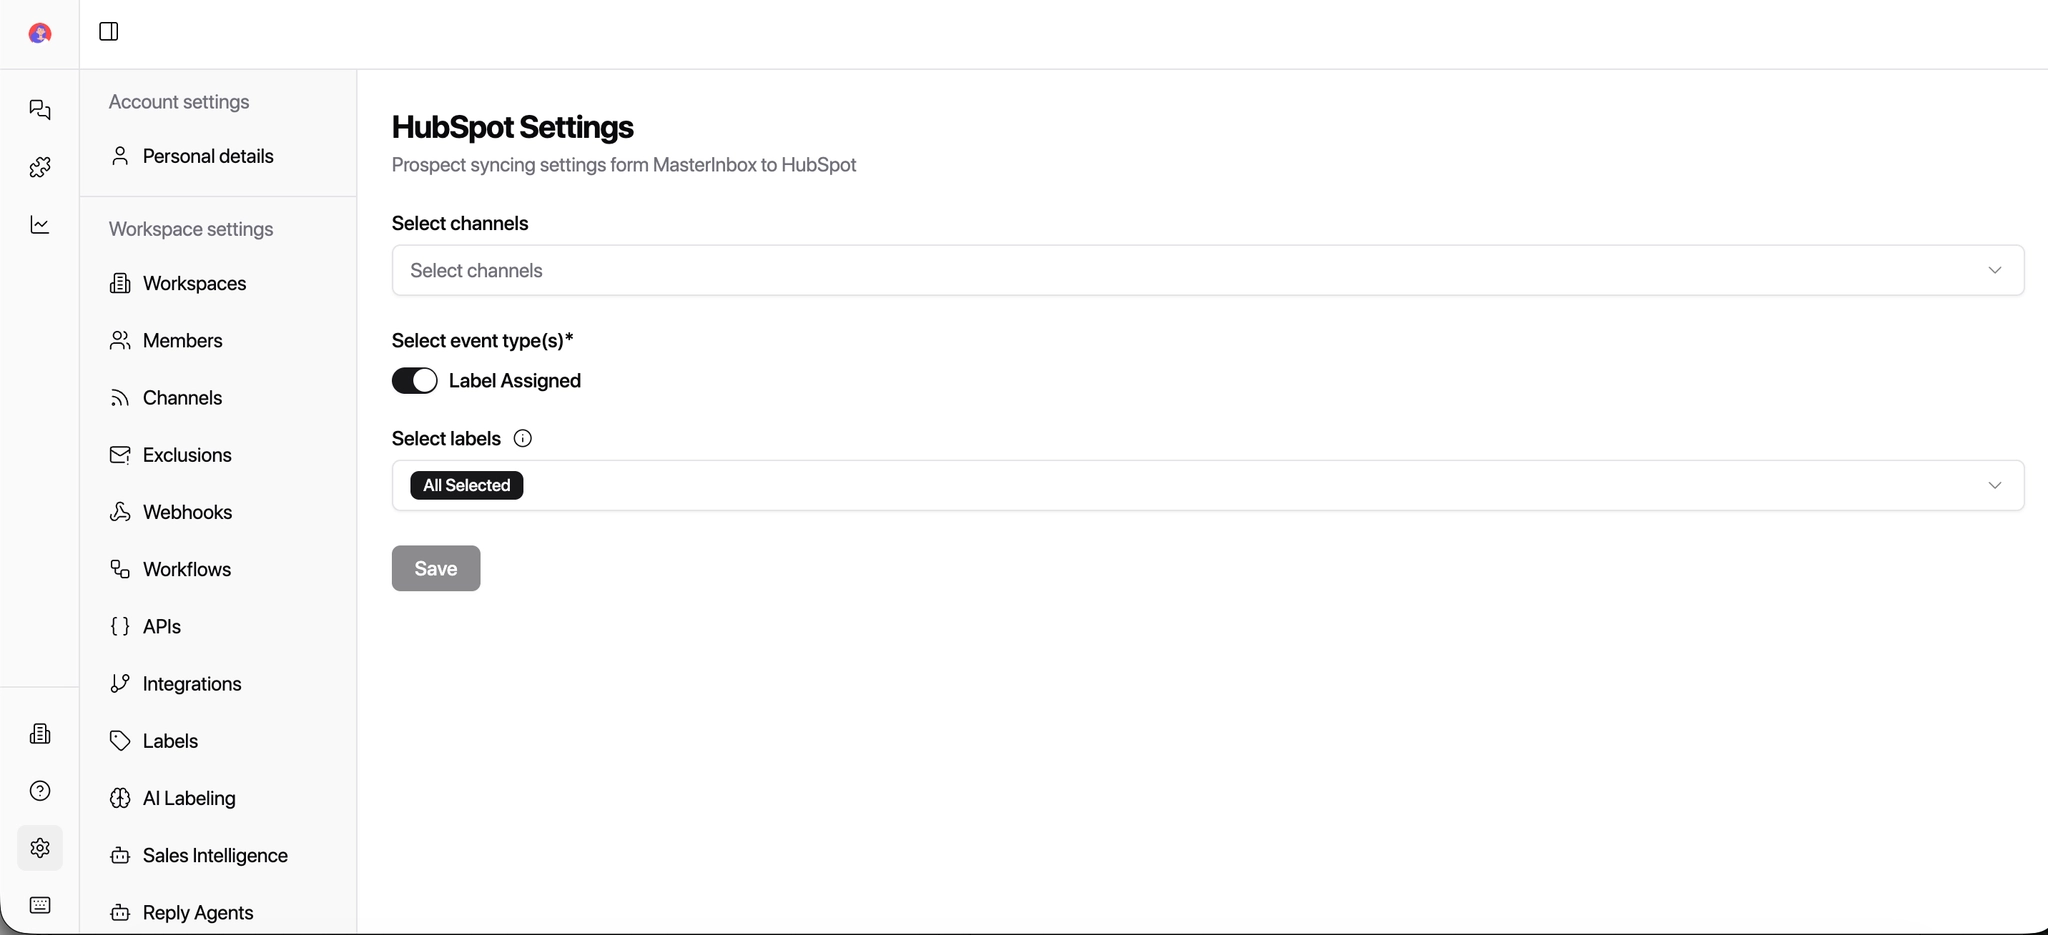
b. Select Event Type
Toggle the Event Type switch to the ON position to enable syncing.
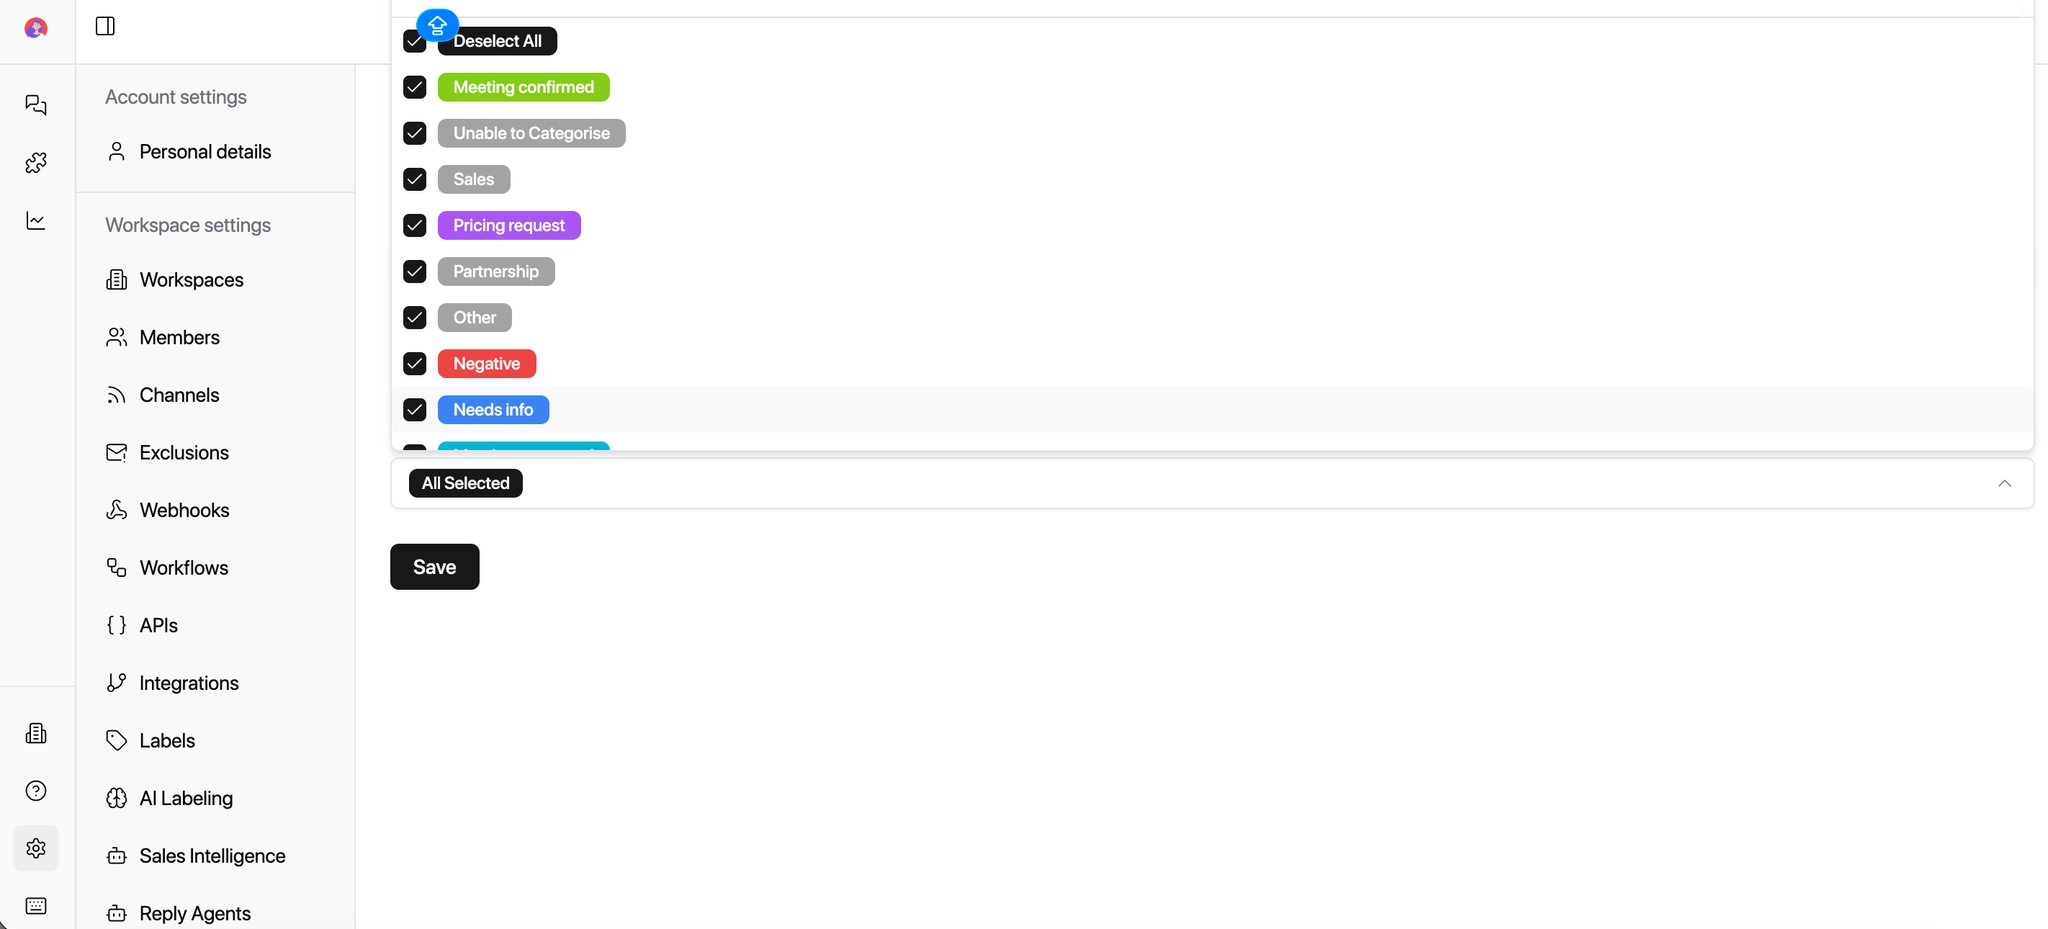
Choose all or relevant labels from HubSpot.
Labels allow you to categorize events, such as email opens, clicks, or replies, in MasterInbox. This helps you filter, track, and prioritize activities without switching back to HubSpot.
4. Save Settings
Click Save to finalize your HubSpot integration.
Your HubSpot account is now connected. Selected channels and events will sync automatically — keeping your CRM accurate and your team working from one place without manual updates.