
How to Add a Workspace
What you’ll learn
In this guide, you’ll learn how to create, manage, clone, and switch workspaces in Master Inbox. Workspaces help you organize teams, clients, and inboxes without overlap.
What is Workspace
A workspace represents one team or one client.
Agencies can create one or multiple workspaces per client, while internal teams create one workspace per team.
Steps to create a workspace:
Click the Settings icon in the bottom-right corner.
Click on the Workspaces under the Workspace Settings.
Click Add Workspace.
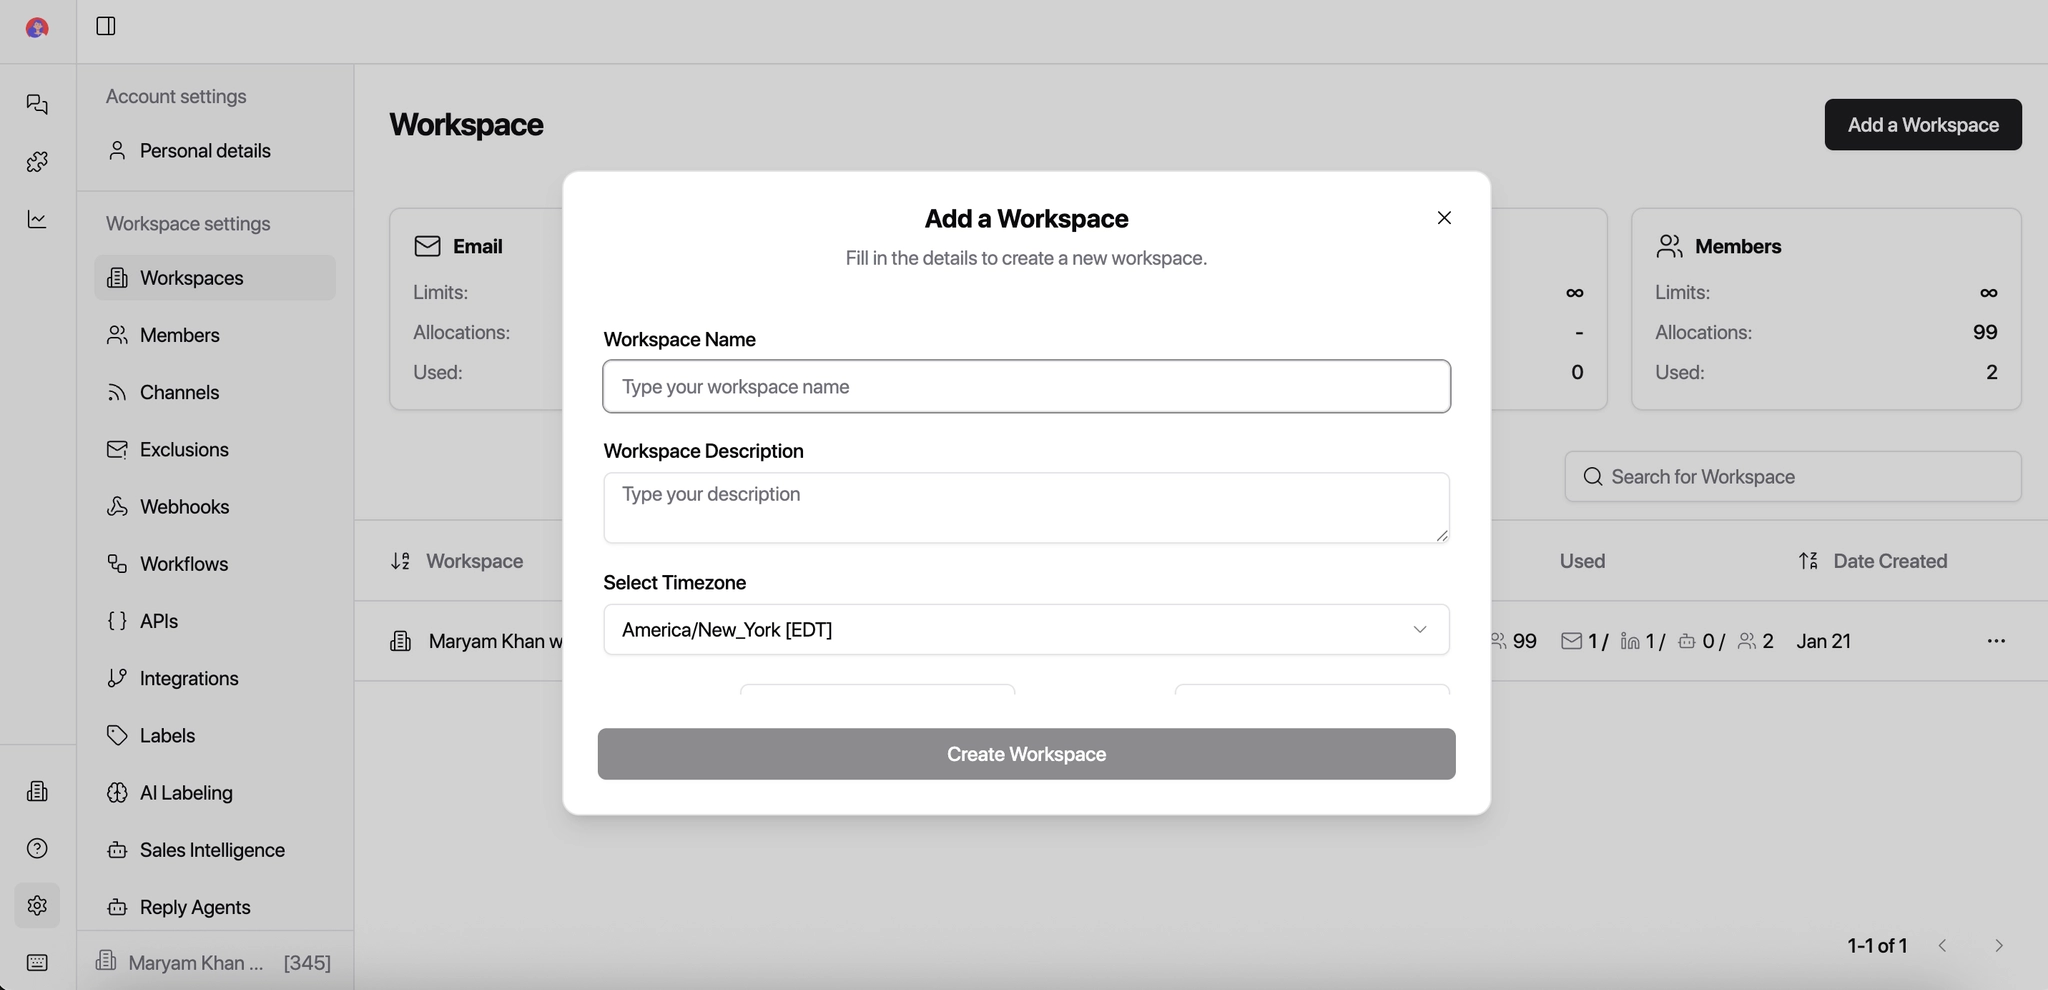
Enter the Workspace Name and Description
Example (Agency): Acme Inc – Outbound
Example (Internal Team): Sales – US Market
Choose the time-zone.
The timezone is set once by the workspace owner and applies to all users. It affects timestamps, reminders, follow-ups, and reporting.
Set limits for:
Emails → How many sender inboxes can be connected
Members → How many users can access this workspace
LinkedIn Accounts → How many LinkedIn senders can be connected
Note: LinkedIn limits don't apply to Heyreach or API based LinkedIn integrations and only apply to direct LinkedIn integrations.
Understanding Workspace Limits
How do I update these limits? Go to Settings → Workspaces → Edit → update the limits as needed. You must be logged in as the super admin (billing account) to update limits.
Do clients get their own limits? Yes! Each client account has its own independent pool of email slots, separate from your account and other clients.
Can't find Workspace Settings or update limits? This usually means you're logged into a client account where you're only a basic admin, not the super admin.
If you're the super admin → you'll see full workspace settings and can update limits freely
If you're a basic admin (e.g. logged into a client account) → log out and log back in with the super admin account (the billing account) to make changes.
Click Create.
You're all set! Your workspace is now created. You can start adding team members, connecting sender inboxes, and linking LinkedIn accounts — all within the limits you configured.
Best Practices
Agencies: Create one workspace per client to avoid mixing conversations and reporting.
Internal Teams: Create one workspace per sales or GTM team.
Limits: These help you control access and prevent inbox overlap as you scale.
How to Clone a Workspace
Cloning lets you reuse a proven setup without rebuilding workflows.
Instead of manually recreating views, labels, and automations, you can reuse a proven setup in seconds. This is especially useful for agencies managing multiple clients or teams. You're cloning the structure and rules, not the messages.
Best Use Cases
For Agencies
Spin up a new client workspace using a proven template
Standardize workflows across all clients
Save hours during onboarding
For SDR / BDR Teams
Clone high-performing workflows for new team members
Keep inbox rules consistent across regions or segments
For Clients
Separate pipelines by product, brand, or region
Maintain clean reporting without rebuilding logic
Best Practices
Create a "Template Workspace" for cloning
Keep client-specific labels separate from global ones
Review webhooks and integrations after cloning
Rename the workspace clearly (Client Name / Campaign / Region)
Steps to Clone a Workspace
Go to Settings.
Navigate to Workspaces.
Find the workspace you want to duplicate.
Click the three dots (⋮) next to the workspace name.
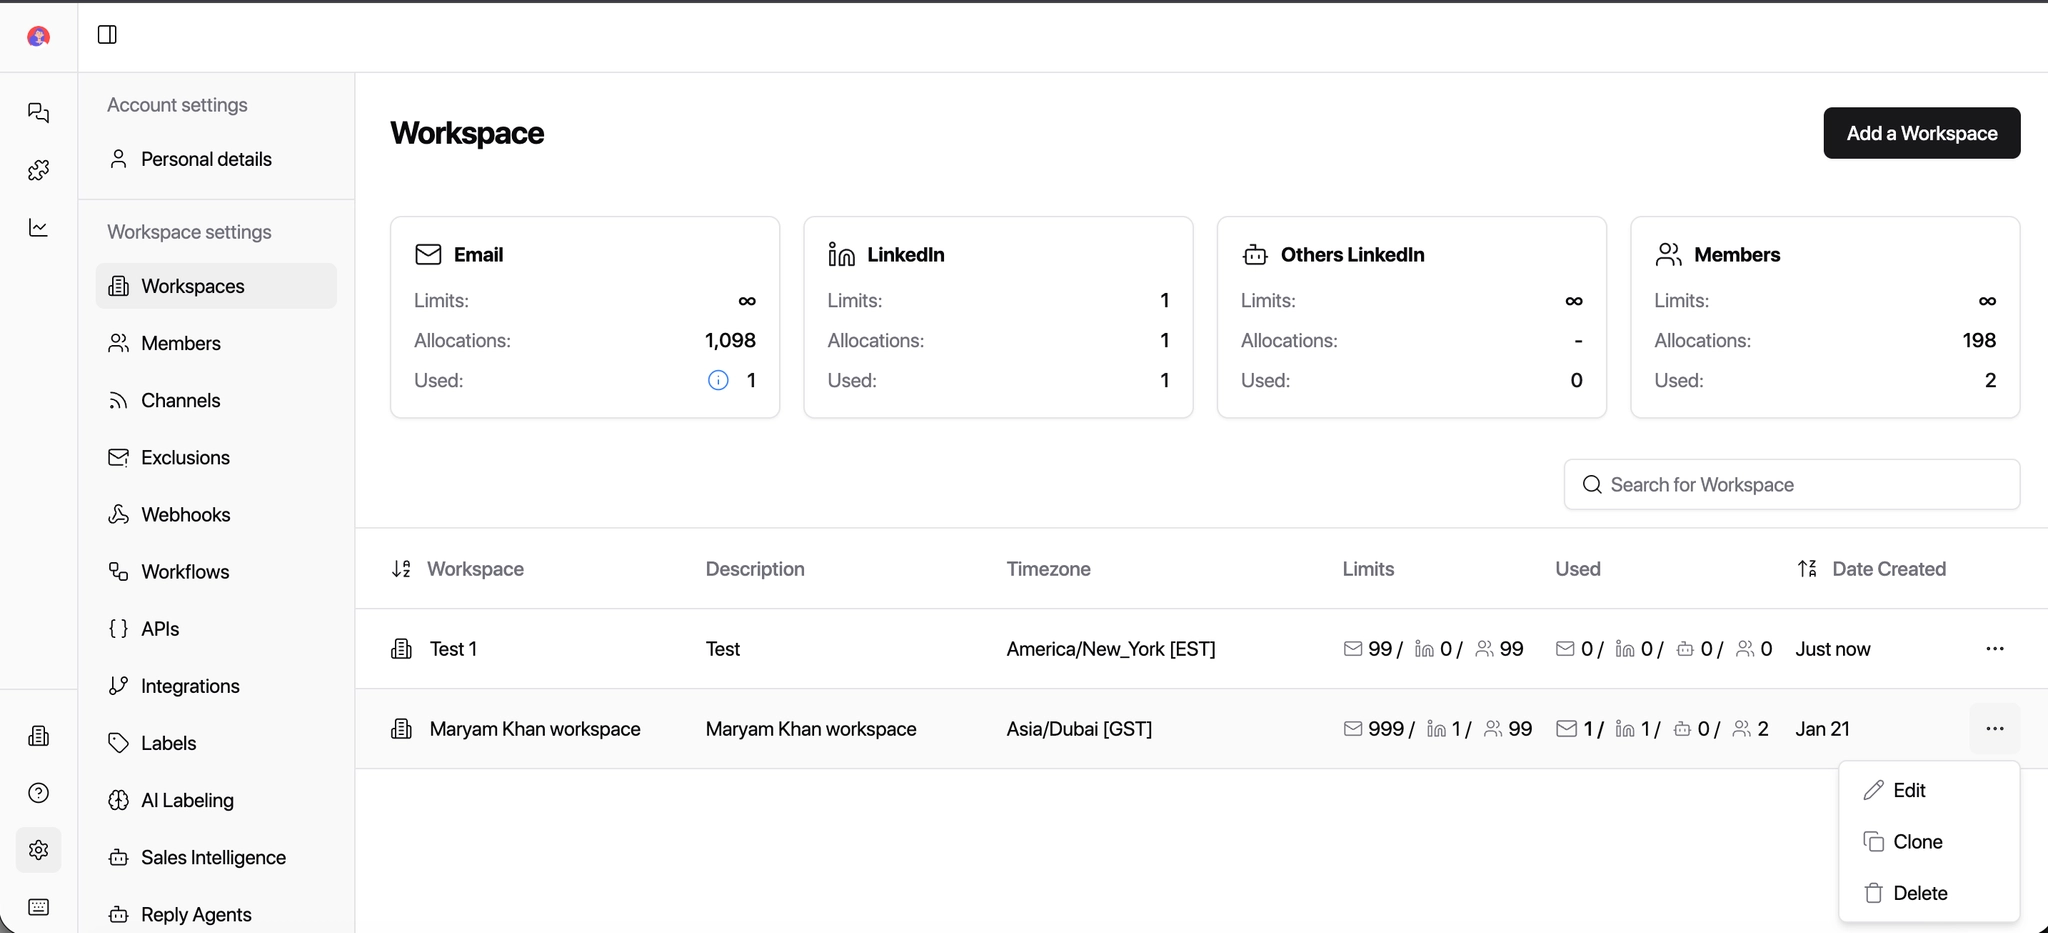
Click Clone.
Enter a new workspace name.
Select what you want to clone:
Views
Labels
Webhooks
Inbox Types / Lists
Exclusions
AI Labels

Click Create Workspace.
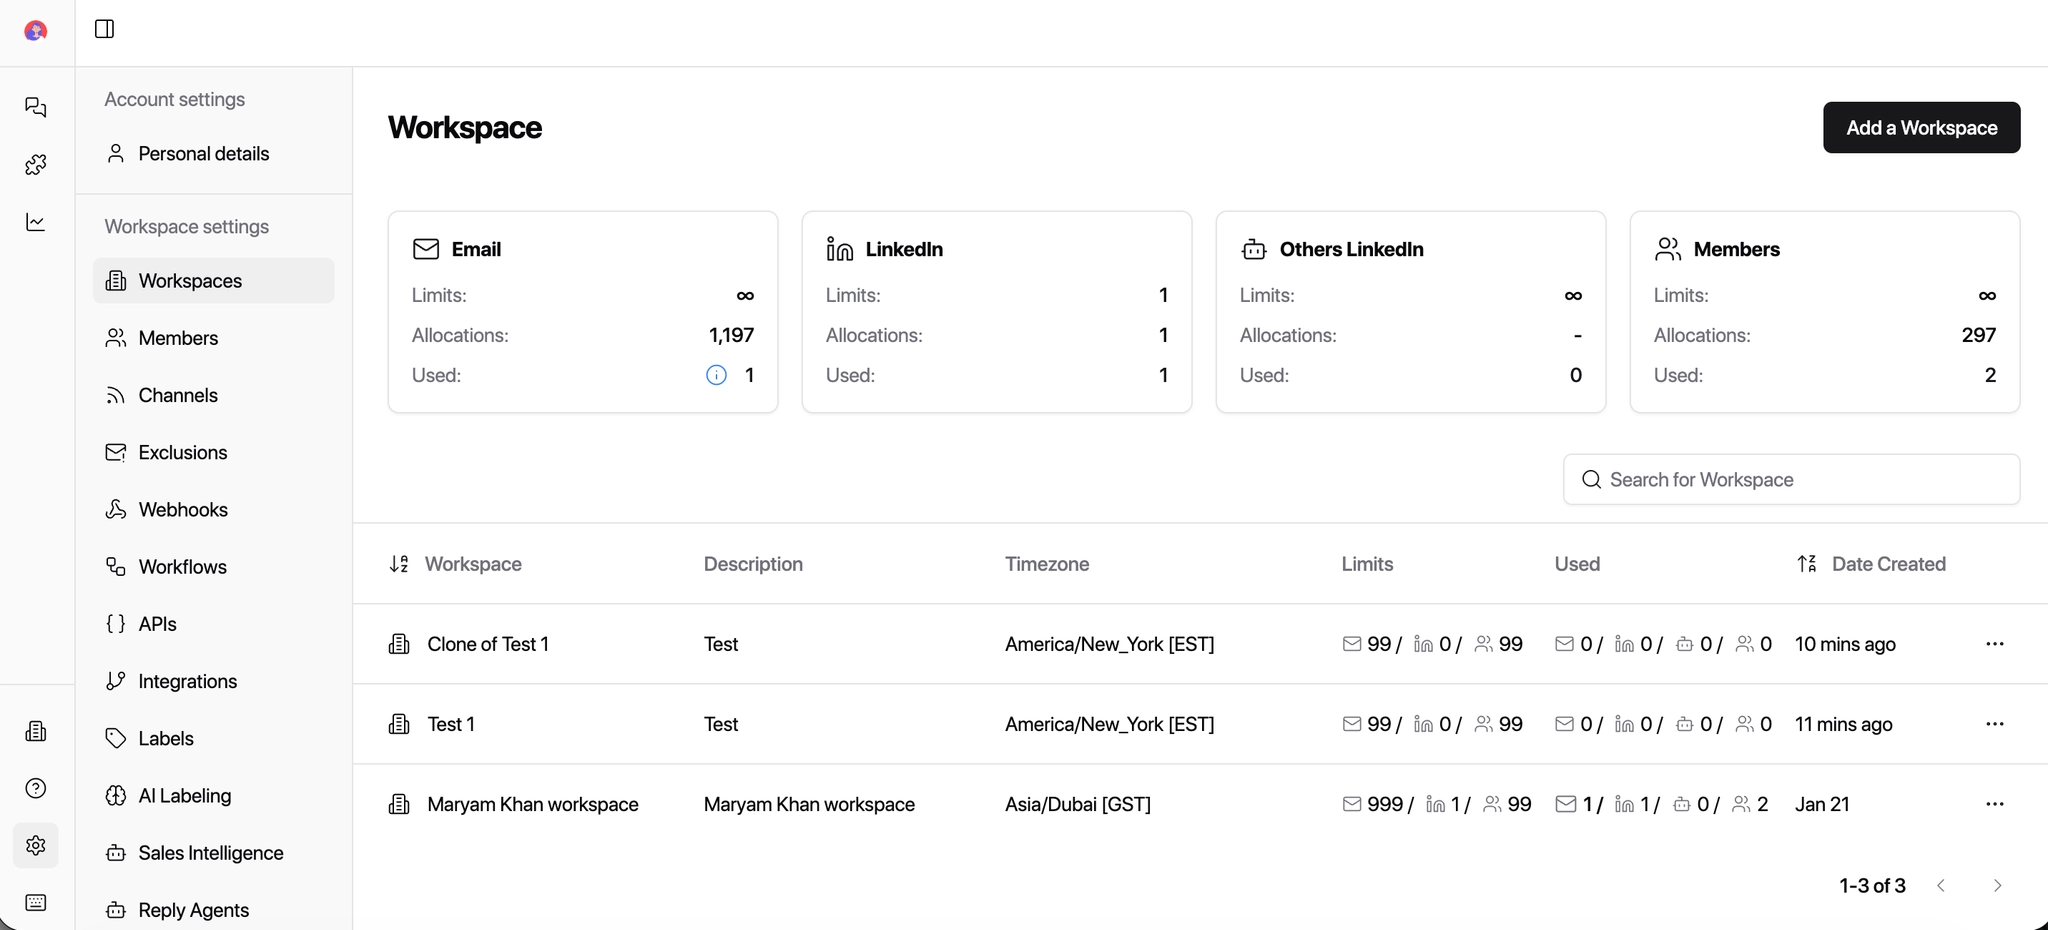
Your new workspace is ready with the same setup.
Steps to Switch a Workspace
Look at the bottom-left corner of the app.
Click on your currently active workspace name (next to the Settings icon).
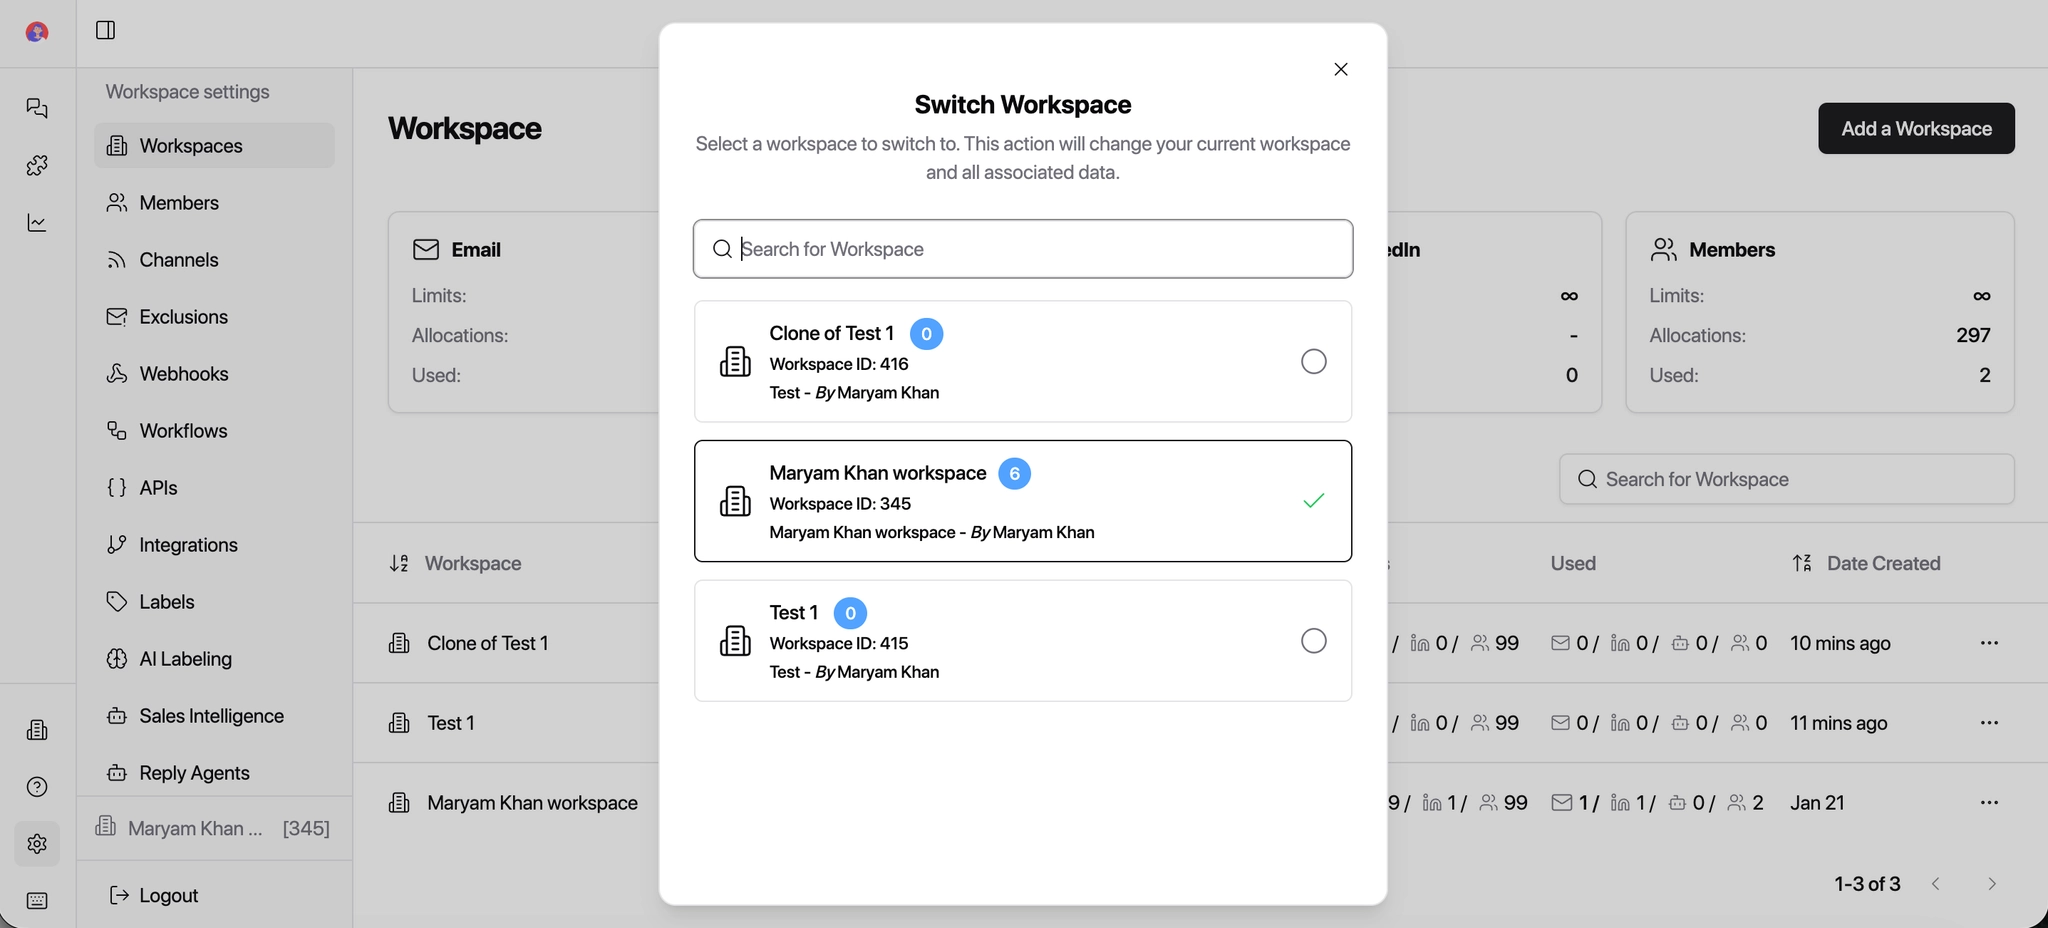
A list of available workspaces will open.
Click the workspace you want to switch to.
You're instantly moved into the selected workspace.