
Edit, Create and Delete a List Item
What you'll learn
In this guide, you'll learn what List Items are, how to move conversations between them, and how to create, edit, and delete list items to keep your inbox structured and actionable.
How to Edit, Create and Delete a List Item
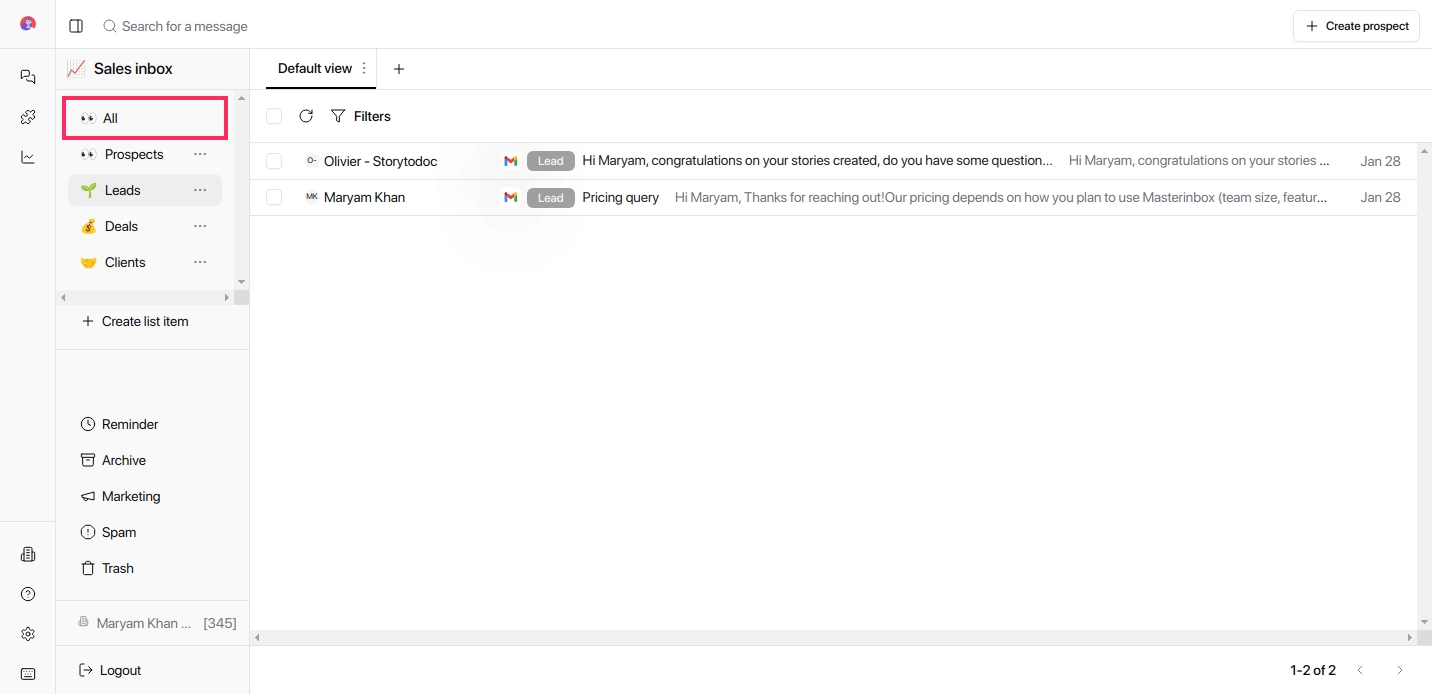
Lists help you organize conversations by stage or category.
Think of them as folders with purpose: every message belongs somewhere, and lists keep your inbox tidy and actionable.
Track Progress
See exactly where each conversation stands — from first reply to closed deal.
Stay Focused
Separate leads, clients, and partners so the right conversations are always easy to find.
Keep It Clean
A well-structured inbox means no missed follow-ups and no buried replies.
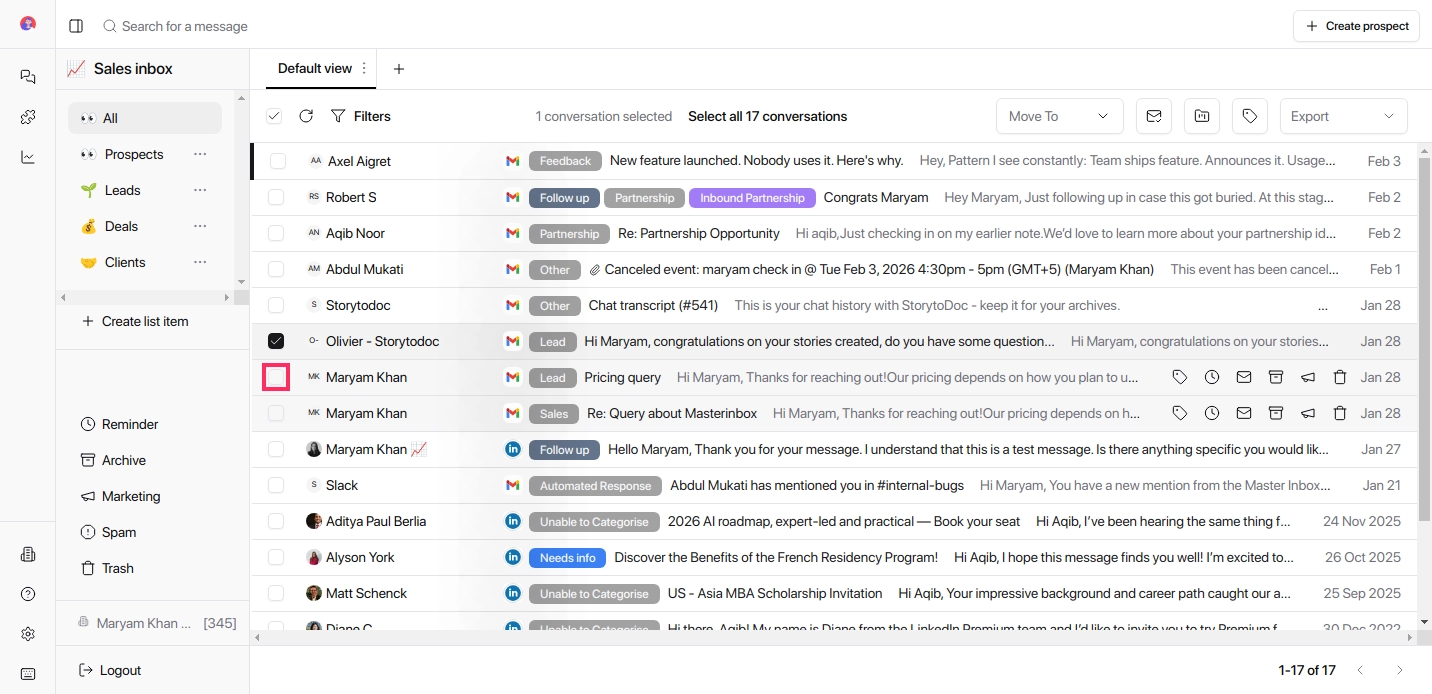
Steps to Move an Email to a Different List Item
In your inbox, select the emails you want to manage by checking the boxes next to them (e.g., Lead, Cold Outreach, Sales).
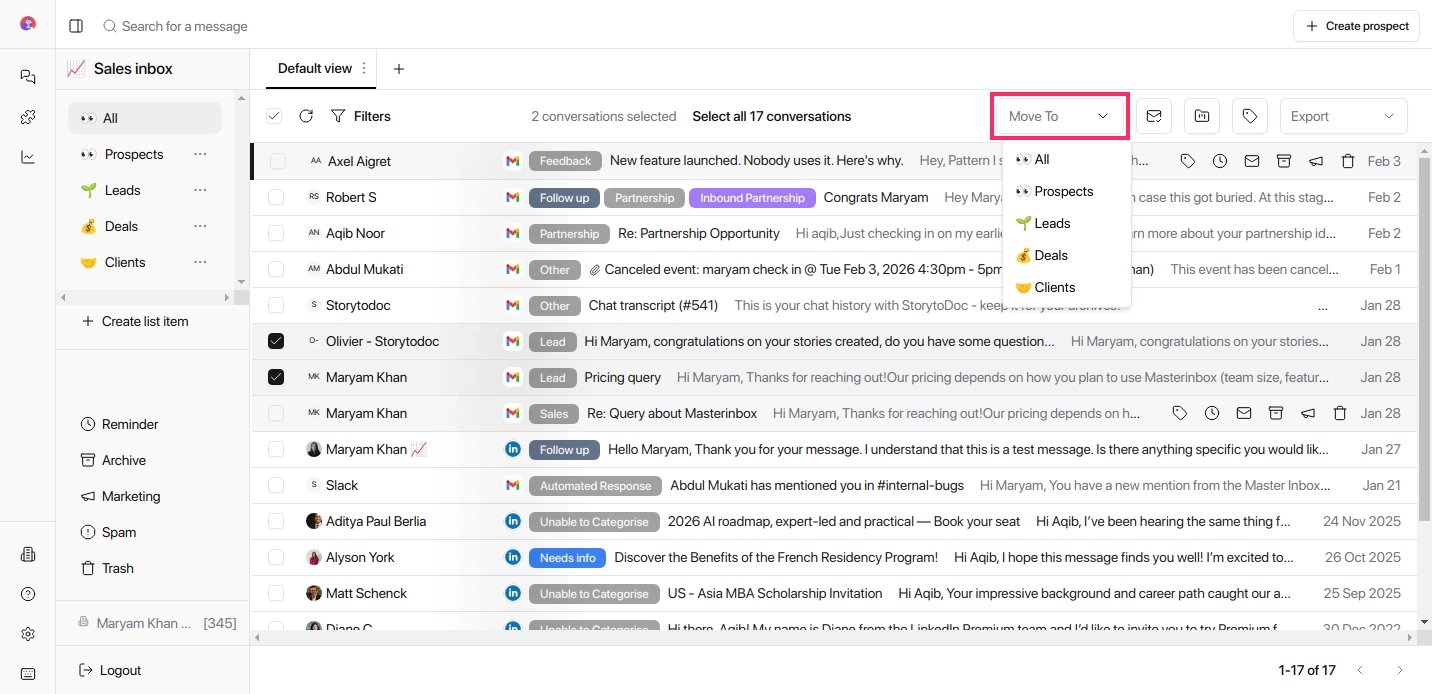
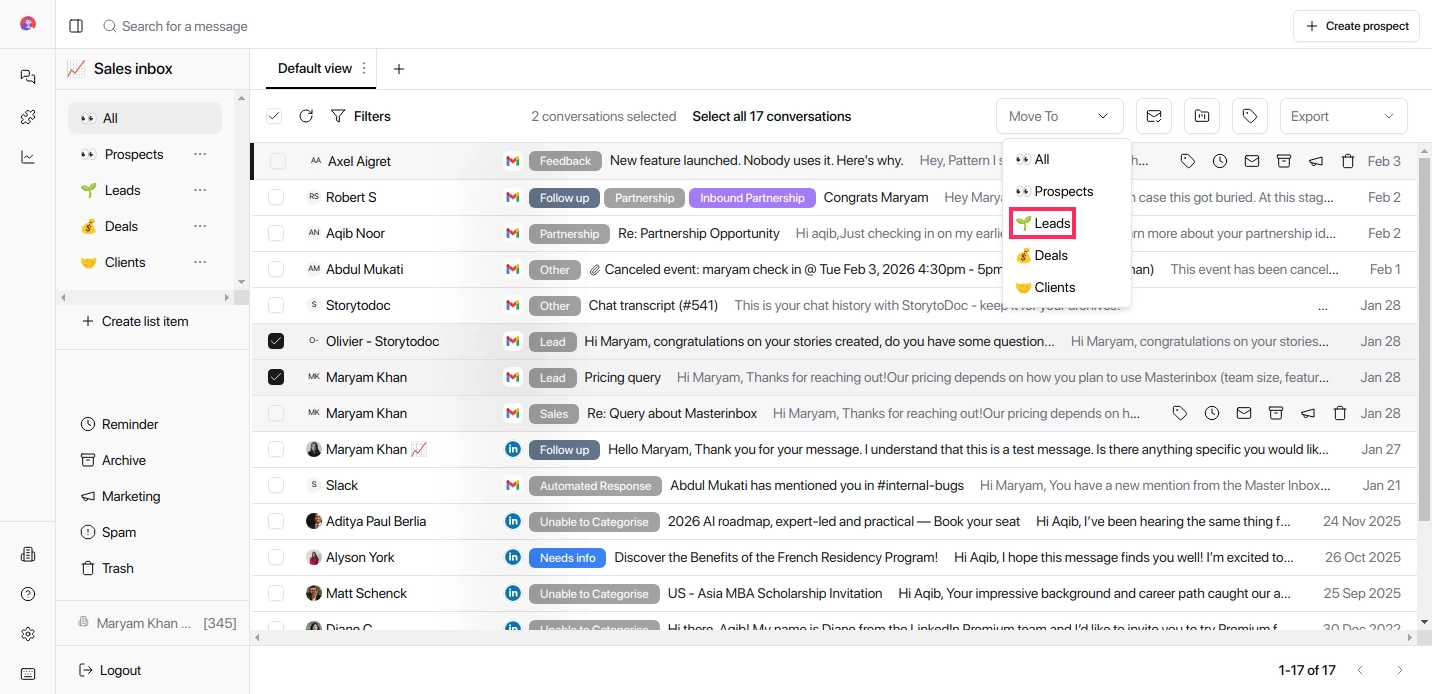
Click the Move To dropdown at the top right and select the List Item where you want to move the emails.
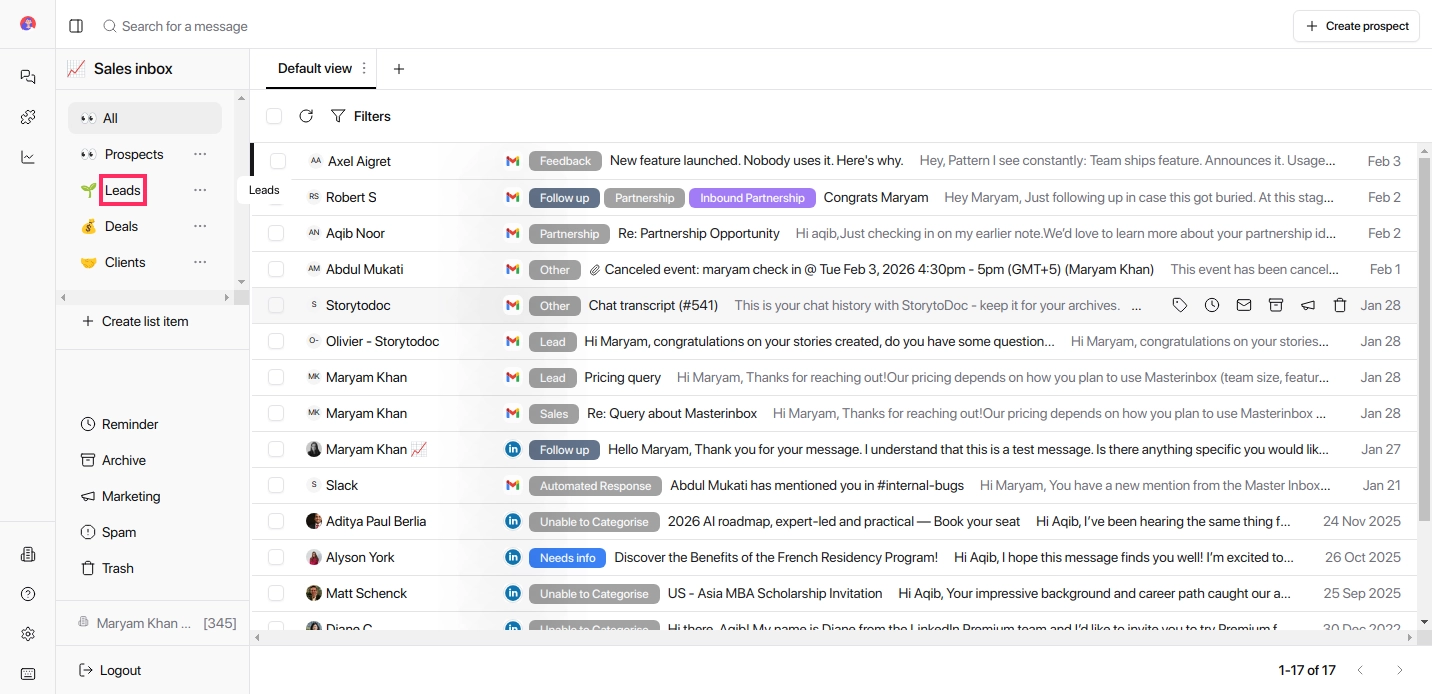
Navigate the list categories to confirm that the emails have been successfully moved.
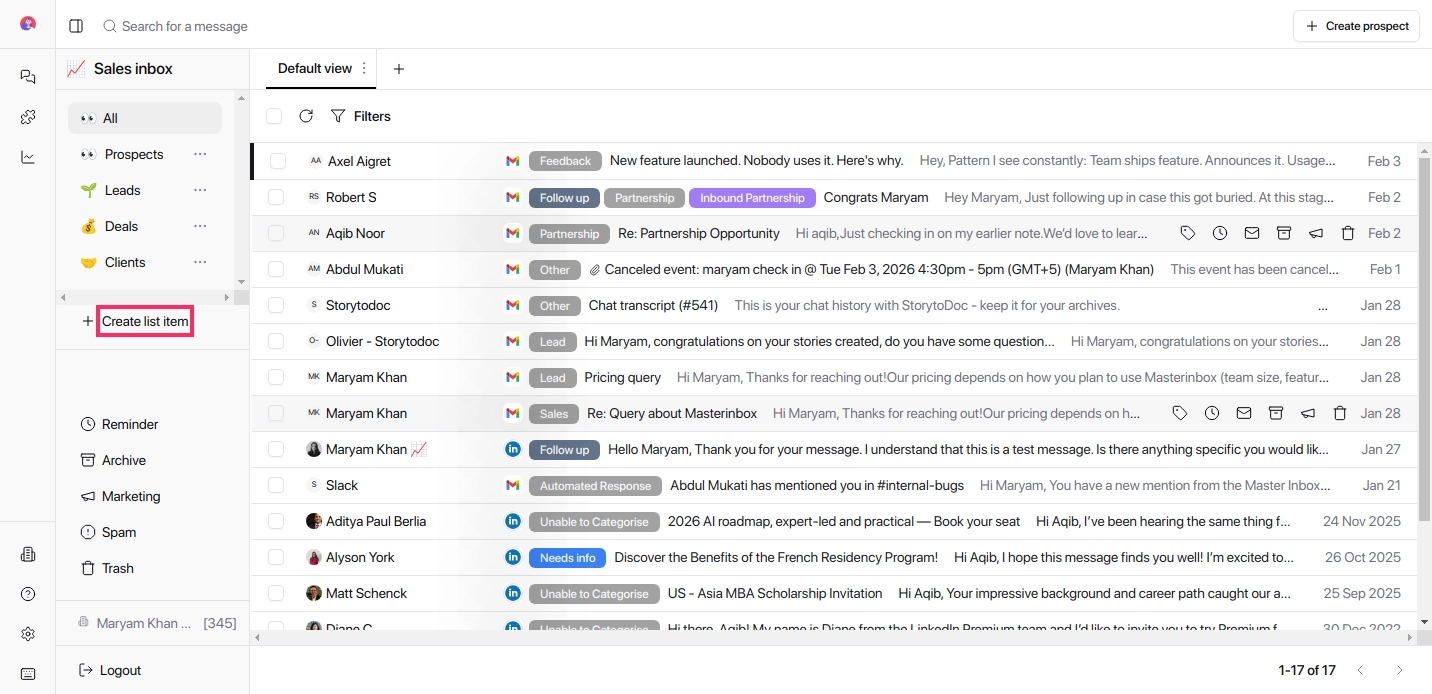
Create a New List Item
Click Create List Item on the sidebar.
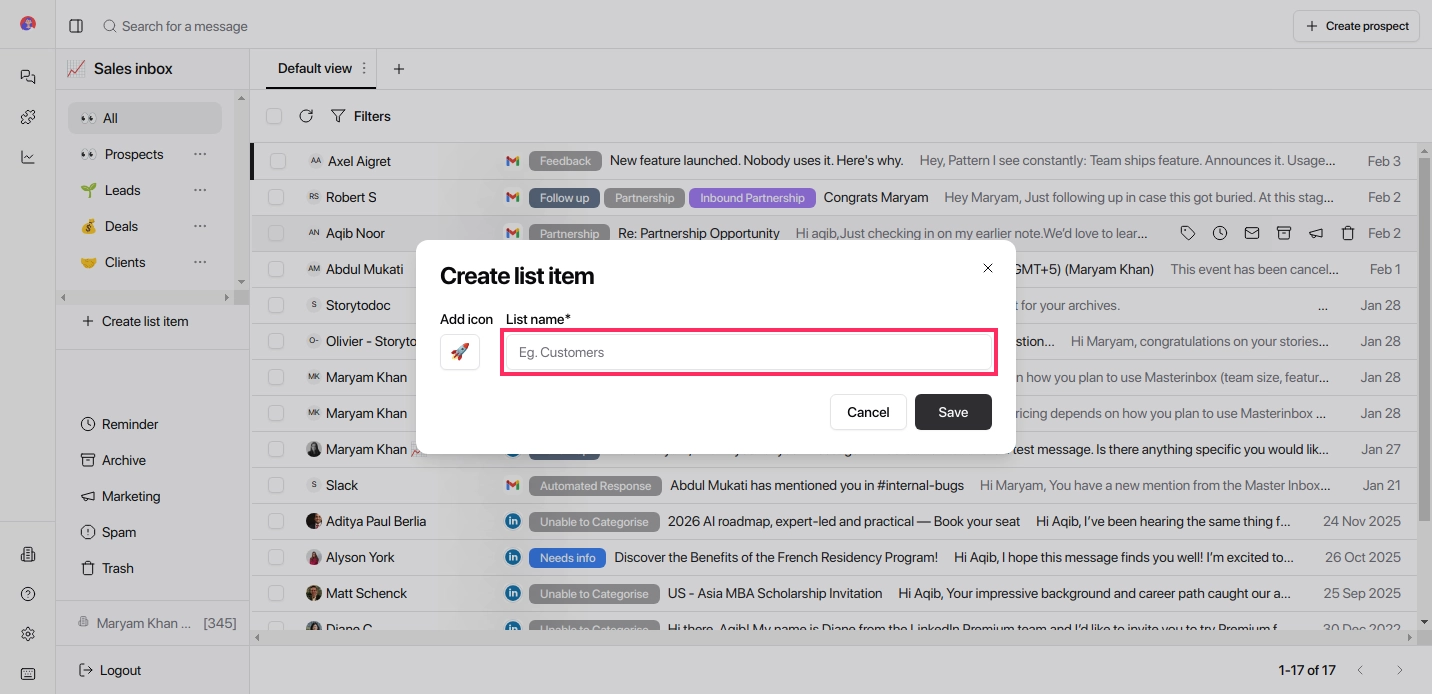
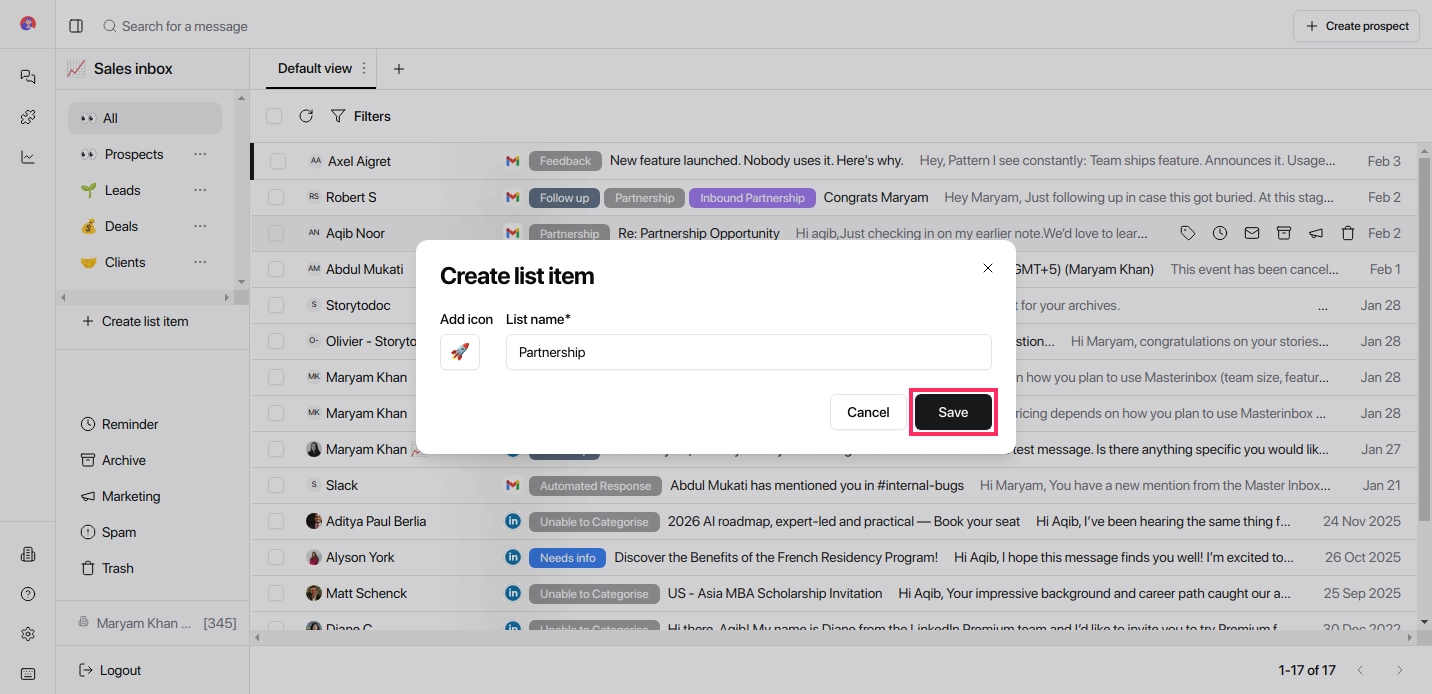
Enter a list name and optionally choose an emoji.
Click Save - your new list item is now ready to use.
Edit an Existing List Item
Click Edit under Sales Inbox settings on the sidebar.
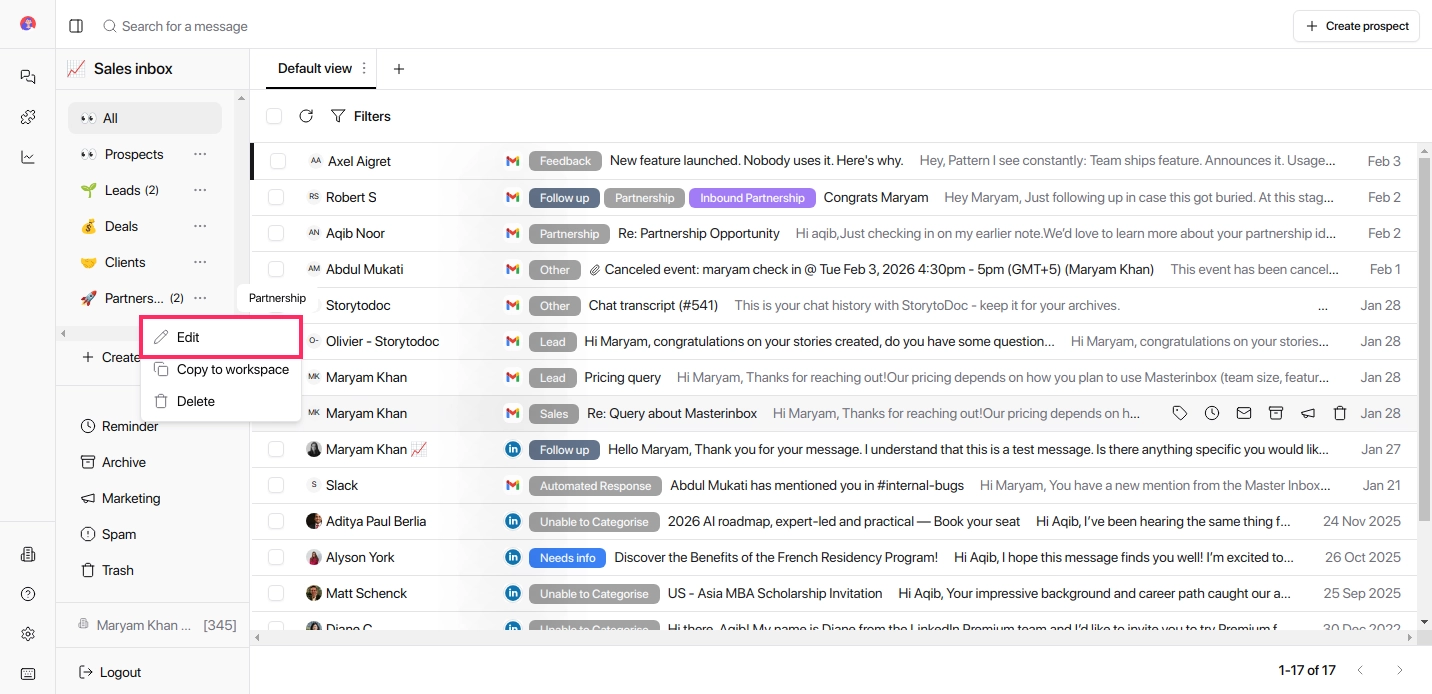
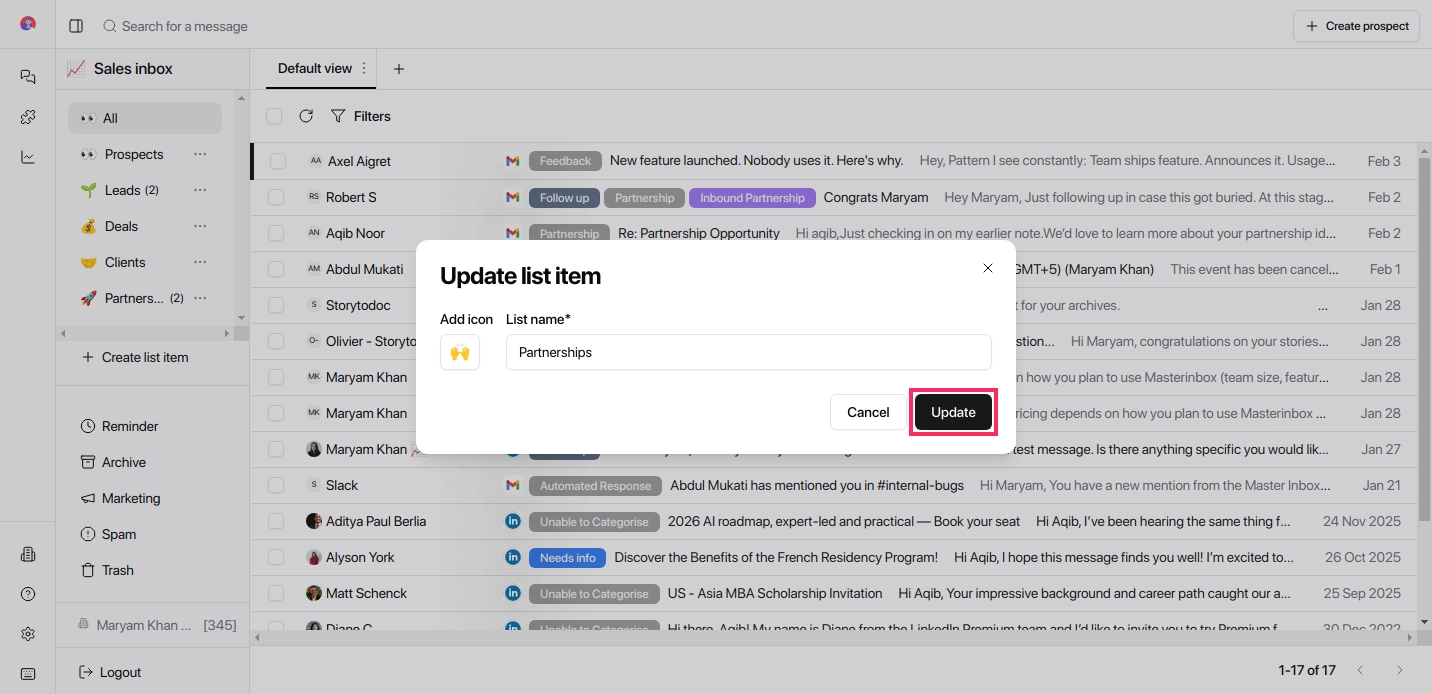
Update the List Name or Icon
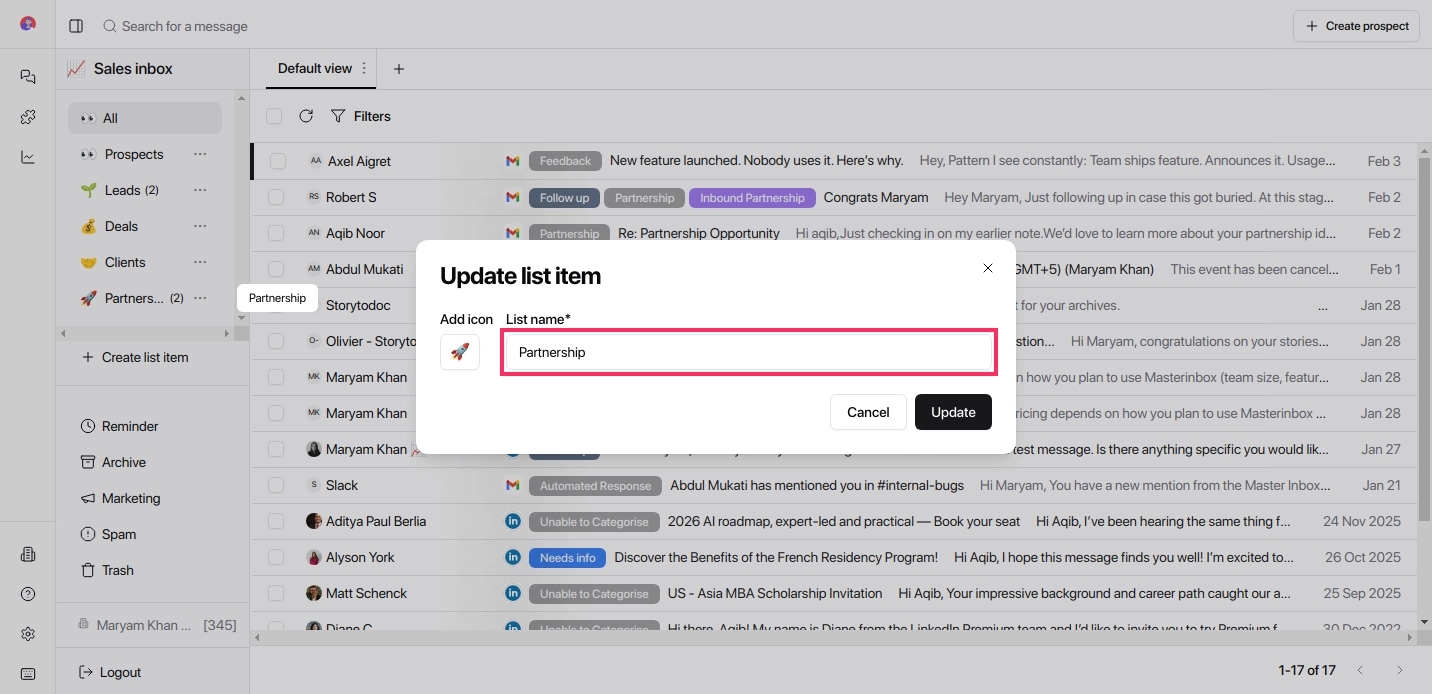
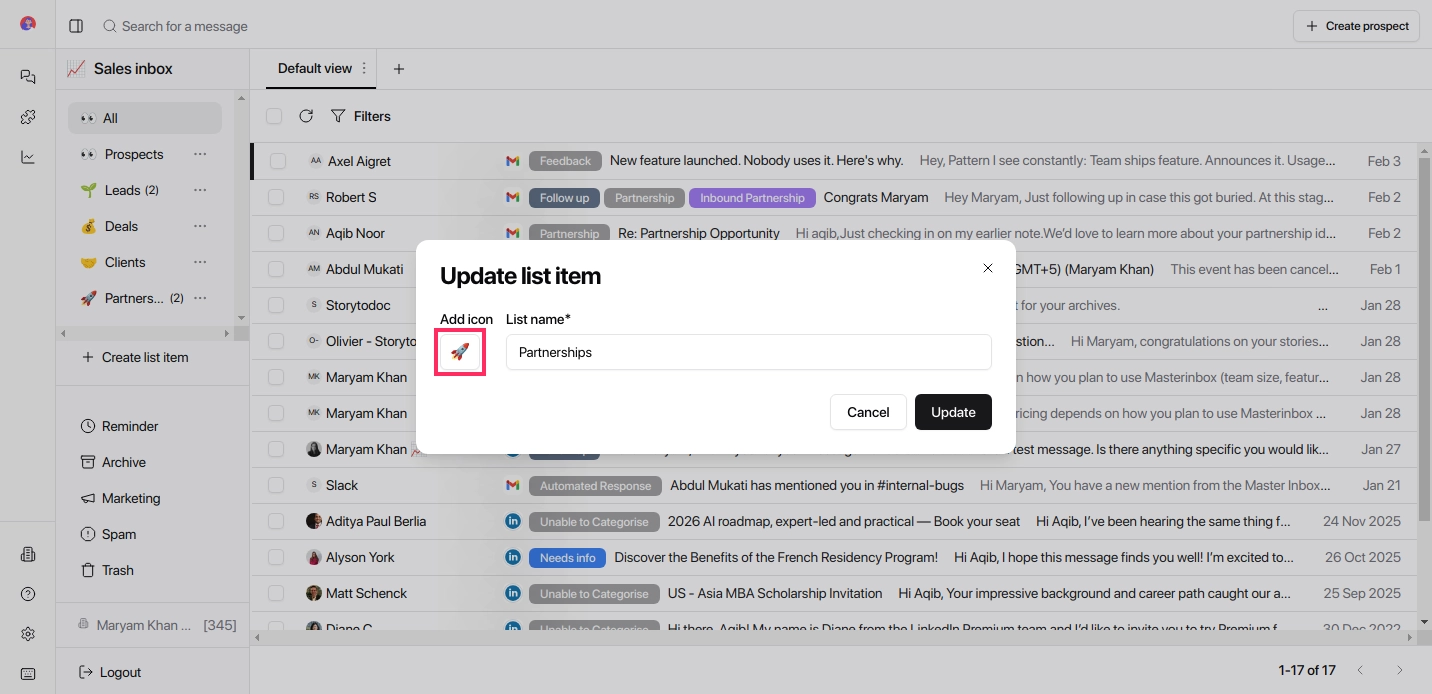
Click Update to save your changes.
How to Delete a List Item
Click on the List Item you want to delete.
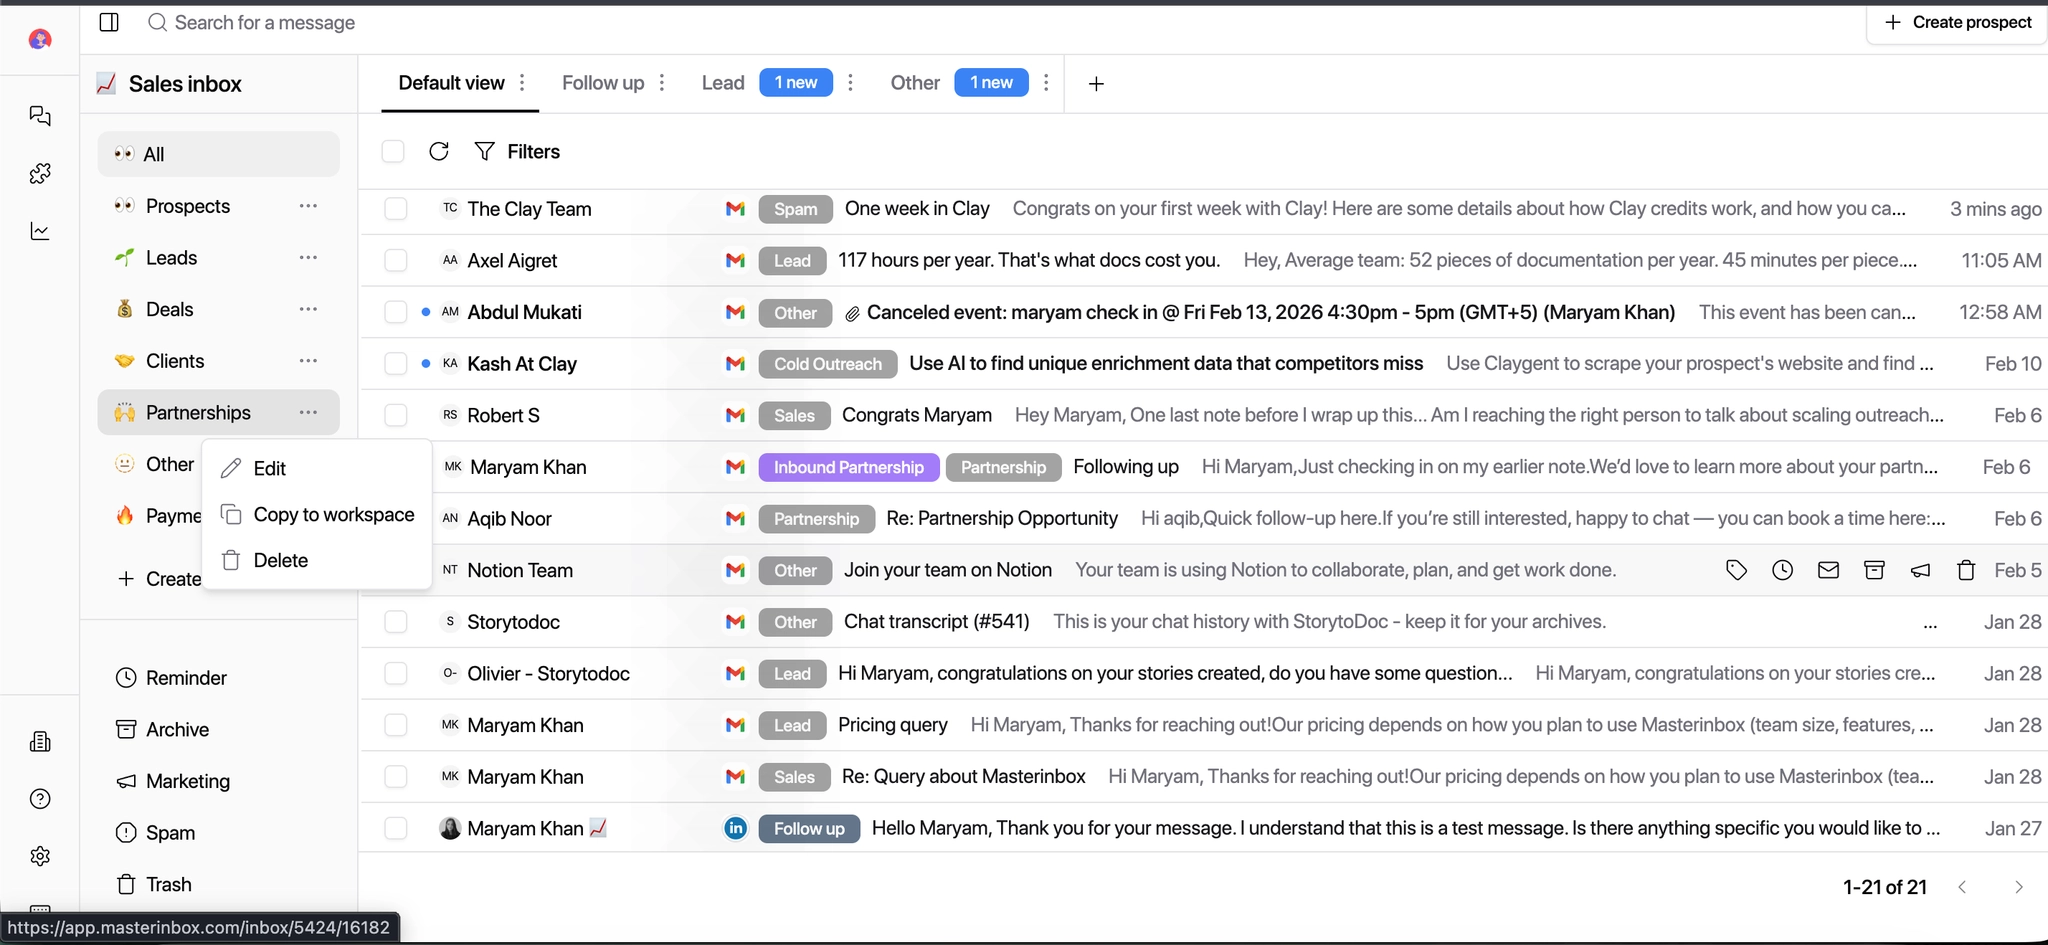
Click Delete
Confirm by clicking Yes to permanently delete the inbox type (e.g., Partnerships).
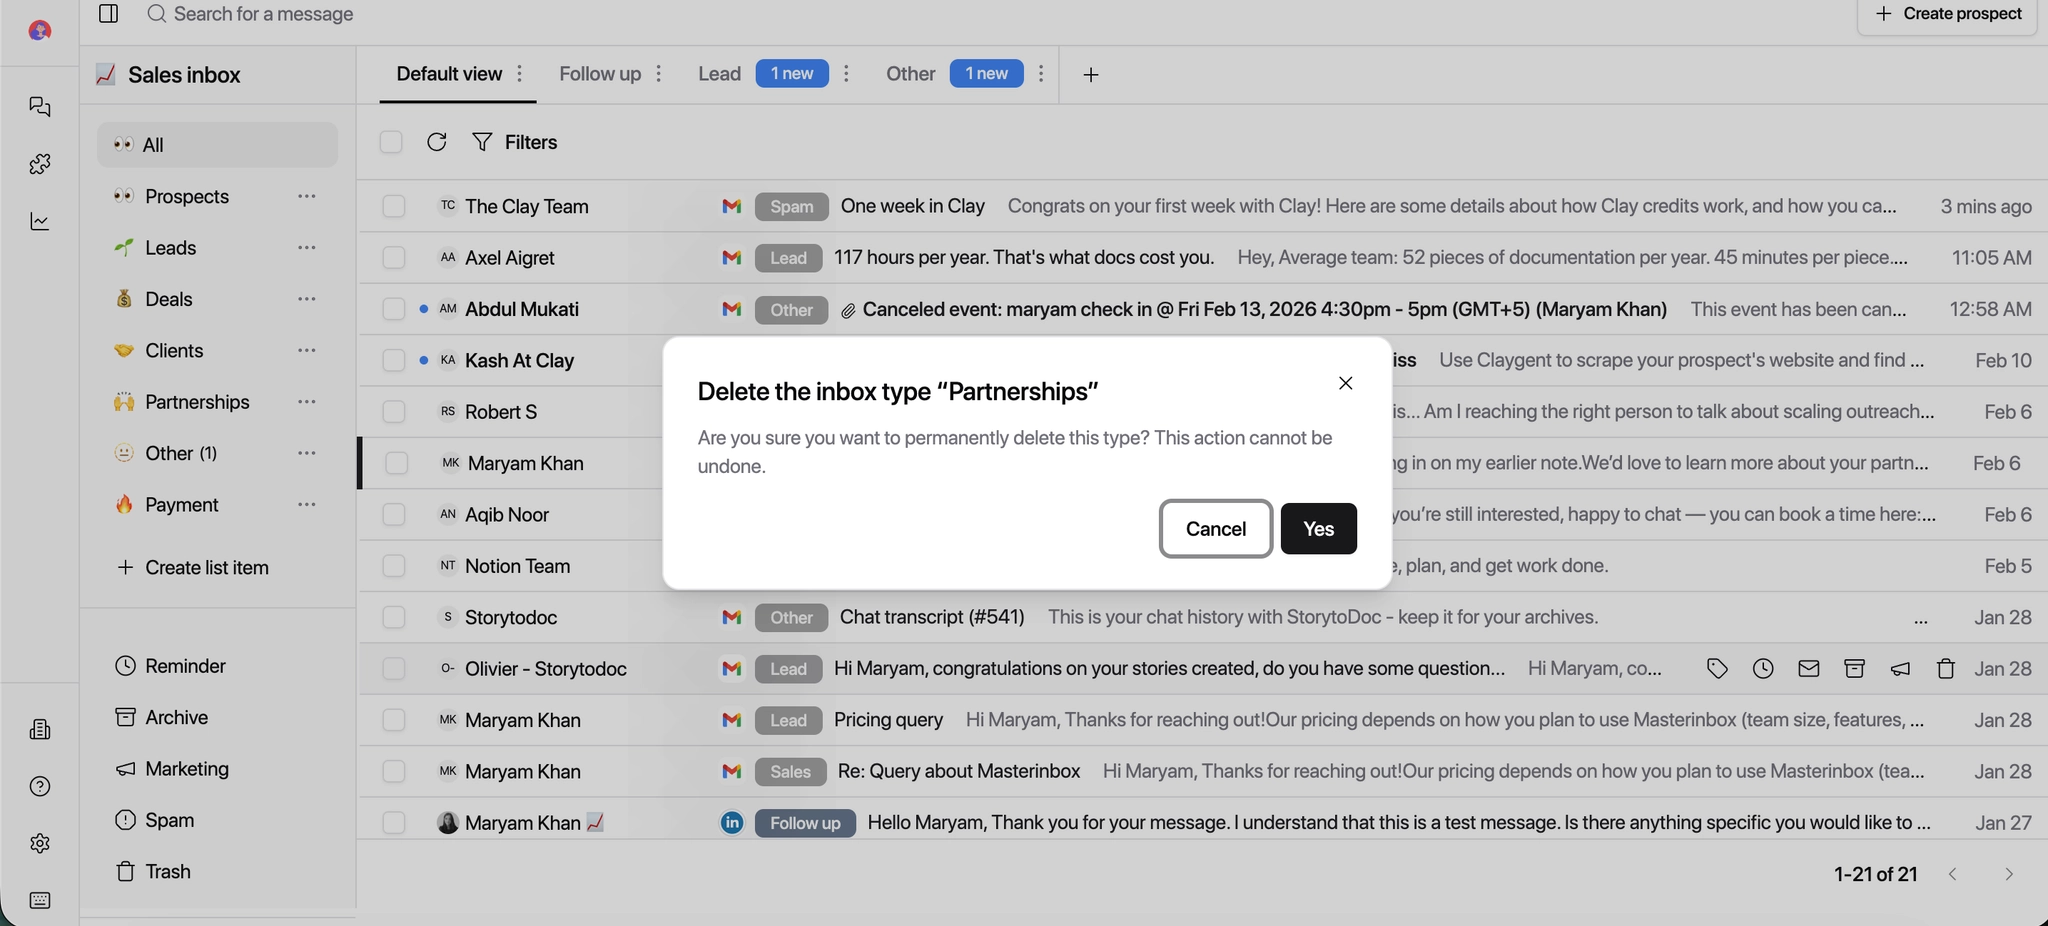
Deleting a list item is permanent. Make sure any conversations inside it have been moved to another list first — otherwise they may become harder to locate in your inbox.
Your list structure updates instantly. Any conversations moved or reassigned will appear in the correct list right away, keeping your inbox organized and your team aligned.